
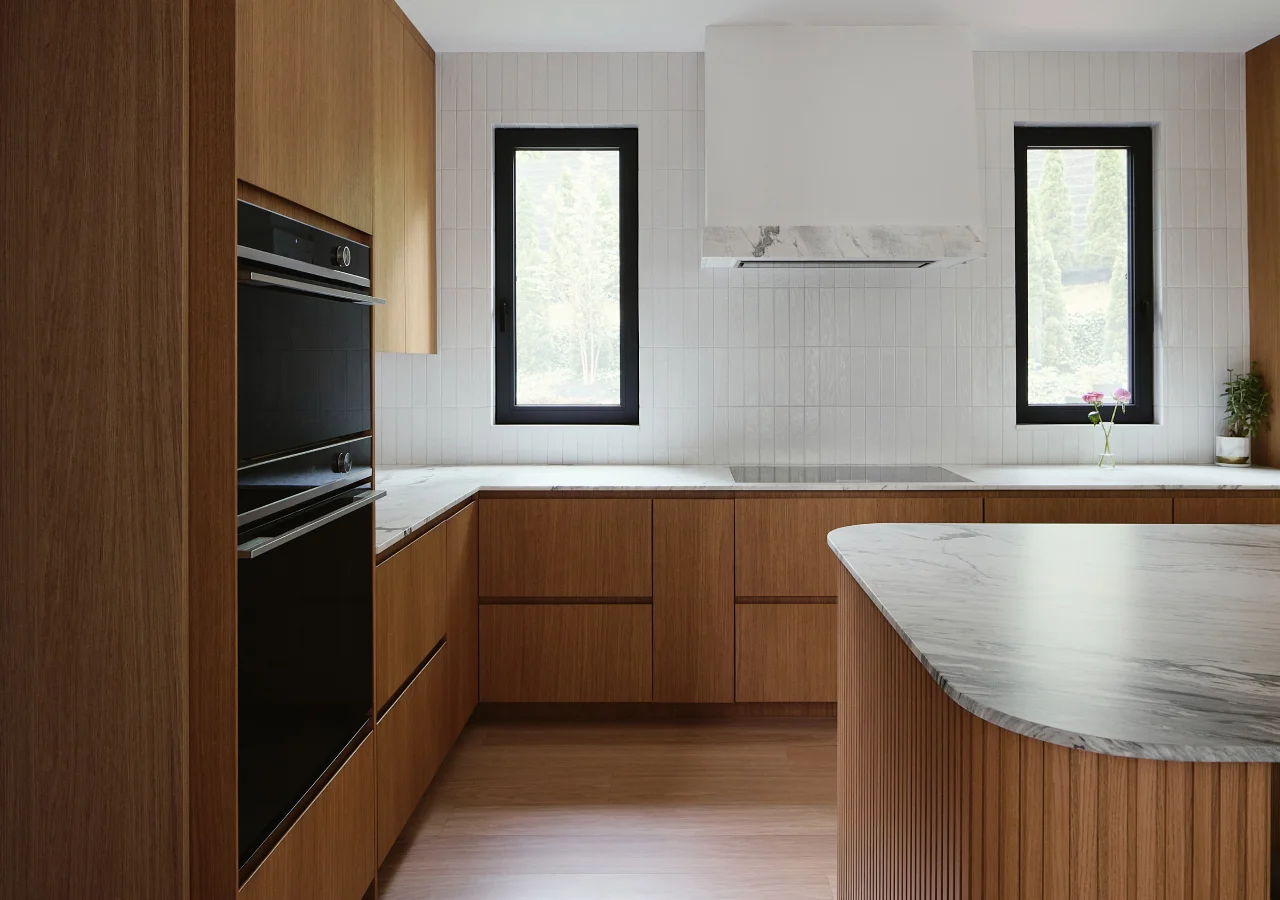
Scandinavian kitchen countertops often look simple because relatively few details compete for attention. That makes the details that remain more noticeable. The thickness visible at the front edge, the way an island ends, and the junction between the countertop and backsplash can all affect how the finished cabinetry reads.
Those decisions also influence fabrication. A thin-looking edge may need specific support. A waterfall changes how the end of an island is detailed. A slab backsplash still needs a planned joint where it meets the counter. These questions are best resolved before countertop fabrication, with cabinet drawings, appliance locations, cutouts, and finished island dimensions available for coordination.
Start With the Countertop Profile, Not Just the Material

Countertop thickness affects how the surface relates to the cabinetry below it. A slimmer profile can work particularly well in Scandinavian kitchens because it keeps the line above drawers and cabinet fronts visually light.
Profiles around 12–20 mm can create this thinner contemporary look, as discussed in Scandinavian countertop material guide, but that range should be treated as a design reference rather than a standard. Available thicknesses and installation requirements depend on the selected material and fabricator.
It is also important to distinguish actual slab thickness from apparent edge thickness. A countertop may look thin from the front while still requiring reinforcement or support below. A thicker-looking edge can also be created through fabrication rather than by using a slab of that full thickness.
A thin-looking edge does not tell you how the countertop is supported. Ask the fabricator to confirm the slab thickness, any substrate or reinforcement, and support around cutouts and seating overhangs. Coordinate those requirements with the cabinet drawings.
Separate the Island Shape From the Edge Profile
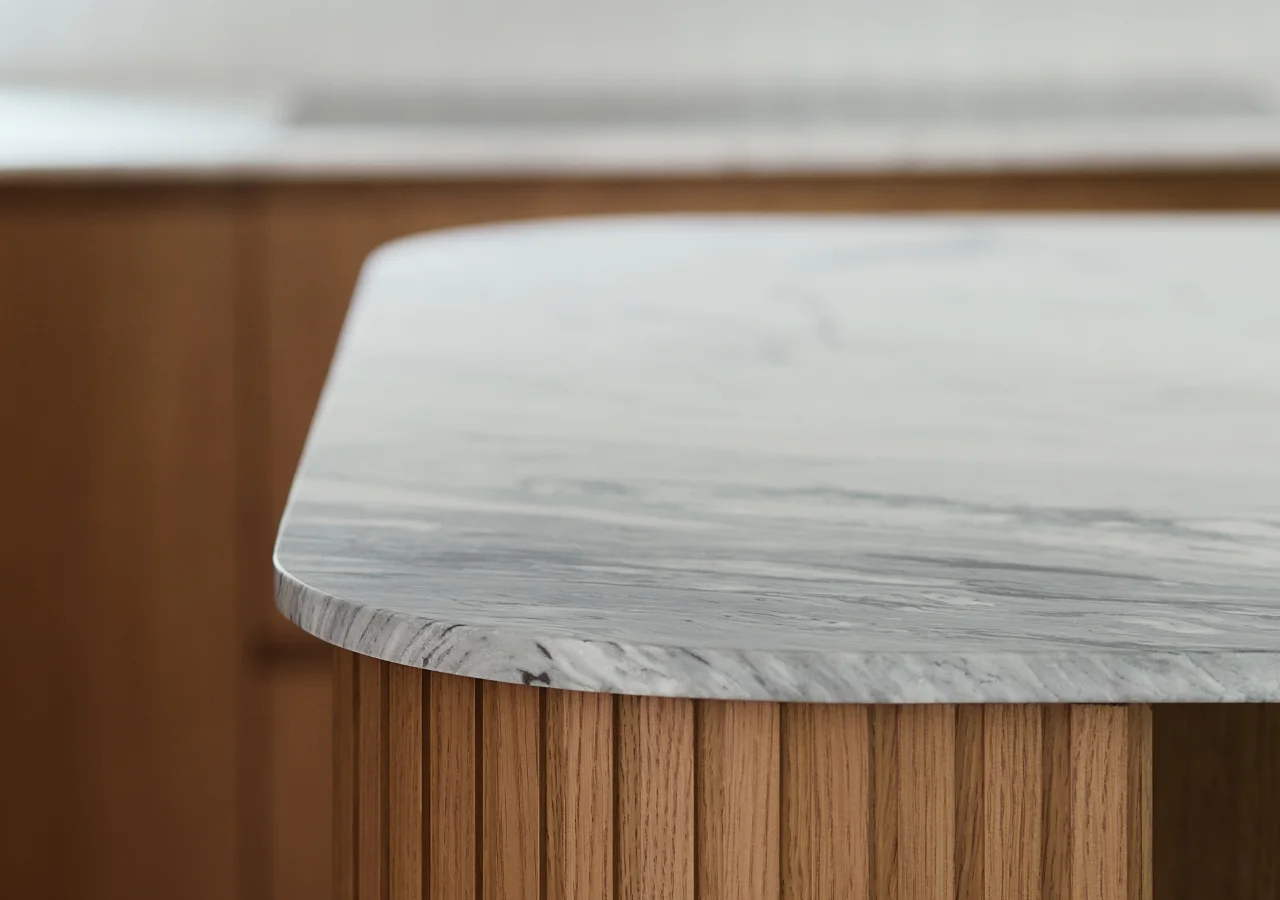
A rounded island and a rounded countertop edge are separate decisions. The island shape describes its outline from above, including straight sides, rounded corners, or curved ends. The countertop outline and overhang should be coordinated with the cabinetry below.
The edge profile describes the cross-section of the countertop where you see and touch its exposed edge. It might be straight, lightly beveled, softened, rounded, or fabricated with another profile. Ask for a sample or section drawing rather than relying only on terms such as soft edge or rounded edge.
The fabricator should confirm what bevel or radius is suitable for the selected material. For surfaces such as Dekton, edge treatment can also affect impact resistance, so manufacturer requirements should guide the final profile rather than applying one dimension across different materials.
Plan Waterfall Ends With the Island Elevation
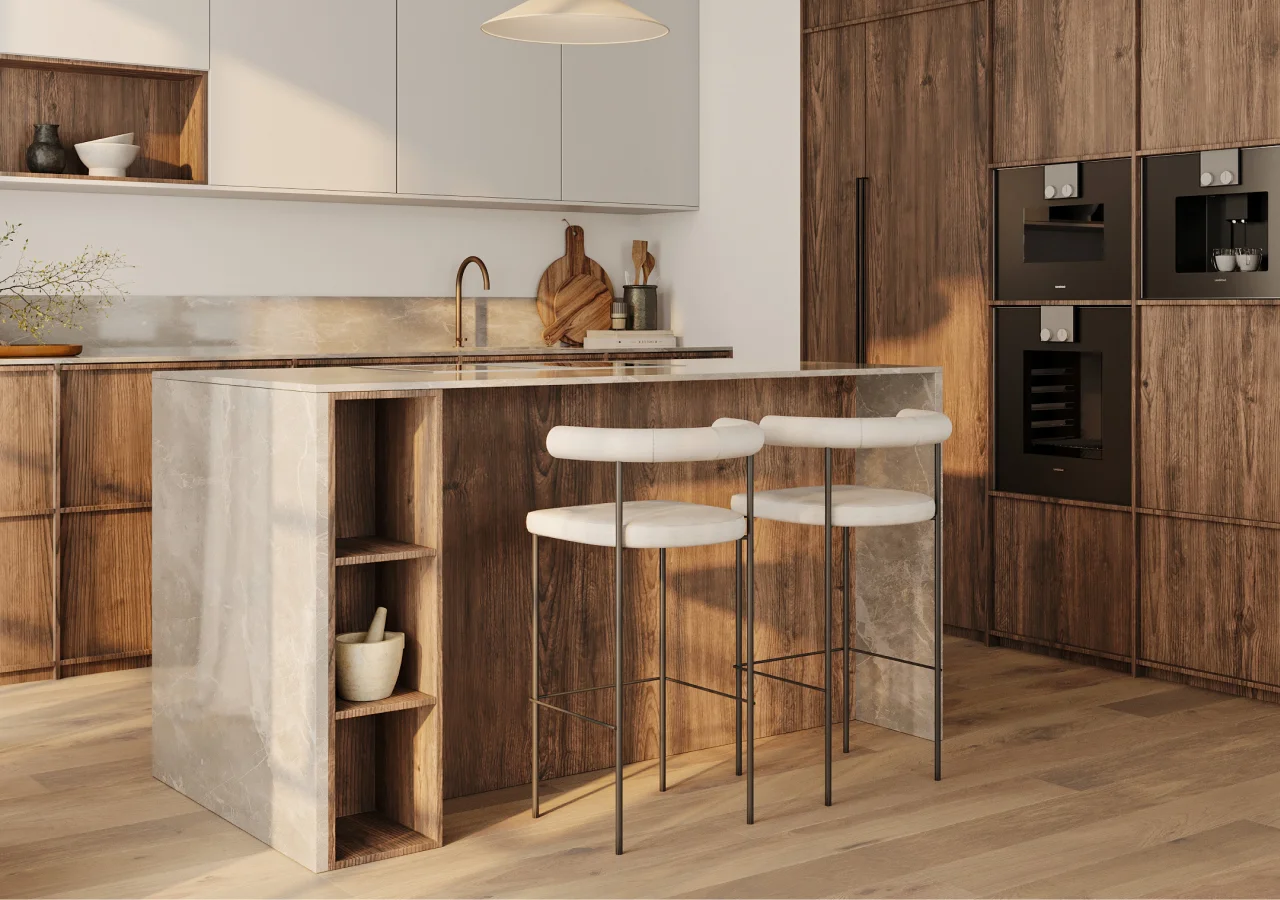
A waterfall continues the countertop material down the end of an island and changes how the countertop meets the cabinetry. Identify which faces receive countertop material and which remain visible cabinetry, especially when the island also includes a ribbed back, seating, or decorative panels.
Before approving the drawings, check the waterfall against the cabinet width, finished island dimensions, seating clearance, outlets, overhangs, and adjoining panels. Its thickness and location can affect the final width of the island and where cabinet and countertop finishes meet.
Also confirm how the vertical slab joins the horizontal top. Seam location, pattern direction, and edge alignment can all become visible on an exposed island end and should be reviewed with the fabricator before cutting.
Detail the Countertop-to-Backsplash Junction
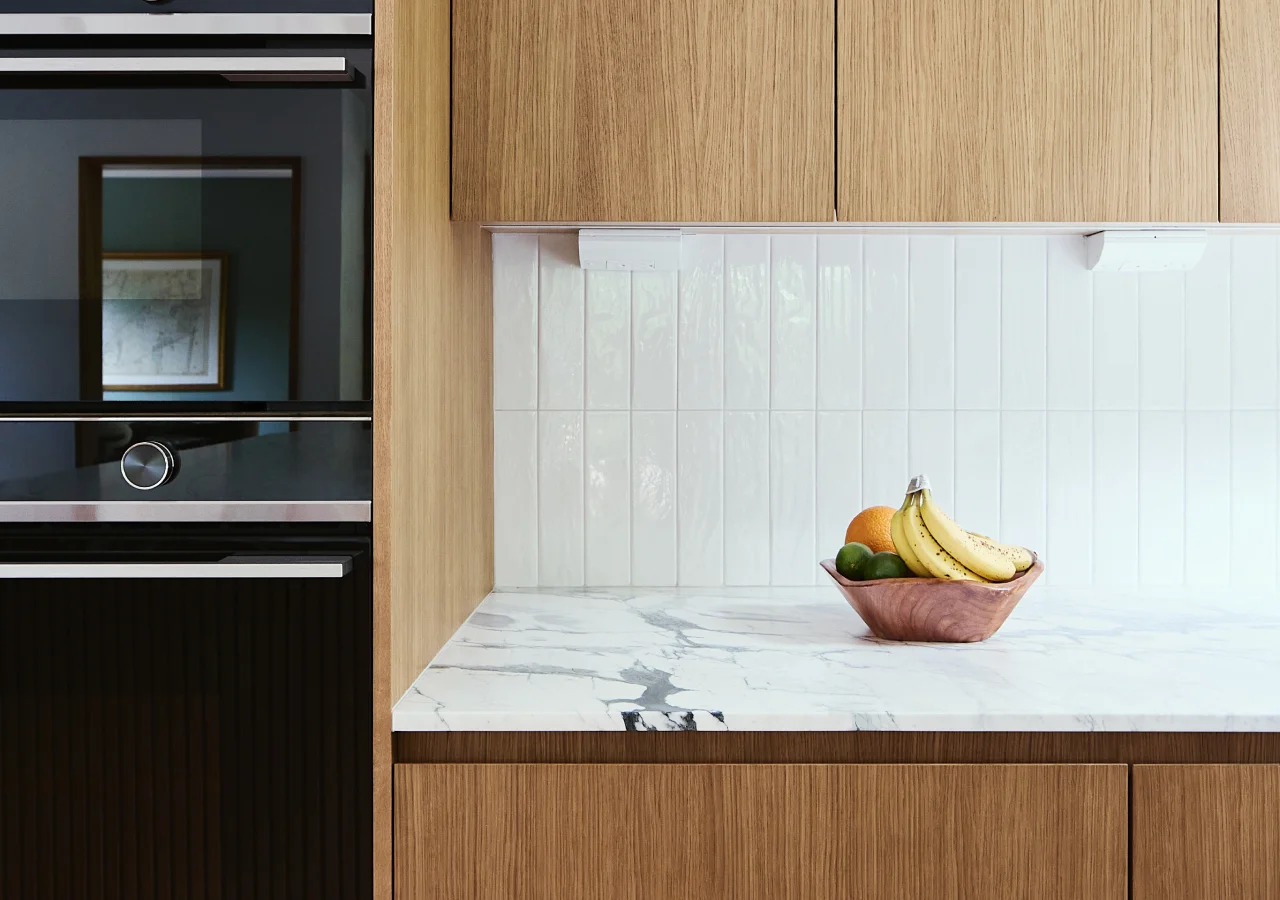
A matching countertop and backsplash can look continuous without being physically seamless.
There is still a junction where the horizontal countertop meets the vertical backsplash. Before fabrication, confirm how that joint will be handled, where the backsplash begins and ends, and whether the sealant will remain visible.
For Dekton installations, Cosentino specifies a silicone-sealed junction between the worktop and backsplash. Other countertop systems should follow their own manufacturer and fabricator requirements.
Several details are worth confirming before material is cut.
- Where does the backsplash stop?
Confirm its height and termination at tall cabinets, windows, open walls, or the end of a countertop run.
- How is the lower joint finished?
Ask whether a visible sealant line is required and what color will be used.
- Where will seams fall?
If several slab pieces are needed, review the proposed seam locations before fabrication.
- What interrupts the backsplash?
Outlets, switches, shelves, lighting, and other wall elements should be located before the slab is cut.
Material and color still matter, but the more practical fabrication question is how the countertop and backsplash physically meet.
Coordinate Planning Before the Final Template
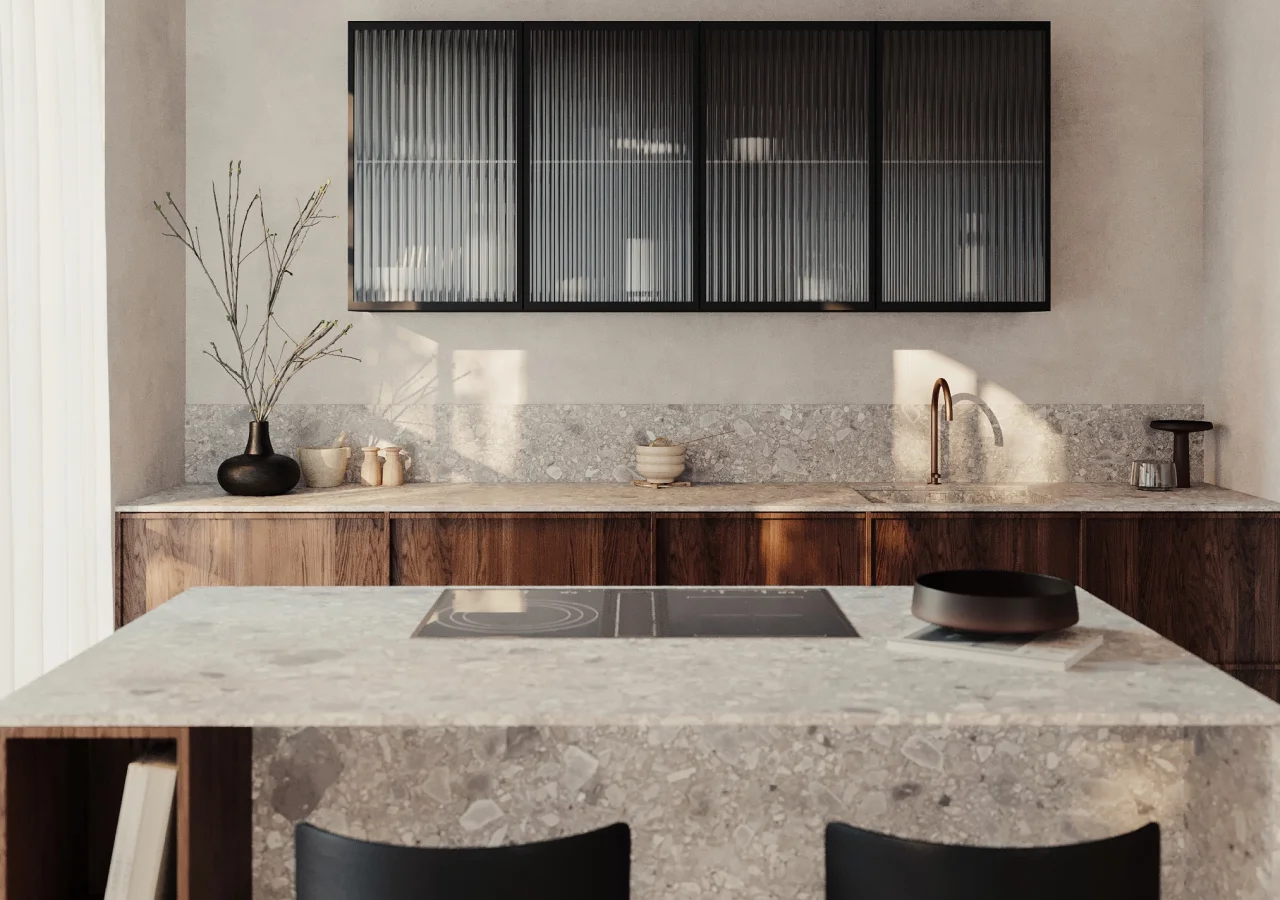
Establish material thickness, support needs, waterfall locations, appliance cutouts, and backsplash scope before approving the cabinet drawings. These details can affect cabinet dimensions and installation.
For locally fabricated stone, quartz, and ultracompact slab countertops, final templating usually takes place after the cabinets and island are installed, leveled, and secured. If the countertop is supplied separately, confirm who reviews support requirements, communicates changes, and approves the fabrication drawings before cutting. See how cabinet drawings and measurements are handled when working with a local countertop fabricator.
What to Confirm Before Fabrication
A countertop drawing should communicate more than the overall dimensions.
A simple perimeter countertop may require relatively little coordination. A kitchen combining a thin island countertop, seating overhang, waterfall ends, and a slab backsplash requires closer coordination.
Conclusion
Scandinavian countertops can look minimal while requiring precise coordination behind the scenes. Confirm the visible thickness, edge treatment, support, waterfall ends, and backsplash junction before fabrication. Keep the details simple where possible, but make each decision deliberate.
For more examples of how countertop details work with cabinetry and islands, explore Corner Renovation’s completed kitchen projects and collections.


