
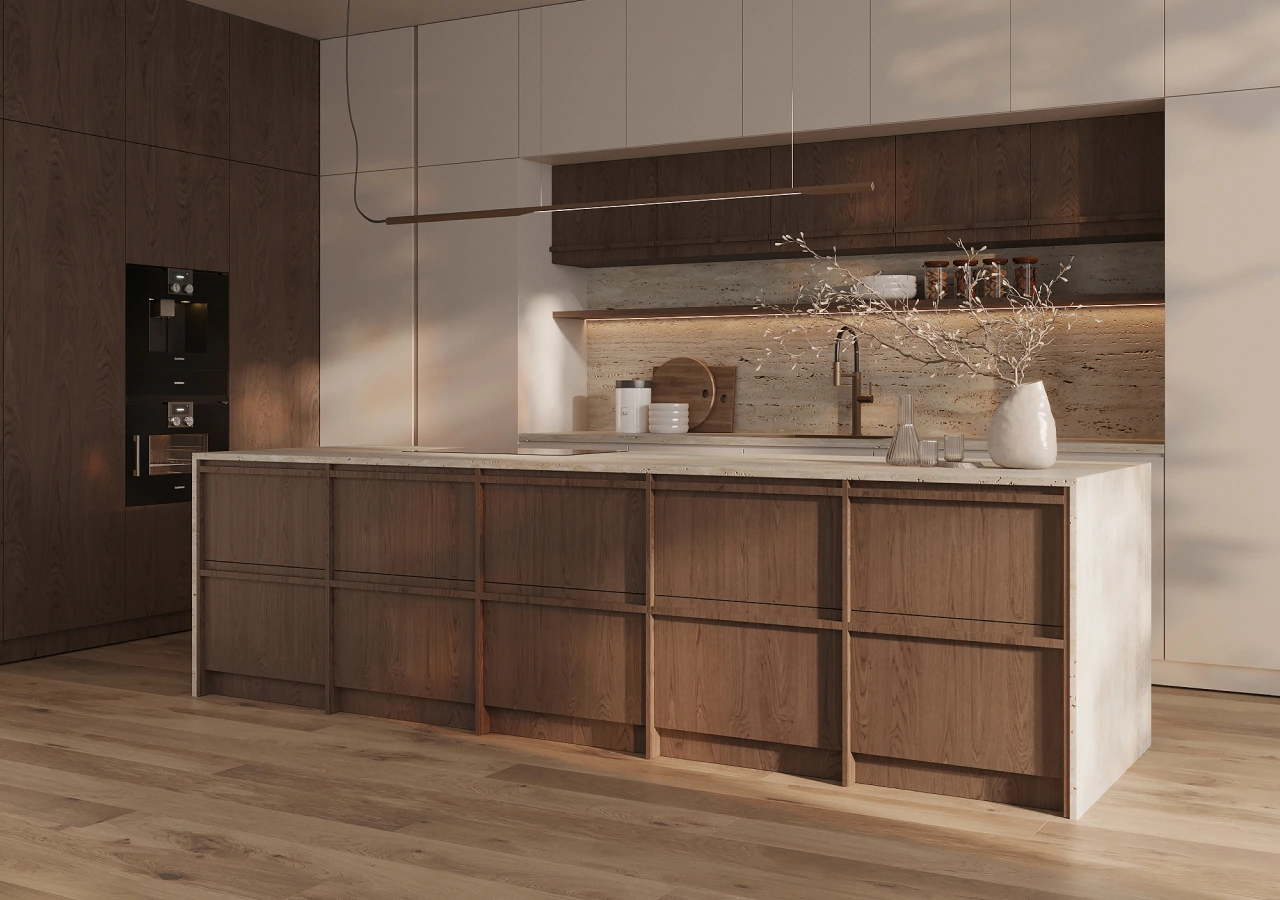
A Japandi kitchen often looks effortless, but its clean appearance depends on decisions made before the cabinets are produced. Work aisles, appliance doors, storage, landing areas, and seating all need enough room to function without creating unnecessary gaps or awkward movement.
Good organization is part of the design. An island should not crowd the refrigerator, stools should not block a walkway, and a long cabinet wall should align with the appliances built into it. Resolving these relationships early helps a Japandi style kitchen remain practical without losing its restrained character.
Can a Japandi Kitchen Work Without the Traditional Work Triangle?
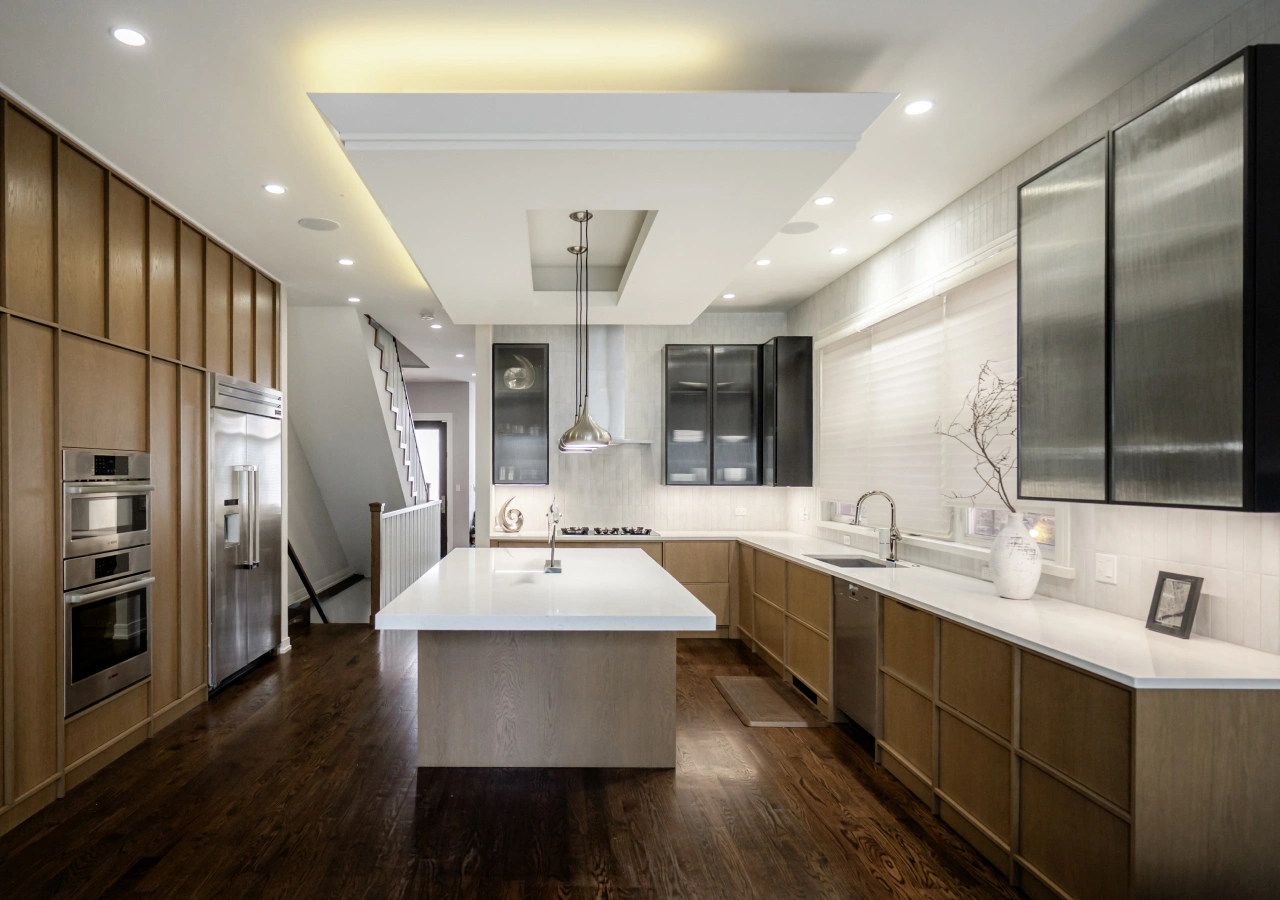
A Japandi kitchen can work well without forming a perfect kitchen triangle. The refrigerator, sink, and cooking area still need a practical relationship, but zones, landing surfaces, appliance clearances, and circulation often provide a better framework for modern layouts.
The traditional triangle remains a useful check, but modern kitchen zones provide a better way to organize preparation, cooking, cleanup, storage, and serving in more complex layouts.
The triangle remains a useful check, but it should not control the whole plan. The layout also needs clear preparation space, accessible storage, safe appliance use, and routes that stay open when several people are in the room.
Planning note: Kitchen dimensions are starting points, not universal rules. Final clearances depend on appliance specifications, countertop details, finished site conditions, local requirements, and the number of people using the kitchen.
Japandi Kitchen Dimensions at a Glance
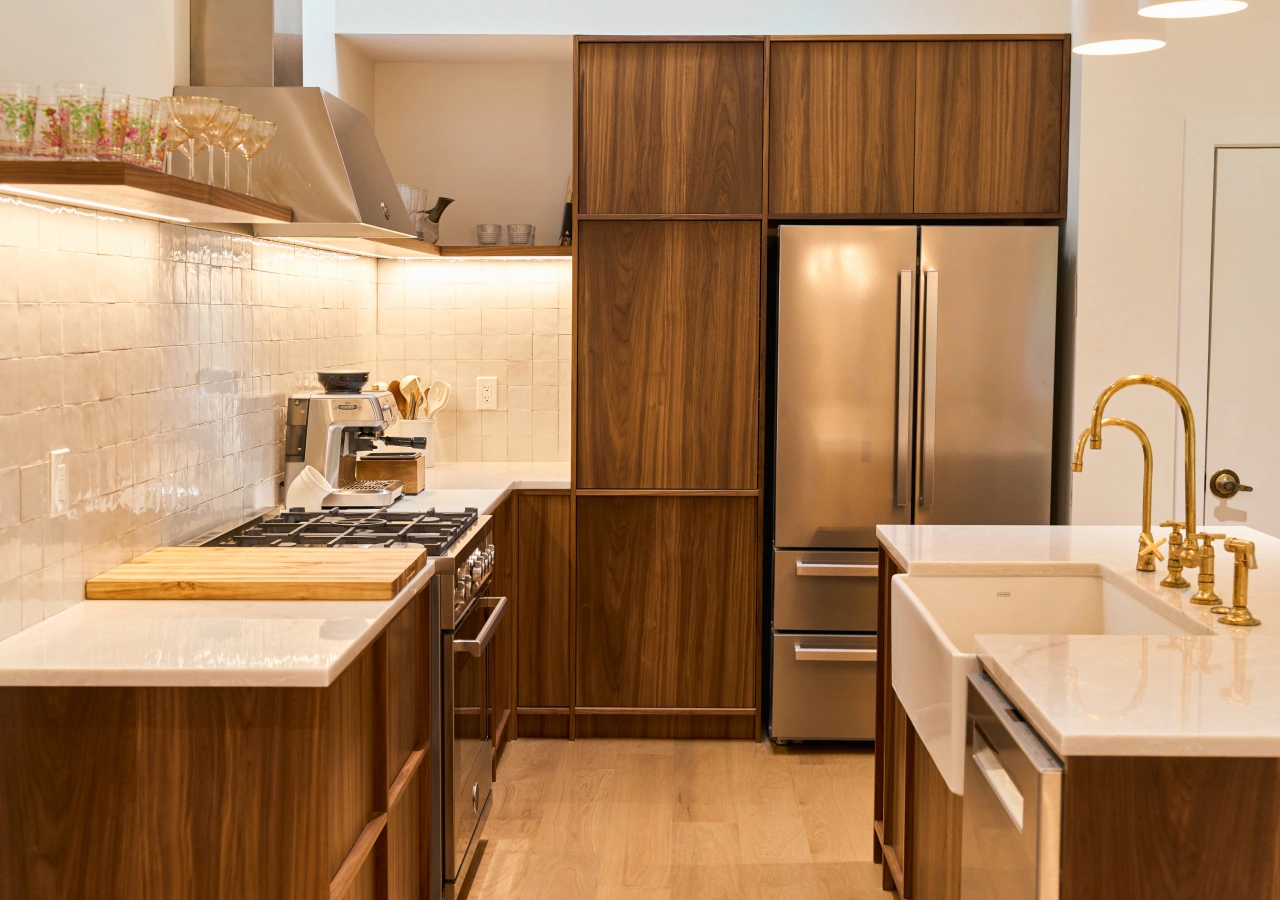
Layout dimensions help determine whether an island, peninsula, appliance wall, or seating area will fit comfortably. They need to be checked with drawers open, stools occupied, and appliance doors in their full operating positions.
The figures below are useful planning benchmarks. They are not guaranteed building-code requirements, and the final layout may need more or less space depending on the room and selected products.
Work Aisles and Walkways: Protect Movement First
.webp)
A work aisle is the active space between counters, cabinetry, and appliances. It is where people prepare food, open drawers, load the dishwasher, and use the cooktop. A walkway is mainly used to pass through or around the kitchen.
Work aisles generally need more room because open doors and daily tasks reduce the available space. About 42 inches can work as a planning point for one cook. Around 48 inches is often more comfortable when two people regularly prepare food at the same time. Narrower aisles may still work, but only when opposing drawers, appliances, and seating do not create conflicts.
Test the plan with the refrigerator, oven, dishwasher, and largest drawers open. A distance that appears adequate on a floor plan may feel tight once the dishwasher is lowered or someone sits at the island. The goal is not to maximize empty space. It is to provide enough room for the kitchen to operate without constant interruptions.
Island or Peninsula: Choose the Layout Before the Style
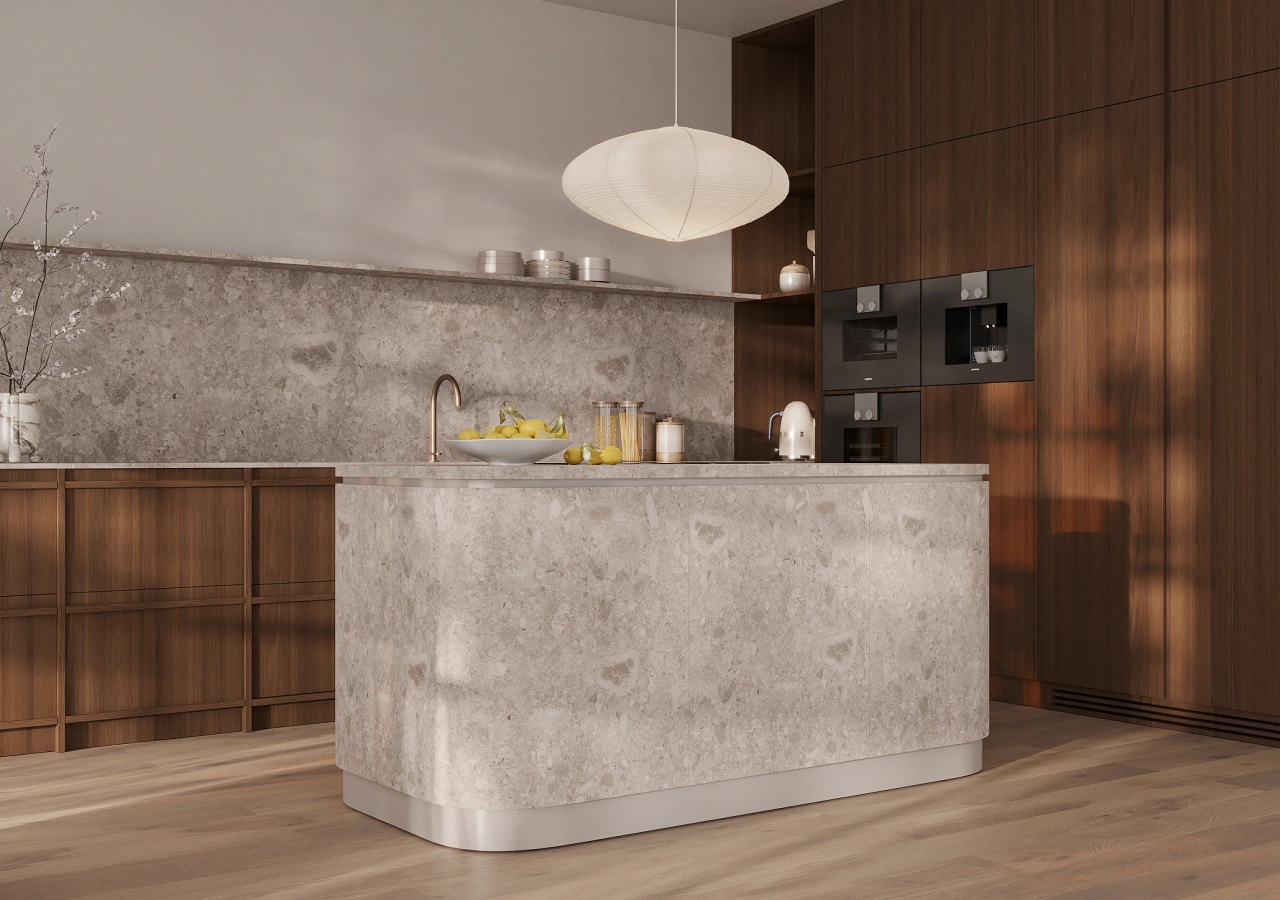
An island or peninsula can add preparation space, storage, seating, and separation between the kitchen and the surrounding room. The better option depends on the room width, entrances, appliance positions, and the type of work the surface needs to support.
Start by protecting the main aisles. The island or peninsula can then be sized within the space that remains. This approach is more reliable than choosing a preferred island length first and trying to fit circulation around it.
Japandi Kitchen Island Dimensions
A kitchen island should have a primary purpose before its final dimensions are set. A simple preparation island needs less coordination than one containing a sink, dishwasher, cooktop, trash pull-out, storage, and seating.
Plan the cabinet modules and appliances before deciding the total length. Sink bases, drawer banks, dishwashers, and waste systems require fixed openings. Countertop overhangs and waterfall sides also change the finished footprint. Seating should not interfere with drawers, the refrigerator route, or the main work aisle.
Curved and rounded islands need additional planning because the cabinet panels, storage, countertop edges, and surrounding route must follow the same geometry. A curved end may improve movement around a tight corner, but it can add fabrication cost and reduce usable cabinet space. It is most effective where the shape has a clear layout purpose.
When a Peninsula Works Better
A peninsula can be a stronger option when the room cannot support circulation on every side of an island. Because it connects to a wall or cabinet run, it can add workspace, storage, or seating while using less floor area.
Peninsulas often suit small Japandi kitchens and L-shaped layouts with several doors or fixed architectural features. Check the opening at the free end, access to corner cabinets, drawer movement, and the path between rooms. A long peninsula can create a bottleneck, while a short one may not provide enough surface to justify its footprint.
Landing Zones: Give Every Appliance a Useful Surface
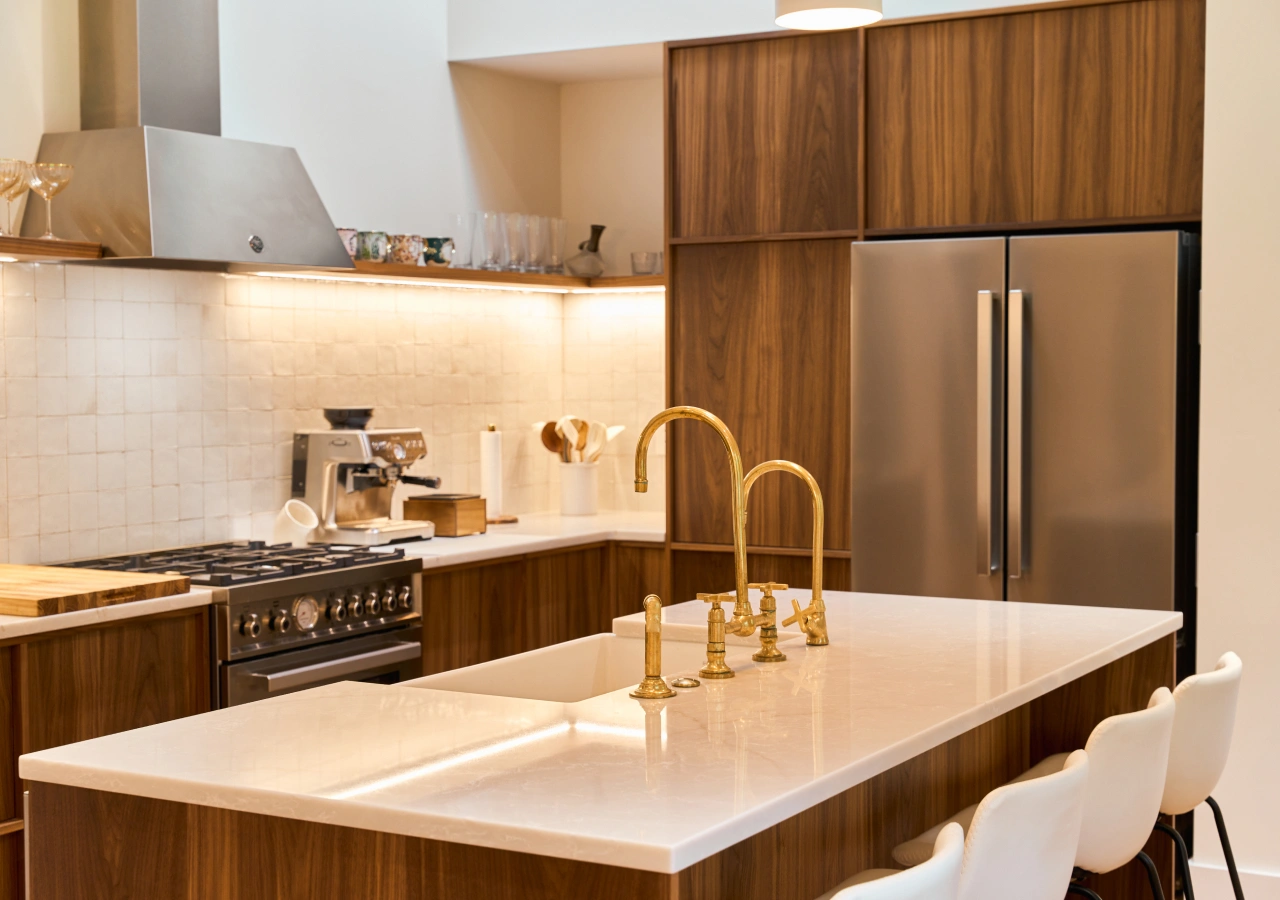
A landing zone is a nearby counter area where groceries, cookware, dishes, or ingredients can be placed before or after using an appliance. It should be close enough to reach safely without carrying hot or heavy items across a busy walkway.
These surfaces are particularly useful in minimalist Japandi kitchens. They give everyday objects a logical place to go, which makes it easier to keep the cooktop, sink area, and main preparation surface clear.
The refrigerator needs a place for unloading groceries. The range or cooktop benefits from counter space for ingredients and hot pans. Ovens and microwaves need a safe nearby surface, while the sink and dishwasher should connect easily to waste storage and dish cabinets. An island can serve as a shared landing area when it is close enough and does not require crossing through traffic.
Plan Seating Around Circulation, Not Stool Count
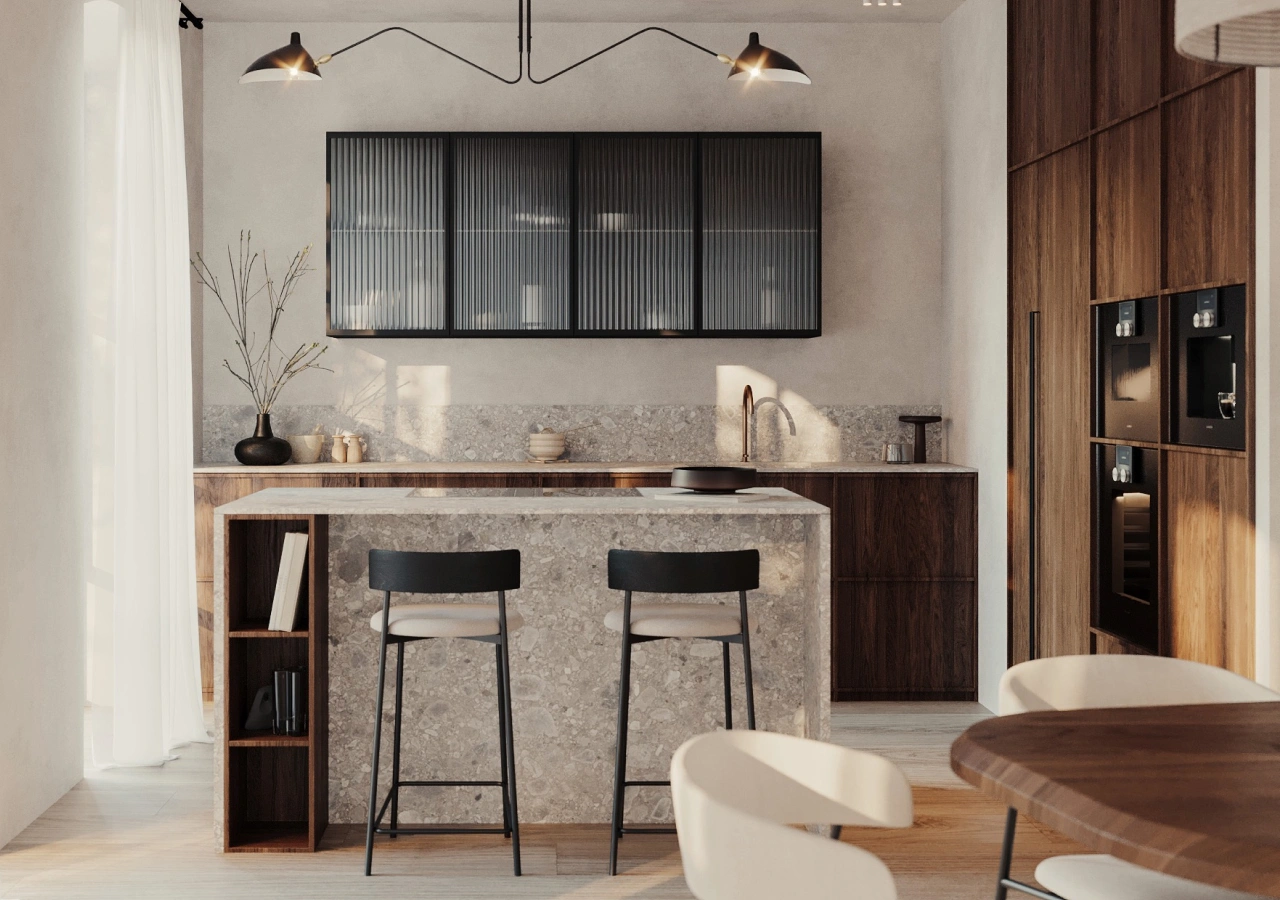
Island seating should not be calculated only by dividing the counter length by the desired number of stools. The plan also needs to account for elbow room, overhang depth, the space required to pull out each seat, and the route behind occupied stools. Seating depth and the walkway behind stools matter as much as width per person.
About 28 to 30 inches of width per person is a useful starting point, although the actual requirement depends on the chairs or stools. Wide backs, arms, swivel seats, and curved forms may need more room. The space behind the seating becomes especially important when it is part of the route to the refrigerator, dining area, patio, or hallway.
Check seating together with nearby cabinets and appliances. Guests should not block drawers, the dishwasher, or the main preparation zone. In many layouts, three well-spaced seats will be more useful than four compressed into the same island.
Cabinet Runs and Appliance Specifications Must Work Together
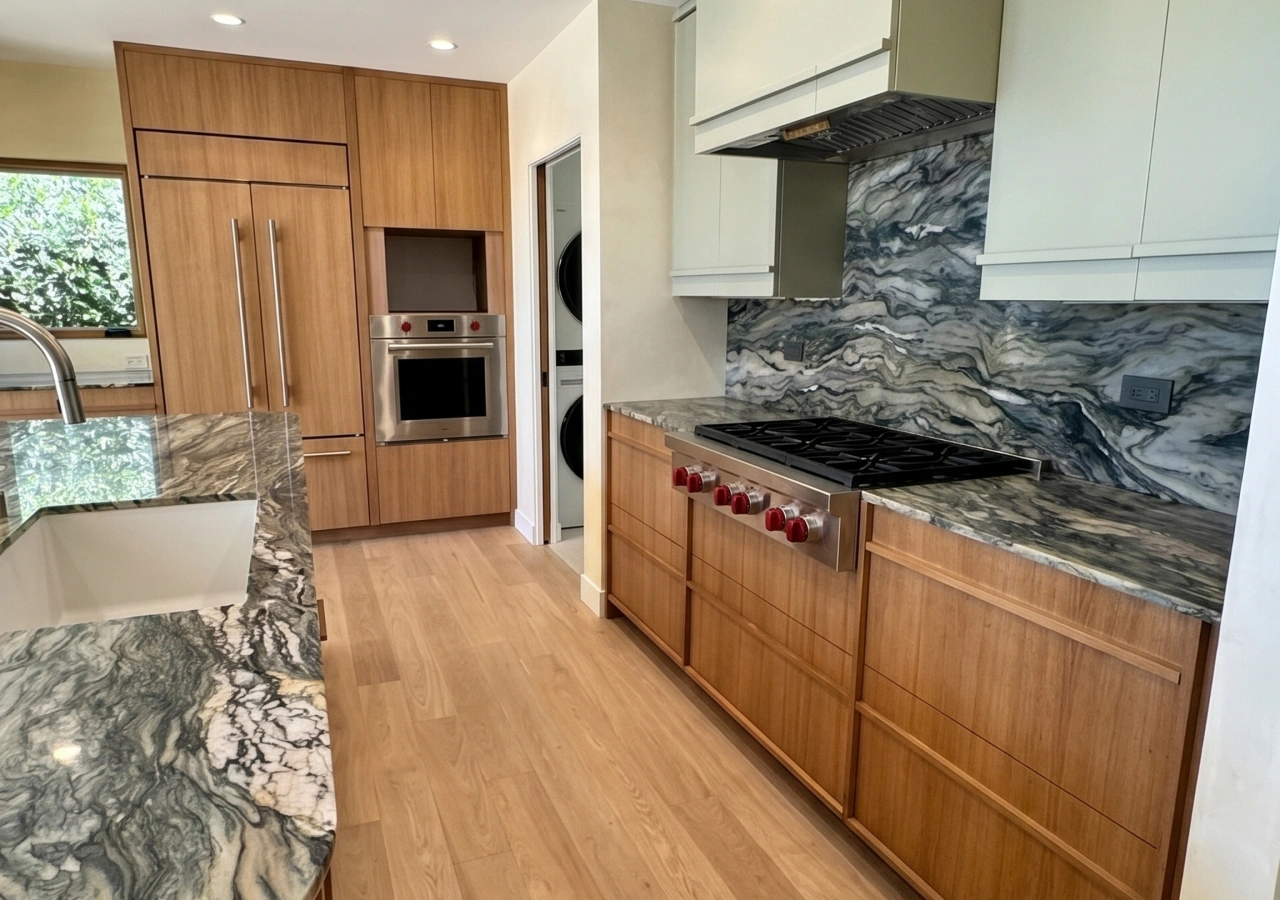
Long cabinet runs are common in Japandi kitchen design ideas because they can combine storage and appliances within one clear elevation. Their appearance depends on the alignment of tall units, drawers, appliance panels, fillers, wood grain, and horizontal lines.
Appliance selections directly affect those dimensions. A different refrigerator may require wider side fillers or reduce the space available for an adjacent drawer bank. Panel-ready models need accurate door, hinge, ventilation, and depth information because the appliance front and surrounding cabinetry must move independently without visible gaps or collisions.
Confirm door swings, handles, toe kicks, panel thicknesses, ventilation, and installation openings before approving the drawings. Grain direction and panel divisions should also be decided before production. With oak or walnut veneer, a consistent rhythm across doors and drawers can make a long cabinet run feel organized rather than fragmented.
Conclusion
A successful Japandi kitchen does not need to follow a perfect work triangle. It needs clear circulation, comfortable work aisles, practical landing zones, coordinated appliances, and cabinet runs that support daily routines. These decisions create the visual calm associated with Japandi style.
Islands, peninsulas, seating, and curved details should be used intentionally. A larger feature may add storage, but it can also reduce aisle space or increase fabrication complexity. Explore Corner Renovation’s kitchen collections and completed projects to see how layout dimensions, integrated appliances, natural materials, and quiet cabinet lines can work together in real homes.


