

Kitchen islands have evolved from optional add-ons into the true working center of the modern kitchen. They are where prep happens, where people gather, and where meals begin. But an island only improves a kitchen when it is planned with intention. Size, circulation, storage, seating, lighting, and utilities all need to work together. Otherwise, what looks impressive in a showroom can feel oversized, cramped, or awkward in daily life.
A well-designed island protects movement, supports your routines, and adds useful storage without adding visual noise. It can create a natural dining spot, improve workflow, and help the whole kitchen feel more structured and composed.
If you’re planning a kitchen island, start with sizing and clearances, then move to height, outlets, and cabinet layout. Each of these decisions affects how the island works in daily use, not just how it looks. This guide is designed as a starting point, with focused articles that cover each decision in more detail so you can plan your island step by step without missing anything important.
Kitchen Island Planning: Start Here

Pick the Right Kitchen Island Type
Kitchen Island Size and Clearances
.webp)
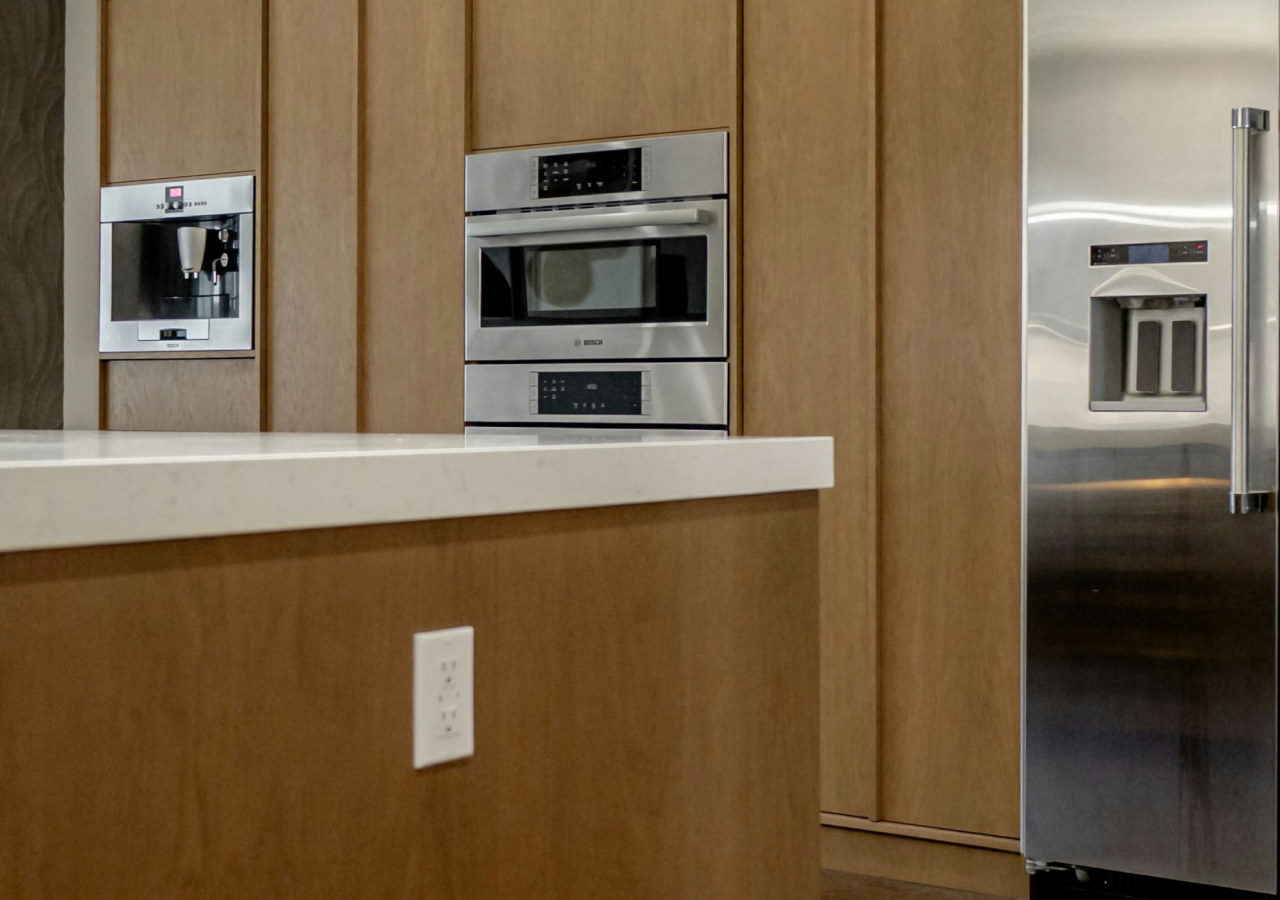
Island size is the first thing to resolve because it determines whether the kitchen will feel open or cramped. Before deciding on the island shape, make sure the surrounding walkways and working aisles are protected.
Read more in the Kitchen Island Size Guide.
Kitchen Island Height

Island height affects comfort, prep use, and seating. Most islands are standard counter height, but some kitchens work better with raised seating or mixed-height solutions.
Read more in Kitchen Island Height.
Outlets on Kitchen Islands
Outlets need to be planned early, because they affect both usability and code compliance. If you use small appliances or want charging points at the island, placement matters.
Read more in Outlets on the Kitchen Islands: Design Placements and Other Tips.
What Cabinets Go in a Kitchen Island
.webp)
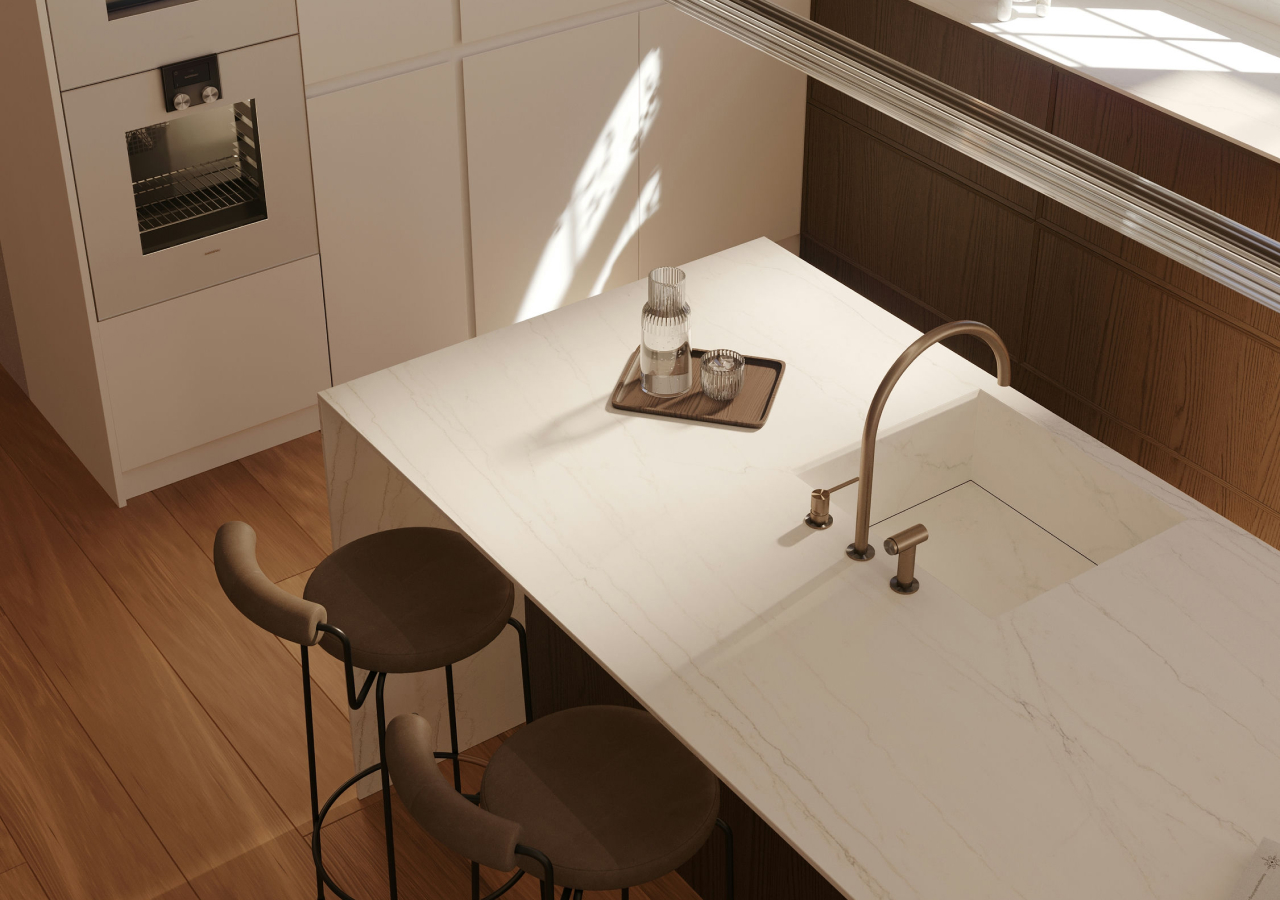
Island storage should match how the kitchen is actually used. Drawers, pull-outs, bins, and open shelves each solve different needs, so cabinet choice should come before finalizing the island layout.
Read more in Which Cabinets Are Used for an Island.
Style Ideas for Kitchen Islands
The island can also help define the overall tone of the kitchen.
- For calmer, warm minimal spaces, see Japandi Kitchen Islands
- For light, functional design, see Scandinavian Kitchen Islands
- For clean-lined simplicity, see Minimalist Kitchen Islands
Common Kitchen Island Planning Mistakes

Oversizing the island while shrinking clearances is one of the most frequent issues. What looks good on paper can feel cramped in daily use. Door swings are often overlooked, especially for dishwashers and refrigerators, which can block movement when open.
Outlets are also planned too late, limiting how the island can actually be used. And finally, many designs focus on the outside before resolving storage, resulting in an island that looks clean but doesn’t function well.
What to Decide First
.webp)
The most reliable order is to start with clearances, then move to seating, storage, outlets, and lighting. Only after that should you test the layout in real life. When decisions follow this sequence, the island is far more likely to work comfortably in everyday use.
Conclusion
A kitchen island works best when the planning happens in the right order: size and clearances first, then height, outlets, cabinet layout, and finally style direction. Once those basics are resolved, it becomes much easier to choose the kind of island that fits both the space and the way you use the kitchen.
Use the guides above to go deeper into each decision and refine the details step by step.


