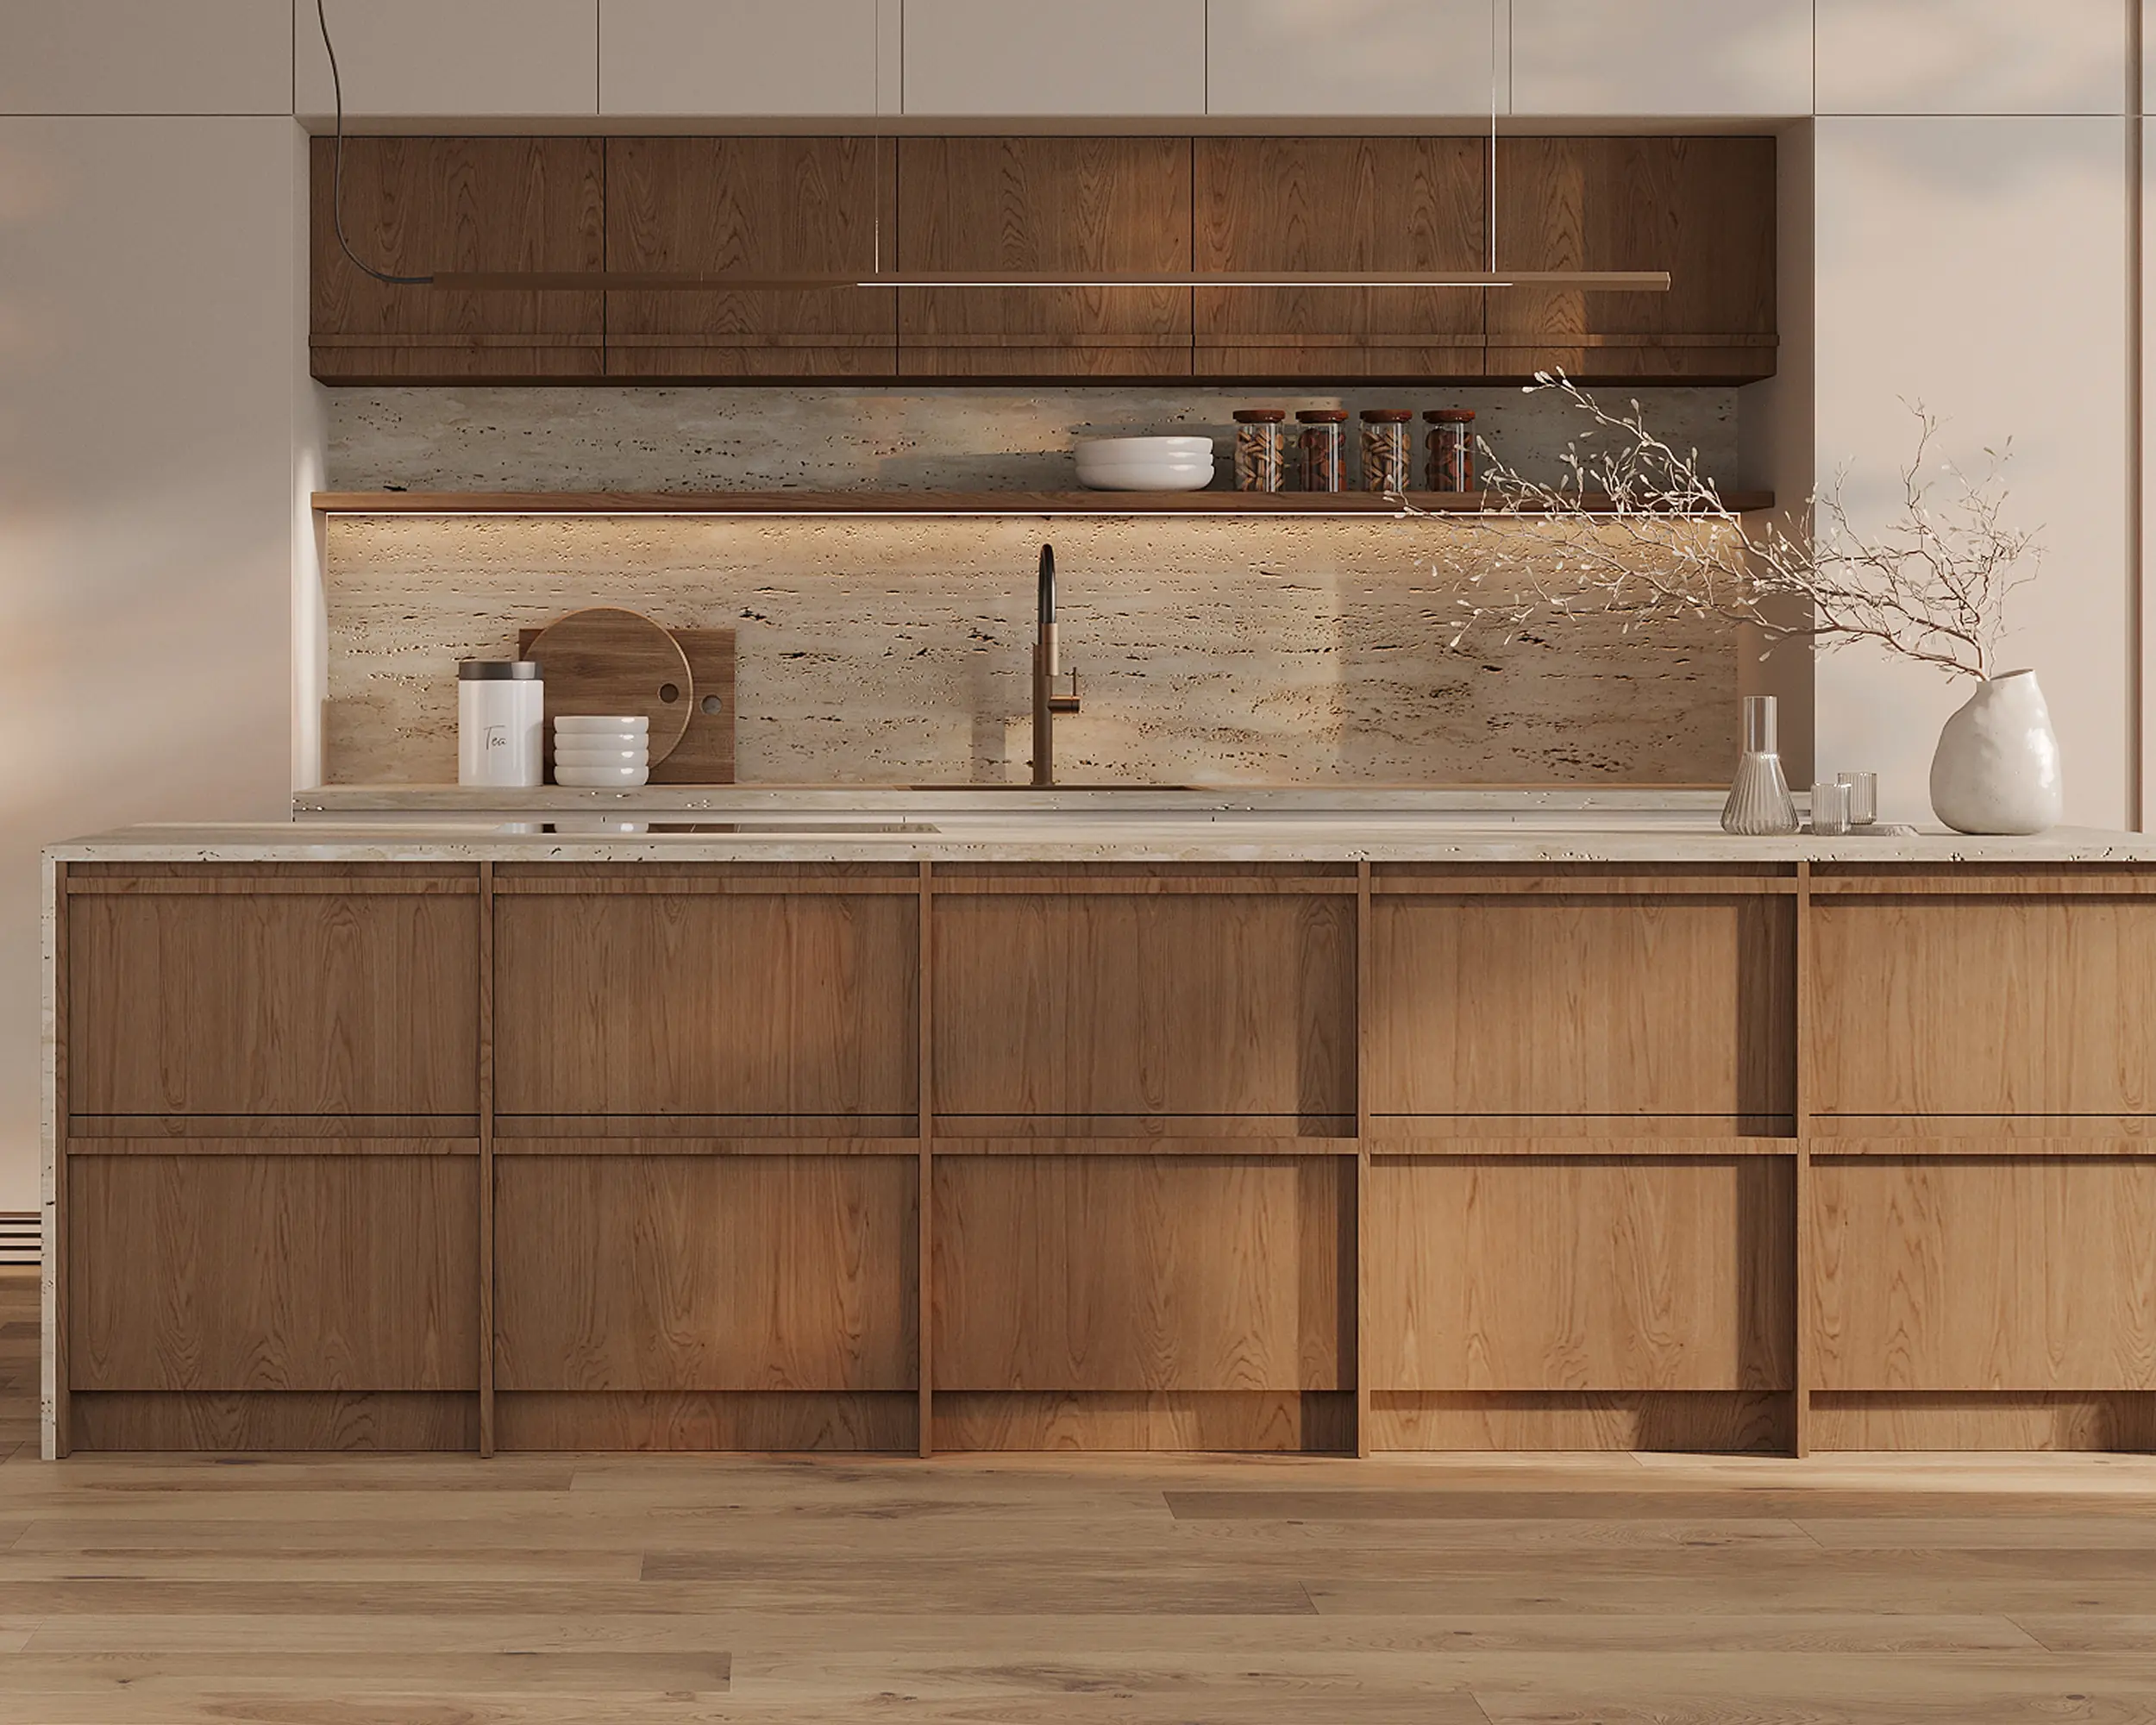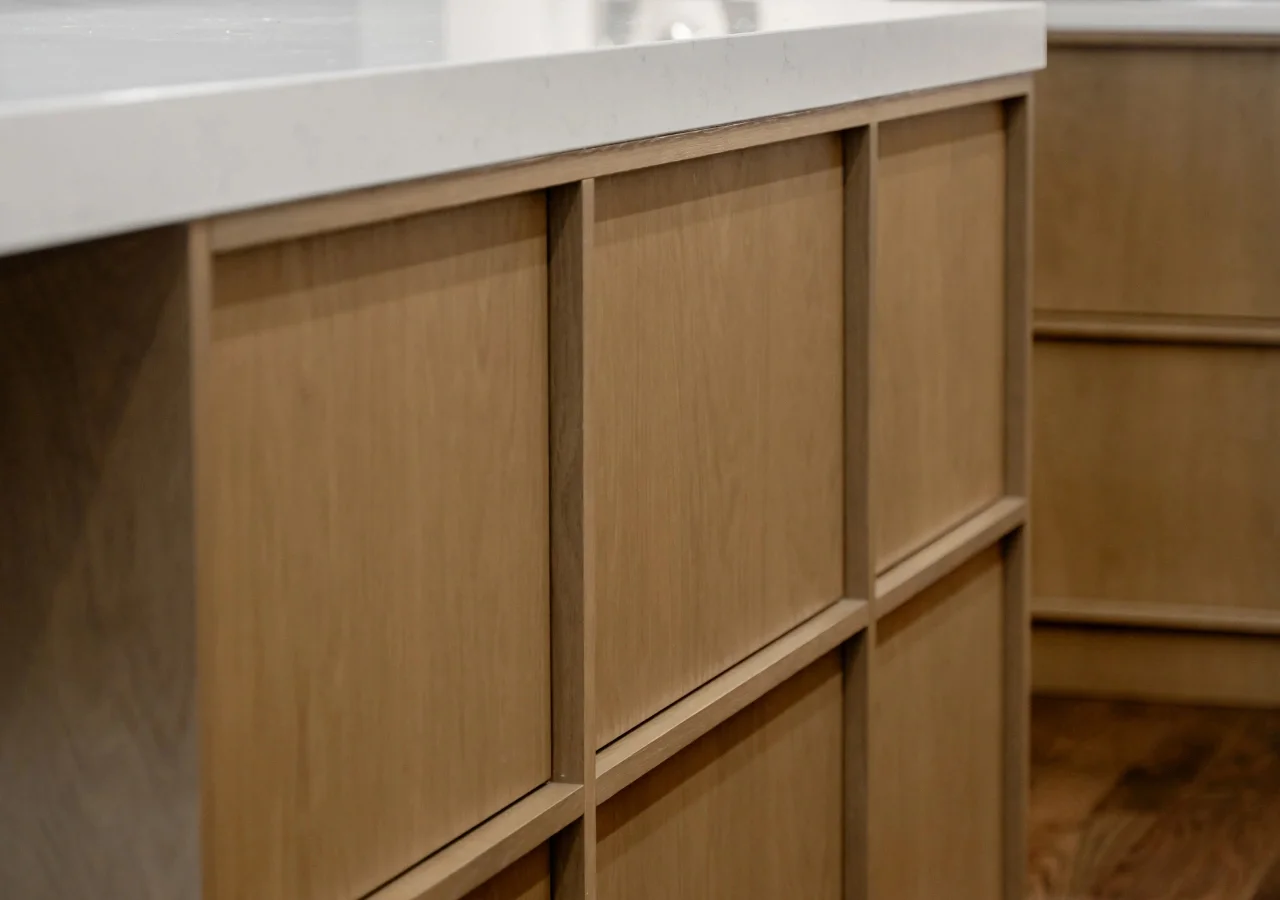
Wood cabinet fronts bring natural grain and warmth into a kitchen, but the surface also has to handle constant contact. Sink cabinets are opened with wet hands, trash drawers are used many times a day, and handleless fronts may be touched directly.
The important question is not only which wood looks best, but what protects it in everyday use. Wood or veneer provides the grain; stain, where used, adjusts the color; and the protective finish helps the surface withstand everyday use. Edges, grips, sheen, and cabinet location also affect how a front ages.
Homeowners should understand what finish is specified, what arrives completed from the cabinet supplier, and how the most frequently touched areas should be maintained.
What Actually Protects Wood Cabinet Fronts?
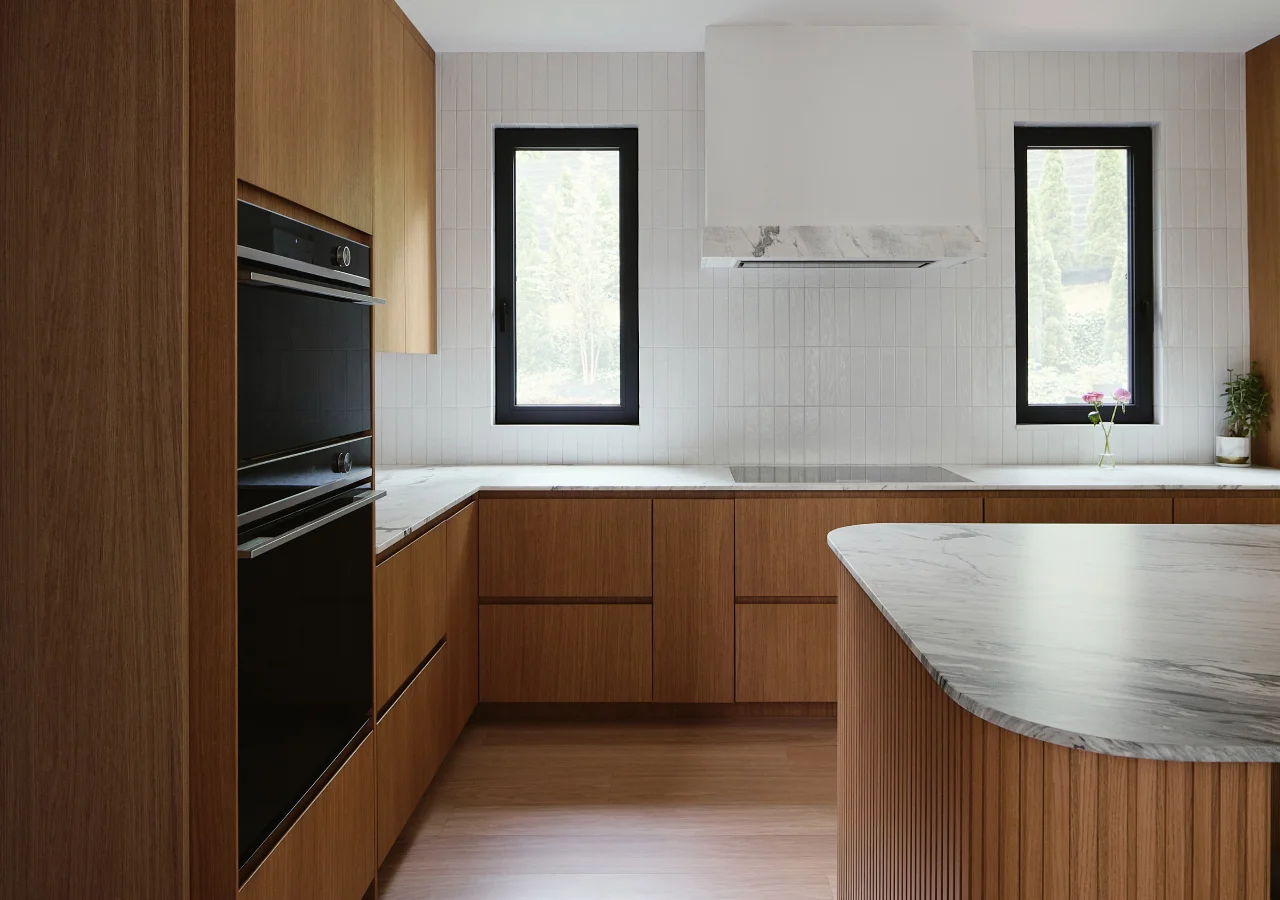
Wood and wood veneer used for kitchen fronts are paired with a protective finish. The exact system can vary by product and specification, so it is better to treat the finish as part of the cabinet specification rather than assume every wood front is protected in the same way.
The finish helps the surface handle normal contact, light splashes, fingerprints, and routine cleaning. It does not make the front immune to standing water, abrasion, or damage at exposed edges. Areas around sinks, dishwashers, integrated grips, and lower drawers need particular attention.
Before ordering, ask whether the quoted fronts arrive fully finished, which protective finish is specified, and how edges and integrated grips are treated. Also confirm what is included in the cabinet package, whether any finishing is required on site, and request the care instructions for that finish.
What to Check in a Wood Front Specification
Stain Changes the Color, Not the Wood
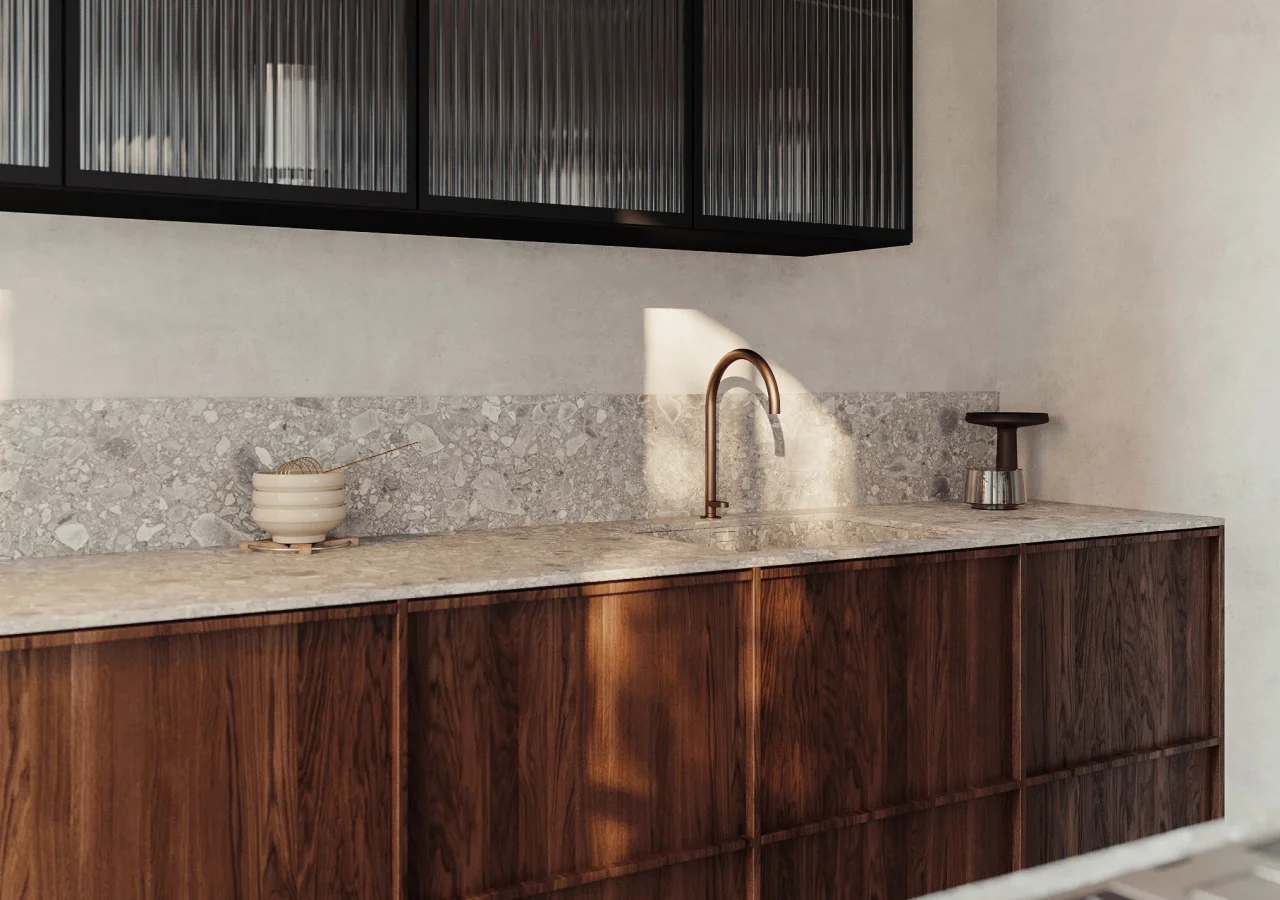
Stain and protective finish do different jobs. Stain, where used, changes the color of the wood. The protective finish is the part that helps the surface handle daily contact and cleaning.
That distinction matters when comparing oak and walnut. Oak can be stained darker or given a warmer brown tone, but the grain still belongs to oak. A walnut-colored stain does not make oak identical to real walnut because the species have different grain patterns and natural variation.
In one Corner consultation, a homeowner considered rift-cut oak with a walnut stain to coordinate with an existing walnut slat wall. The aim was a related tone, not an identical grain pattern. Compare samples beside the existing wood before approving the finish.
Why the Veneer Specification Still Matters
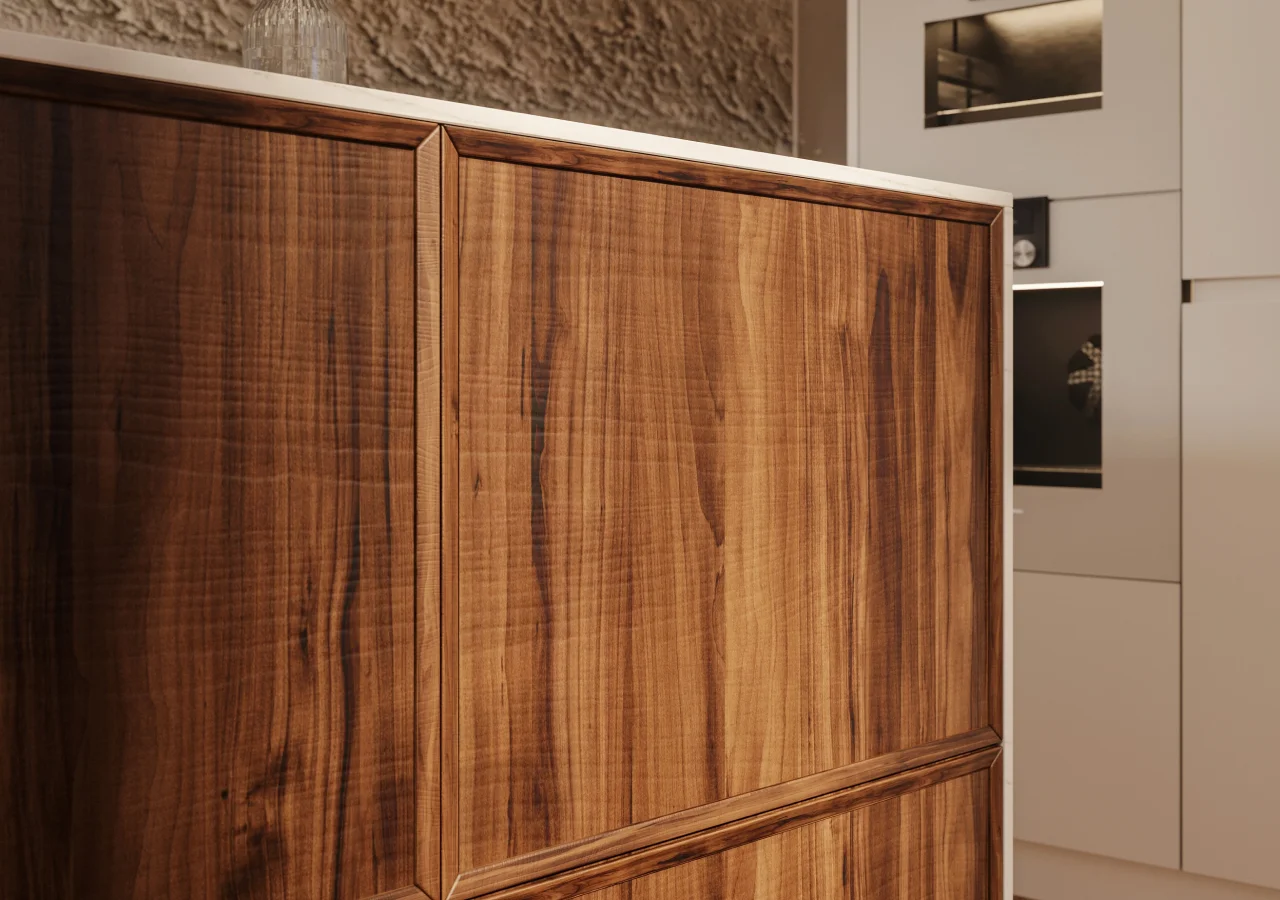
Wood veneer is a thin layer of real wood applied over a core, but durability depends on more than the veneer itself. When comparing wood veneer and cabinet core materials, look at the protective finish, edge treatment, panel construction, and cabinet location as part of the same specification.
Where Wood Fronts Need the Most Care
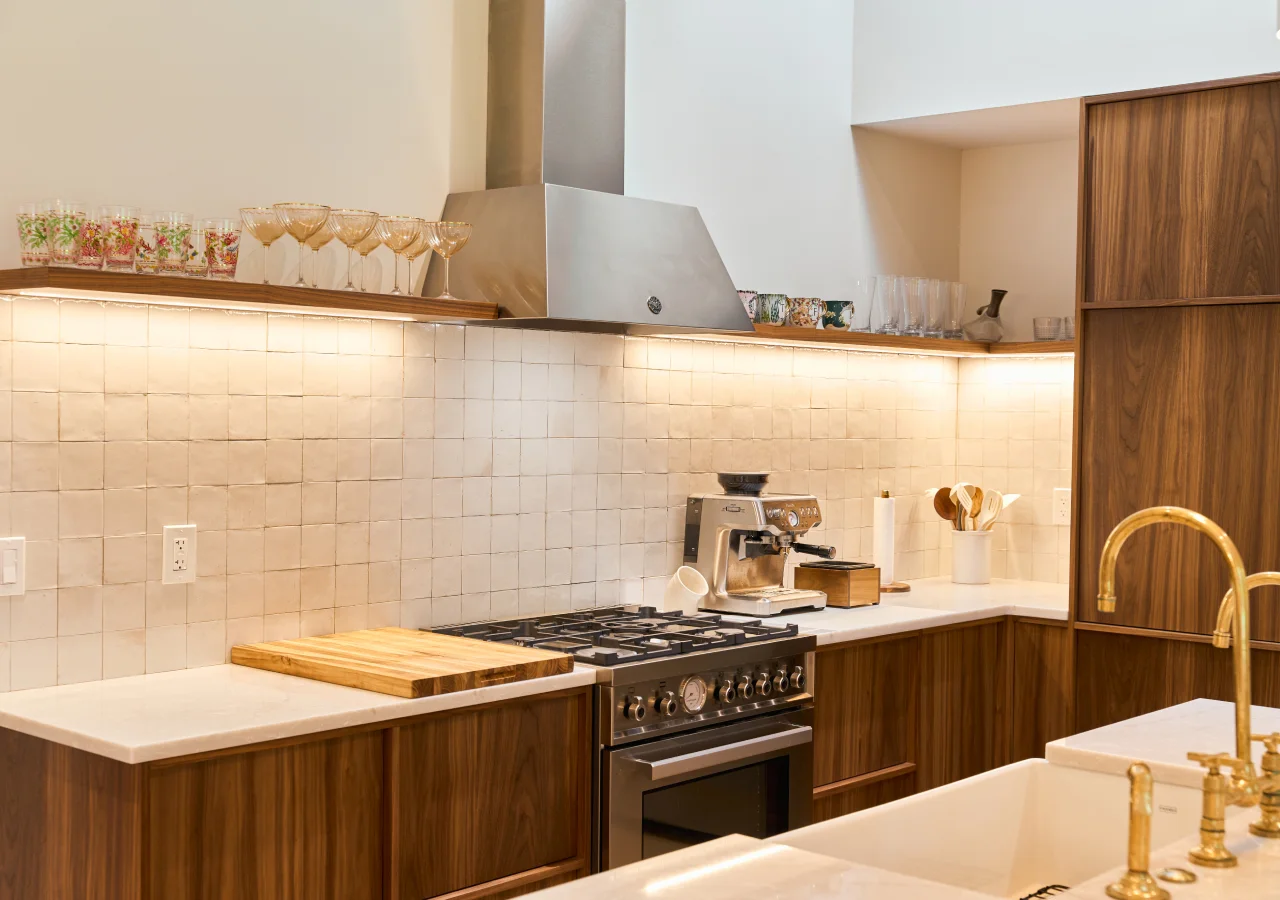
Not every cabinet sees the same conditions. A pantry door opened occasionally may age differently from a trash pull-out or sink cabinet used throughout the day.
Different cabinet opening systems also determine where hands touch the front. Pulls, integrated grips, and push-to-open mechanisms create different contact points. Removable fingerprints are not the same as worn coating or permanent discoloration. When reviewing samples, check how easily marks show and ask how to clean the areas you will touch most often.
How Wood Finishes Change With Daily Use
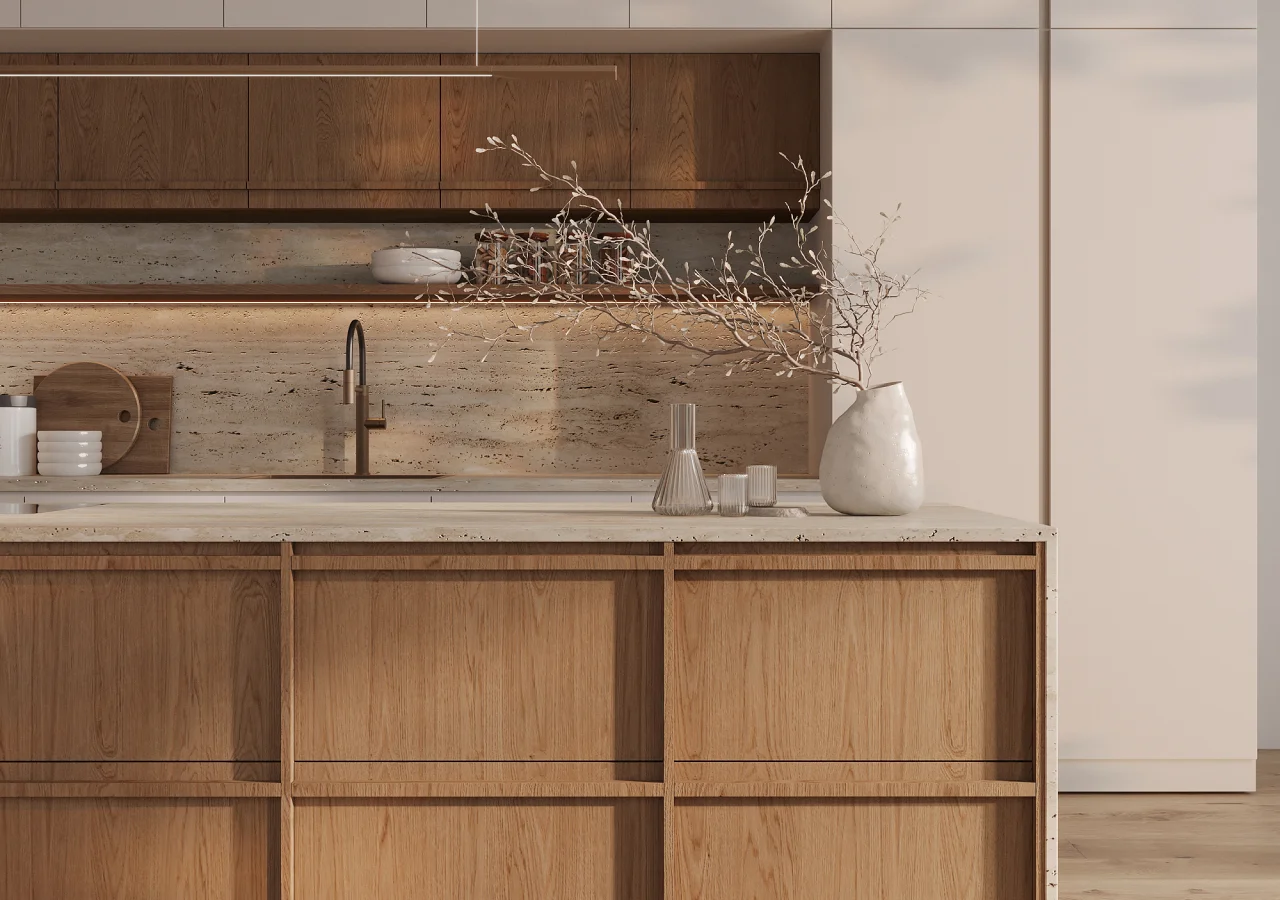
Wood color can change with age and light exposure. Depending on the species and finish, it may lighten, darken, or shift in tone. Panels exposed to different amounts of daylight may change unevenly.
Daily use creates different changes. Frequently touched areas collect fingerprints and cooking residue faster. Repeated cleaning can affect a surface if the wrong product or too much abrasion is used. Moisture left along edges or seams is a different issue from a temporary mark on the center of a finished panel.
What to Confirm Before Approving Wood Cabinet Fronts
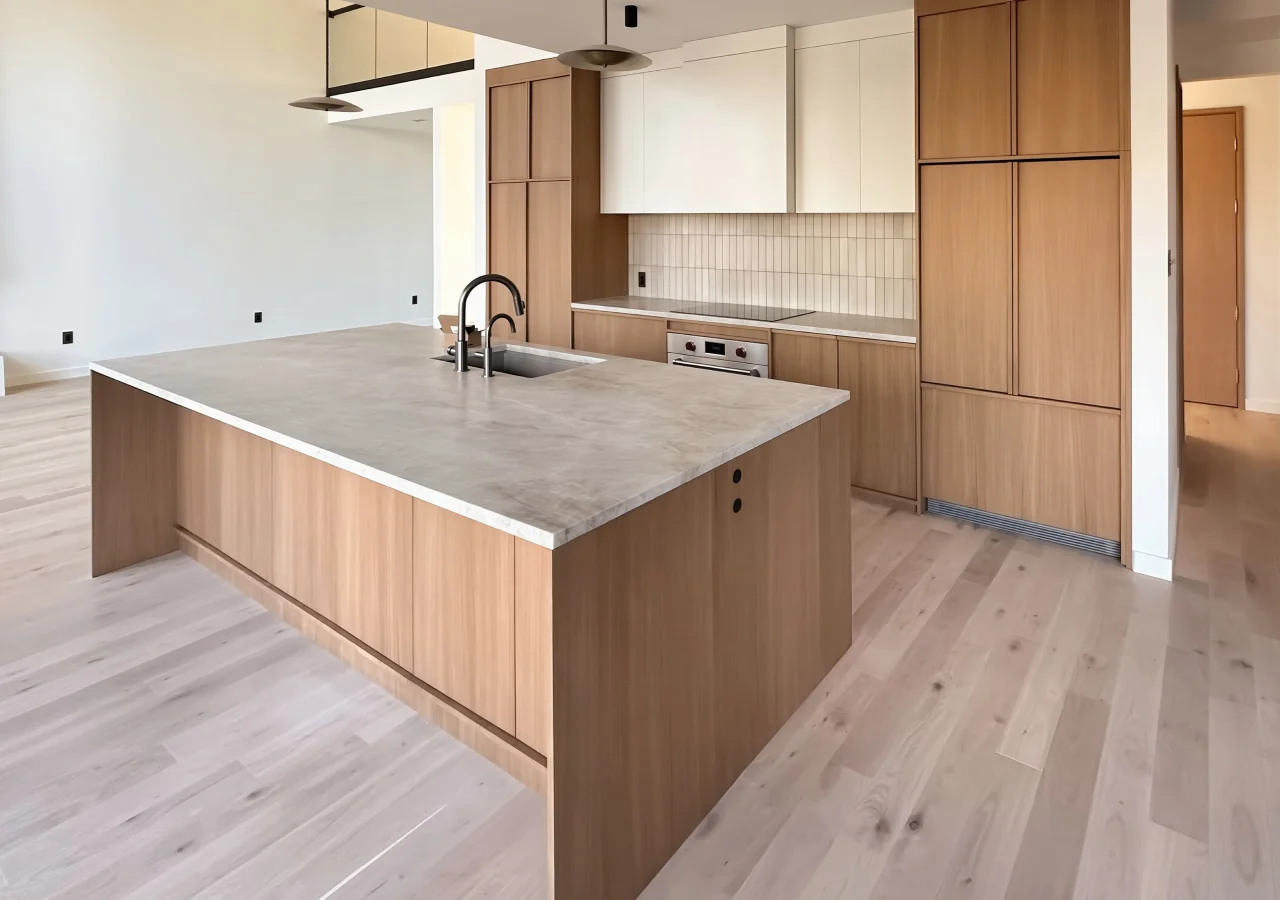
Renderings can show the overall kitchen, but they cannot fully communicate grain, sheen, texture, or how easily a surface shows fingerprints. Review a physical sample in daylight and artificial light. Place it beside the countertop, floor, backsplash, wall color, and any existing wood that needs to coordinate.
Handle the sample and check visible touch marks from different angles. If you are considering an integrated grip, ask to see a sample or detail of the finished grip itself.
Confirm:
- wood species or veneer;
- stain or color treatment, if used;
- protective finish and sheen;
- grain direction;
- edge and integrated-grip treatment;
- whether the fronts arrive fully finished;
- whether any on-site finishing is required;
- supplier care instructions;
- recommended response to scratches, chips, or edge damage.
These details matter most on large, continuous surfaces such as islands, pantry walls, and tall cabinet runs, where small differences in color, grain, or sheen are easier to see.
Conclusion
Before approving wood fronts, confirm the protective finish, edge treatment, and care requirements. Review a physical sample for color, sheen, and visible touch marks, and ask how scratches or damaged edges should be handled. Pay particular attention to sink cabinets, trash pull-outs, and integrated grips, where moisture and repeated contact are common.
Explore Corner Renovation’s wood kitchen collections and project examples to compare oak, walnut, grain direction, and finish choices.