
In a minimalist kitchen with an island, the island is the control center: the place where prep happens, where people gather, where storage does the heavy lifting, and where the room either stays calm or slowly turns into a clutter magnet. The difference comes down to planning.
A minimalist kitchen island looks simple because the work is hidden inside it: drawer-first storage, an integrated waste zone, and power planned so cords do not take over the countertop. That’s why a modern minimalist kitchen island rarely feels empty. It’s designed to do a lot, quietly, as one clean volume that supports real life without showing every tool and habit on the surface.
What Makes an Island Truly Minimalist?
A minimalist island is defined less by style and more by behavior. It stays minimalist when it’s easy to reset, meaning daily tools go away fast and the countertop doesn’t become storage. One clear shape, fewer visual breaks, and one consistent opening strategy is what makes the island read like a calm plane.
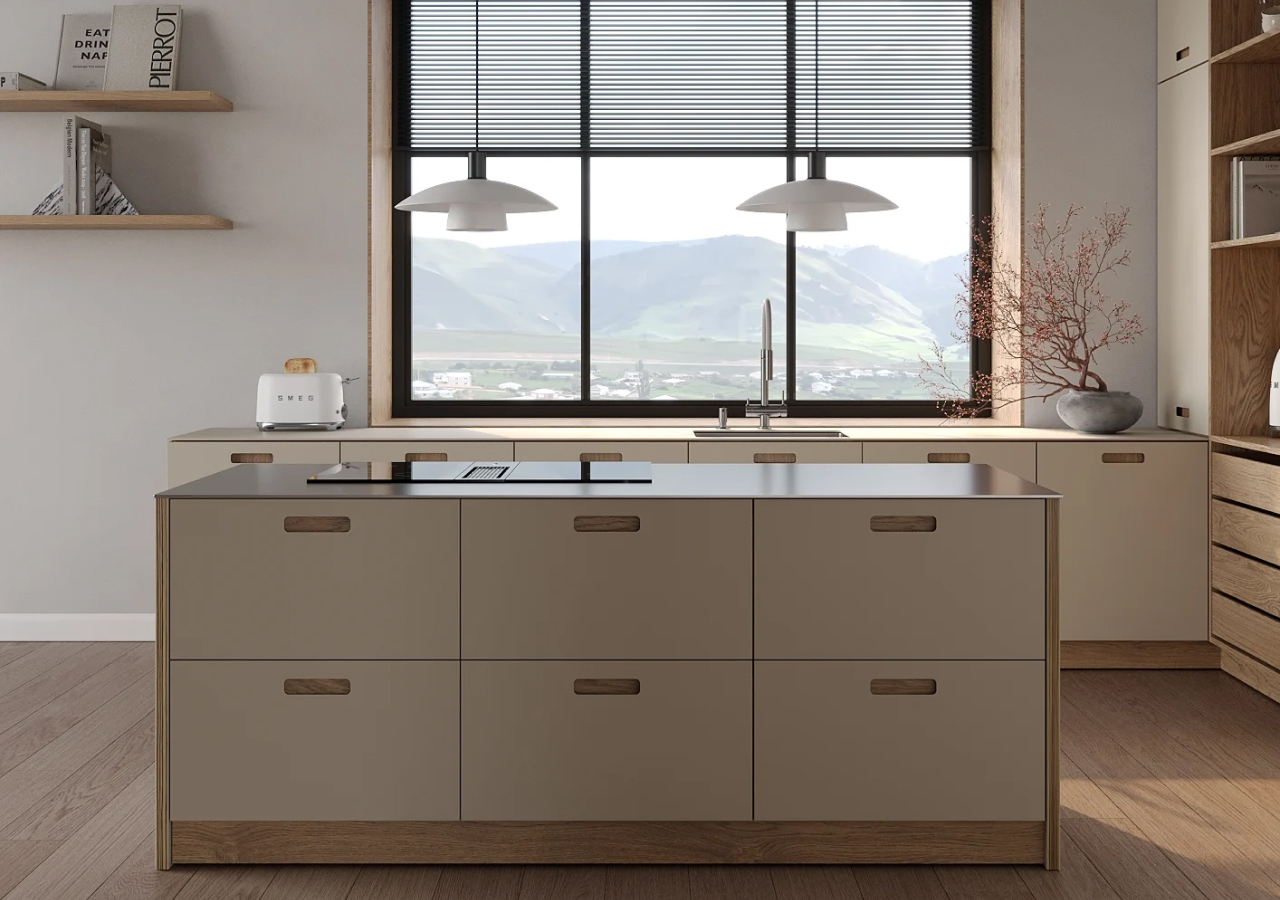
A kitchen island minimalist approach comes down to three things: one clear shape, fewer visual breaks, and a consistent “opening strategy” so the front reads as a calm plane. Think flat slab fronts or gently profiled doors, minimal seams, and hardware that doesn’t visually interrupt the volume: finger pulls, recessed pulls, or a handleless approach applied consistently. The look works because proportion, lighting, and material quality do the talking, not decoration or busy surfaces.
The bigger point: a minimalist island is always role-first. It’s designed around how you actually move: prep, clean-up, seating, storage, so the island stays easy to reset. This is the heart of minimalist kitchen island design: a system built for daily use, not a one-time centerpiece. When the system is right, the clean look follows.
Drawers vs Doors for a Minimalist Island
A minimalist island is not “minimal” because it has fewer cabinets. It’s minimal because daily items put away fast and stay out of sight.
Decide the Island’s Job: Prep, Seating, Storage, Cooking
Good minimalist kitchen island ideas start with one decision: what job the island is primarily doing. Once the role is clear, storage, waste, and power can be placed where you actually use them, which is what keeps the surface calm day to day. When islands try to do everything at once, the island becomes the default drop zone and the “minimal” look disappears.
The fastest way to get better minimalist kitchen island ideas is to stop copying photos and assign the island a primary job (and a secondary job, if the room supports it). When islands try to be everything at once, small planning compromises add up and the island starts to look and feel busy.
Prep-first island
If prep is the priority, give yourself one uninterrupted stretch of counter and build the island underneath it like a tool wall: deep drawers for bowls and pots, inner drawers for utensils and small items, and a waste pull-out close enough that scraps disappear without crossing the room. This is the “function that disappears” approach: the top stays calm because the messy parts are engineered into the inside.
Seating and social hub
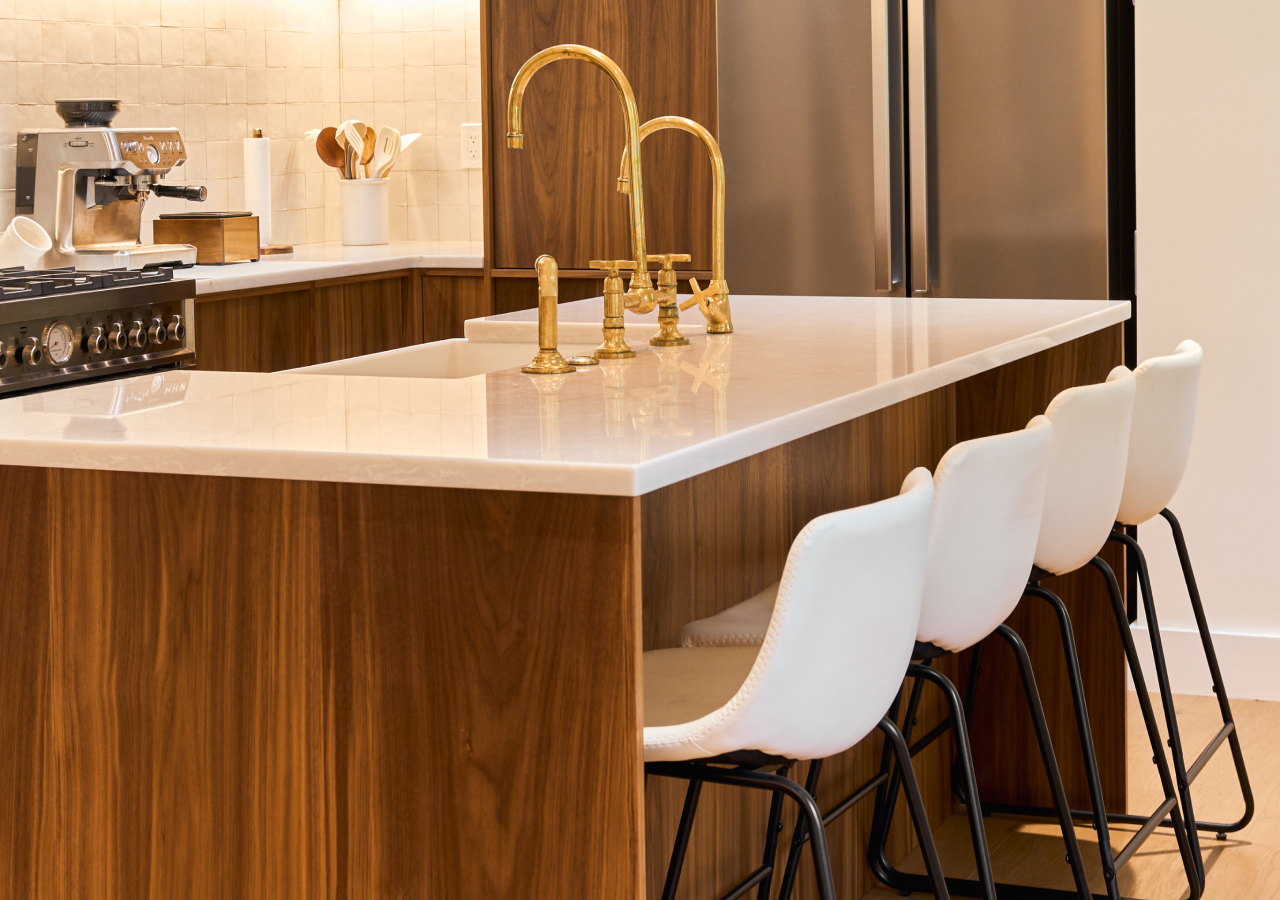
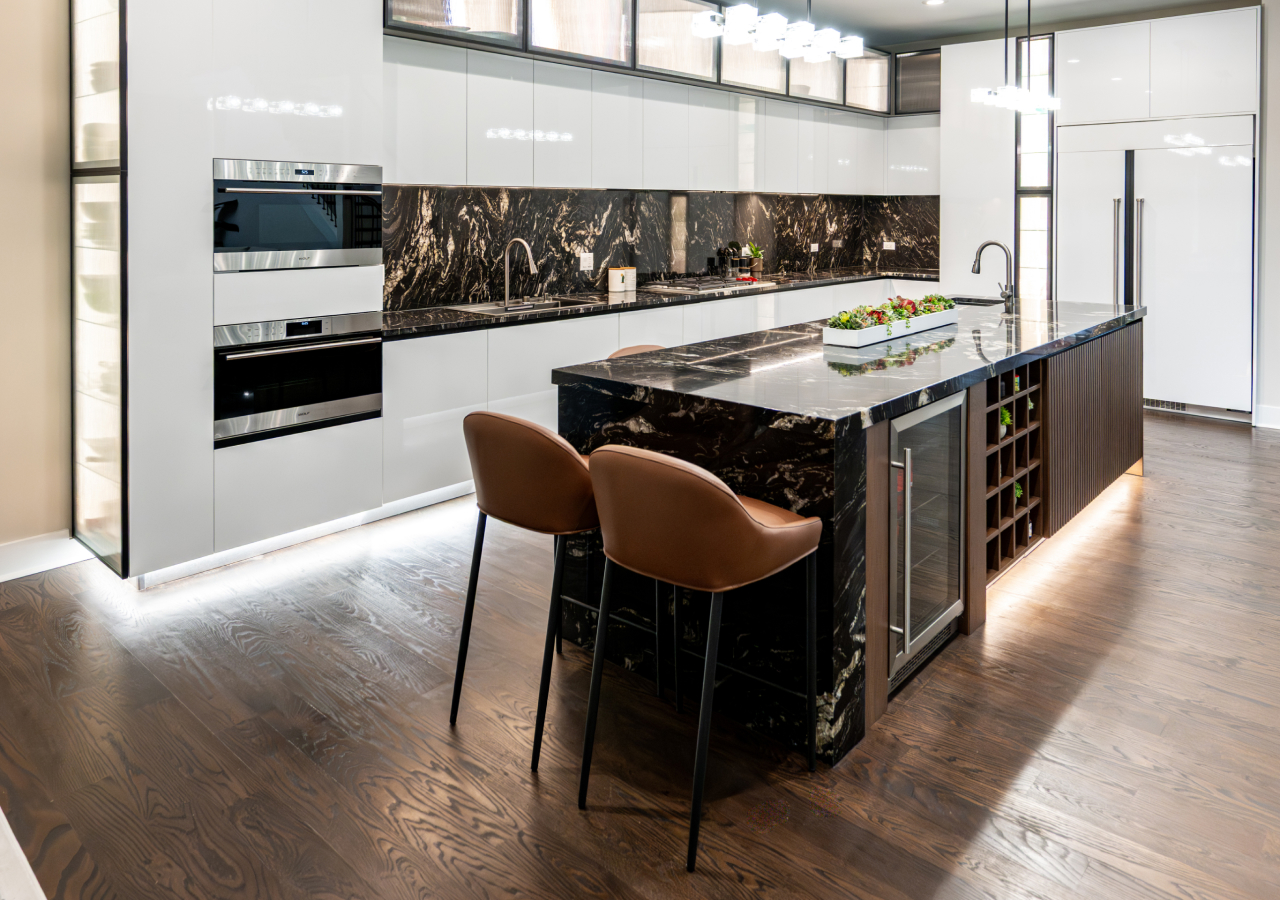
If you want the island to be the everyday hangout spot, plan it like two sides: a people side and a work side. A simple, practical rule is to allow roughly 24 inches (about 60 cm) per seat, and don’t treat stool space as an afterthought. Stools can turn into visual clutter and circulation blockers if the plan is tight. A social island works best when seating sits on the social side, not in the main work lane between fridge, sink, and cooktop.
Storage workhorse
A storage-forward island is one of the cleanest minimalist moves because it protects the rest of the kitchen from needing extra uppers or overbuilt tall runs. Drawer-first planning keeps access fast, reduces stacking, and makes reset easier—while the exterior stays quiet. If you need the kitchen to feel calmer day to day, this is often the best invisible upgrade.
Cooking or sink hub (optional)

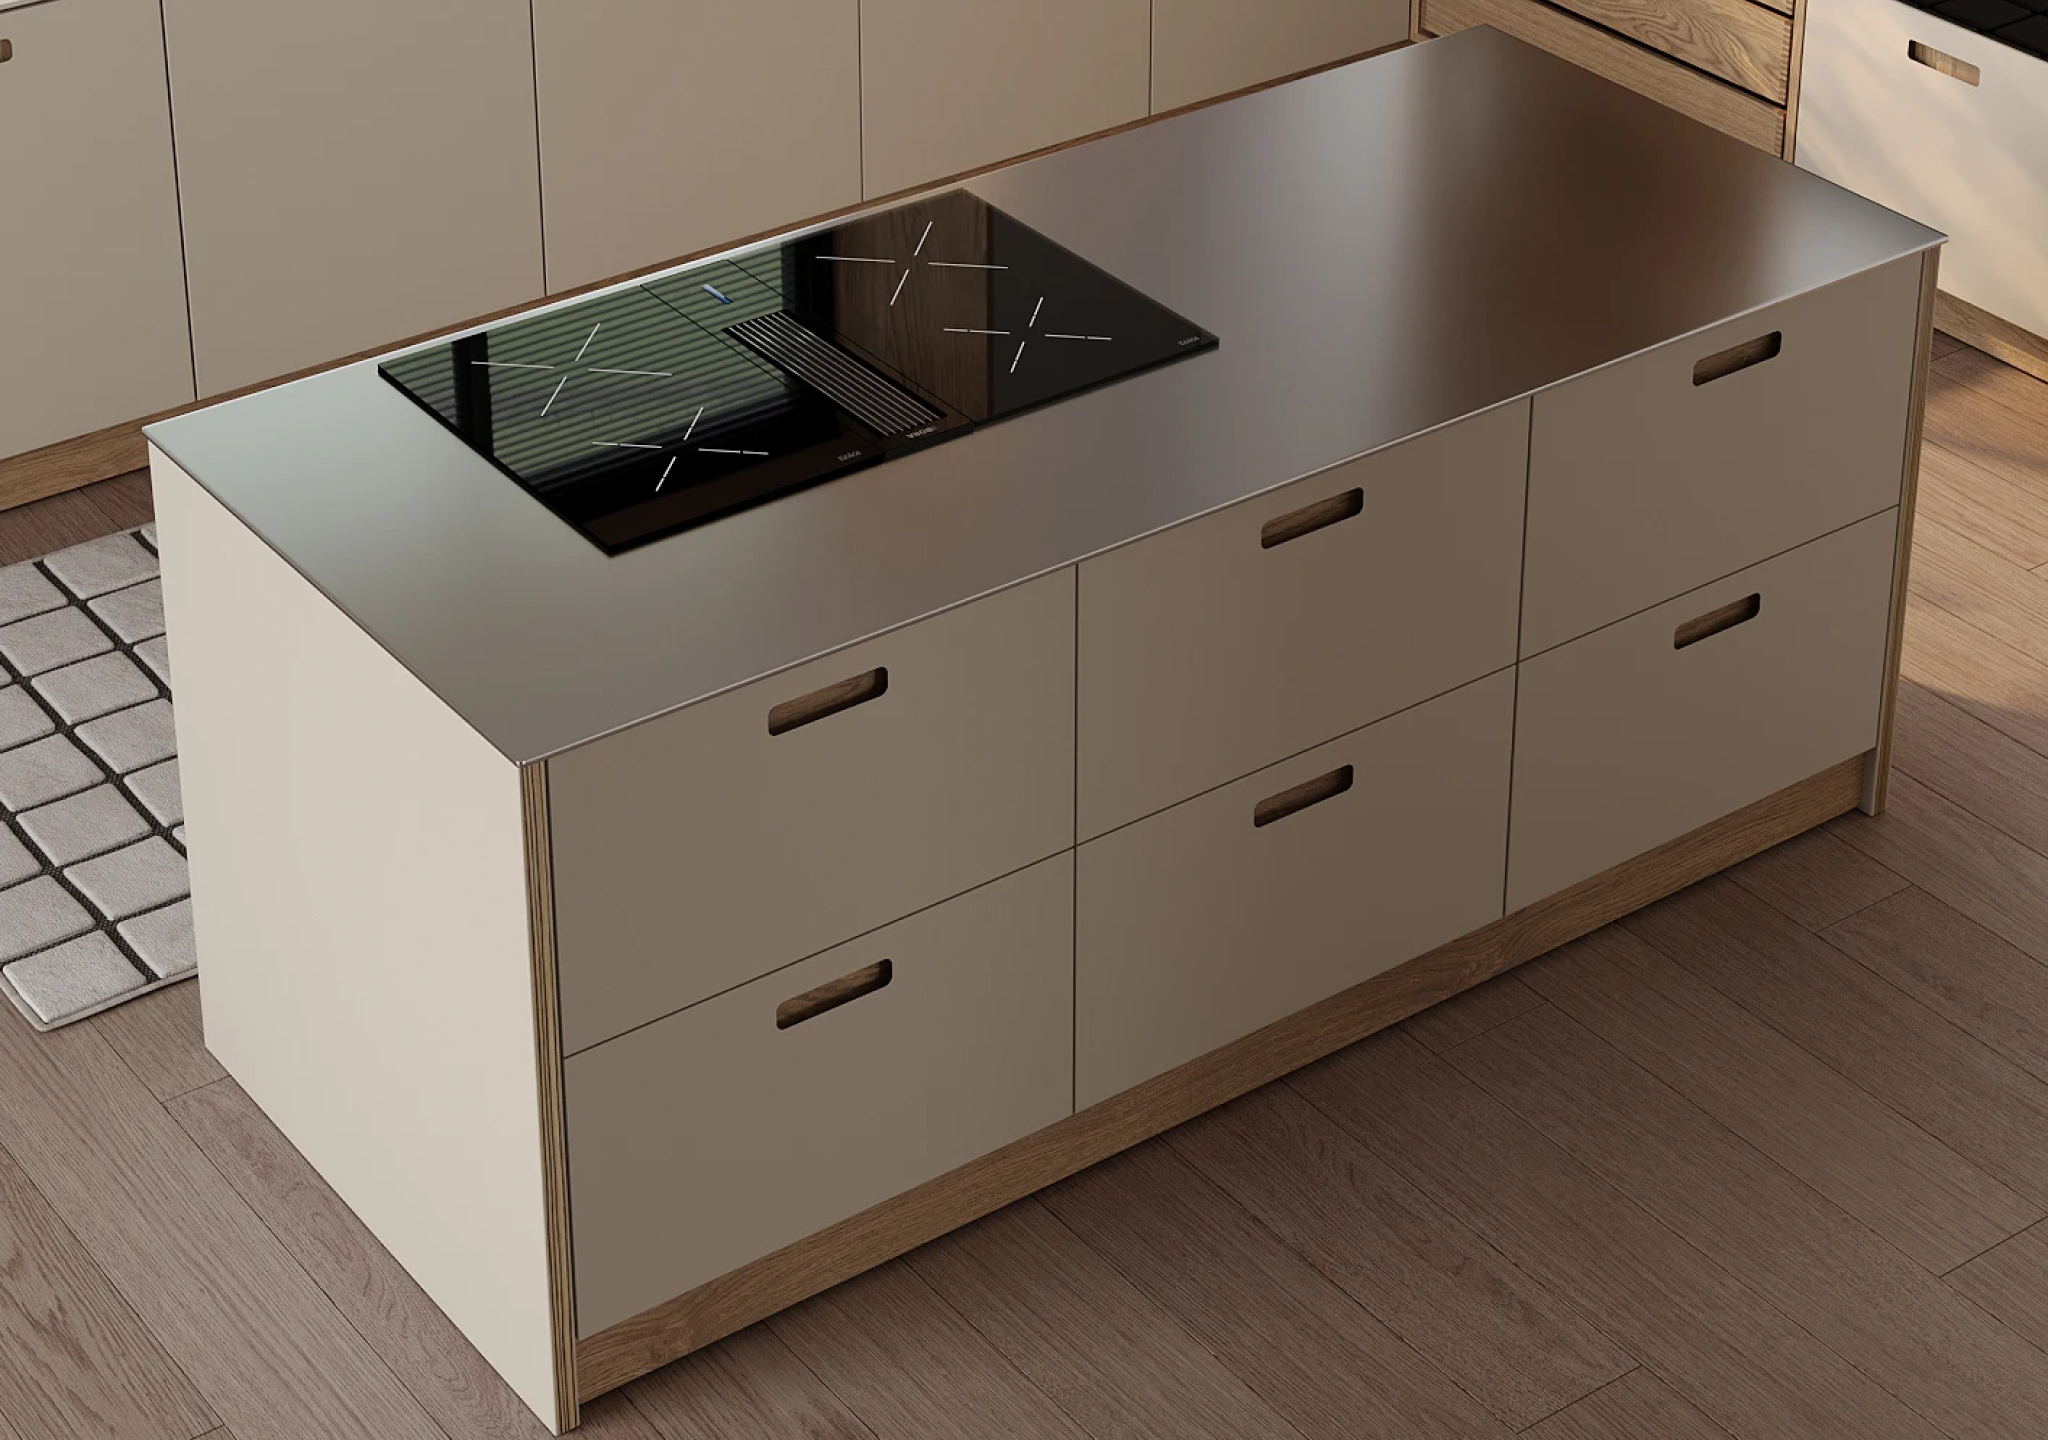
Putting a sink or cooktop in a modern minimalist kitchen island can be great, but only when it improves workflow without turning the island into a permanent “stuff zone.” A cooktop on the island needs a real ventilation plan, and a sink on the island needs a splash/cleanup strategy so the surface doesn’t look constantly mid-task. If seating is close, safety and comfort matter too. When in doubt, keep the “messy functions” on the perimeter and keep the island as the calm landing + prep + storage core.
Proportion and Placement in Minimalist Single-Island Kitchens
The fastest way to break a minimalist island is to oversize it. Minimalism reads as breathing space, so circulation has to stay comfortable even with stools pulled out and drawers open. If the room feels tight, the island will feel like an obstacle, no matter how clean the design looks in photos.
Proportion is what makes a minimalist island read like architecture instead of a block dropped into the room. A realistic minimum for a fixed island is 60 × 120 cm, and many modern European layouts have around 80–90 cm depth because it supports full-extension storage without making the center hard to reach. Length scales with the job: 120–140 cm can work for compact prep/storage, while 180–240 cm supports deeper storage plus seating or an added function, if clearances stay comfortable.
The make-or-break factor is circulation. 36 inches (about 90 cm) is the bare minimum clear walkway around the island, with 36–42 inches (90–105 cm) as a comfortable working range. Once you add stools or a high-traffic pass-through, that clearance often needs to grow to 42–48 inches (105–120 cm) behind the seating side so people can walk past without squeezing. This is where many minimalist single-island kitchens fail: one extra stool or a slightly oversized island steals the room’s breathing space and the kitchen stops feeling minimalist in real life.
Placement matters too. A minimalist kitchen island looks calm when it aligns with the kitchen’s main geometry: cabinet runs, windows, and the primary sightline when you walk in. If you have to trade one stool for better flow, do it. Minimalism reads as confidence when circulation is easy.
If you’re building around European frameless systems, the way the elevations read as one calm plane is part of the effect.
Hidden Workhorse: Storage and Utilities Inside a Minimal Kitchen Island
A minimal kitchen island stays minimal on the outside because it’s doing real work on the inside. When the inside is planned around daily habits, the countertop stays clear without constant effort. That’s the real test of a minimalist island: it makes the reset easy.
Drawer-first storage (and why it reads more minimalist)
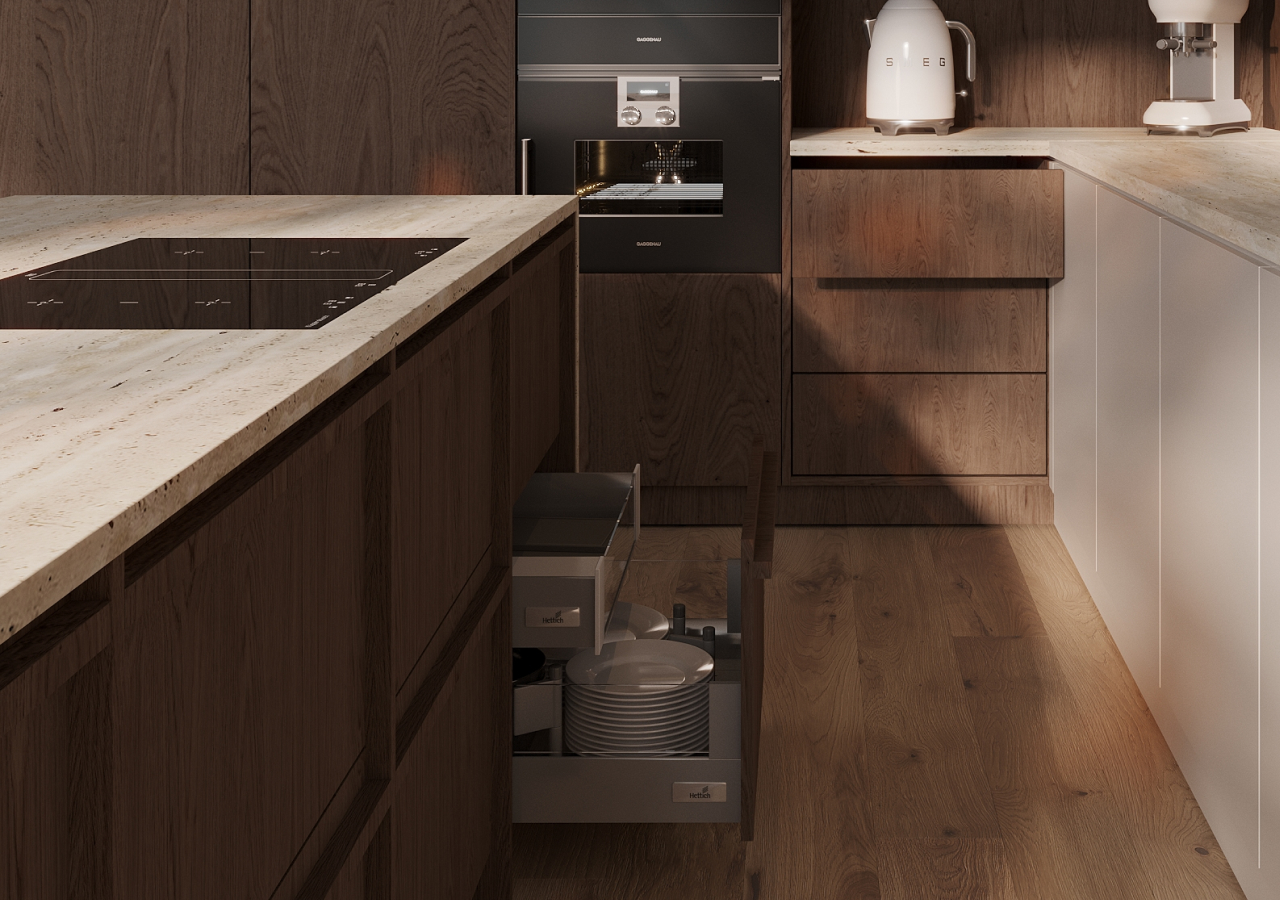
Drawer-first planning keeps categories separated while hiding visual noise. Deep drawers handle heavy, bulky items; inner drawers keep utensils and small tools from becoming a mess; and organizers make the reset fast because everything has a home.
Doors can work, but on islands they often create two issues: you lose the fast-access stacking advantage of drawers, and the workflow encourages countertop overflow because it’s harder to put things away quickly. If you want the island to stay visually quiet, drawers do more of the daily work.
Integrated waste and recycling

If you only plan one feature, plan this one. Pull-out waste systems keep trash out of sight to maintain clean lines—especially valuable in a minimalist kitchen with island. Island-integrated waste near the prep zone keeps scraps from traveling and prevents a freestanding bin from breaking the whole look.
Power without visual noise
.webp)
Real kitchens need charging and small appliances. Minimalist kitchens just don’t want to see the infrastructure. Plan power early and keep it discreet—on the island side, under the overhang, or inside cabinets, so you don’t turn the island into a tech panel (or live with extension cords across your “minimal” countertop).
Water or cooking, kept calm (if you include it)
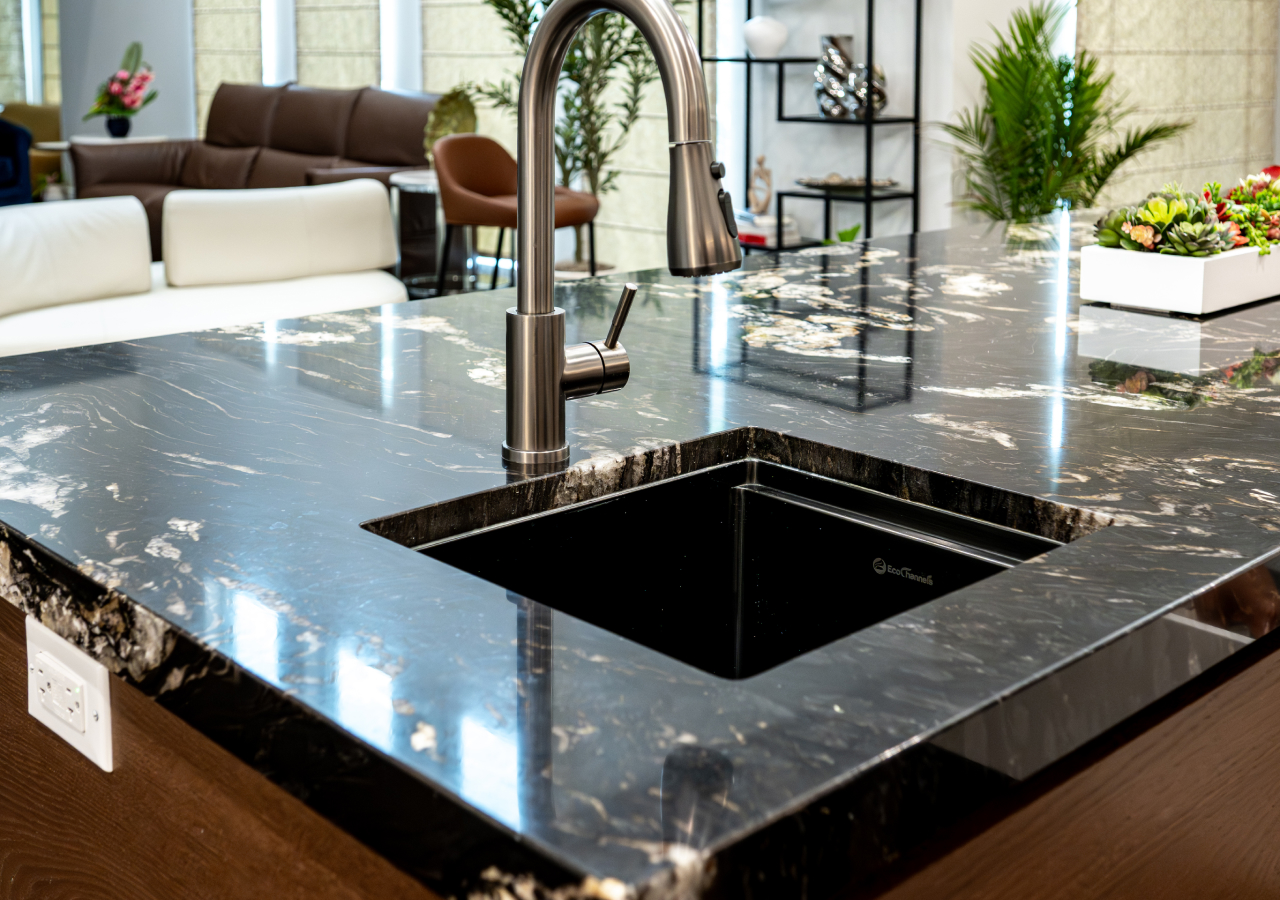
If you include a sink or cooktop, treat “surface calm” as a requirement. Protect an uninterrupted landing zone, and don’t let the island become the default drop spot for soap bottles, oils, and gadgets. The island stays minimal when storage is planned first and surfaces stay mostly clear—so any island utility needs an equally strong plan for what happens around it.
Surfaces, Materials, and Lighting That Keep the Island Calm
Minimalism doesn’t have to feel sterile. It reads best when the material choices reduce visual noise while still feeling warm and intentional. Low-glare finishes, controlled palettes, and lighting that supports function is what keeps the island composed.
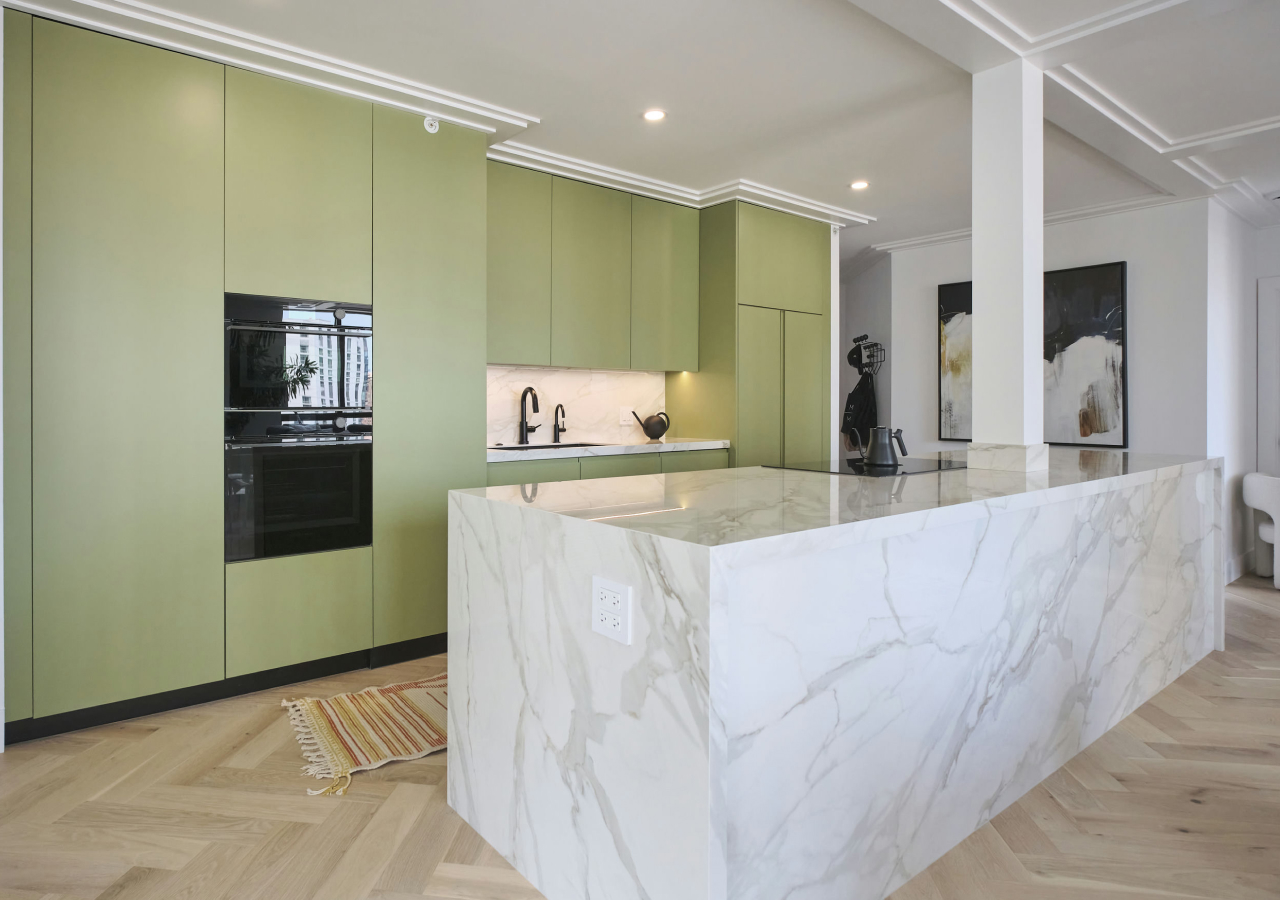
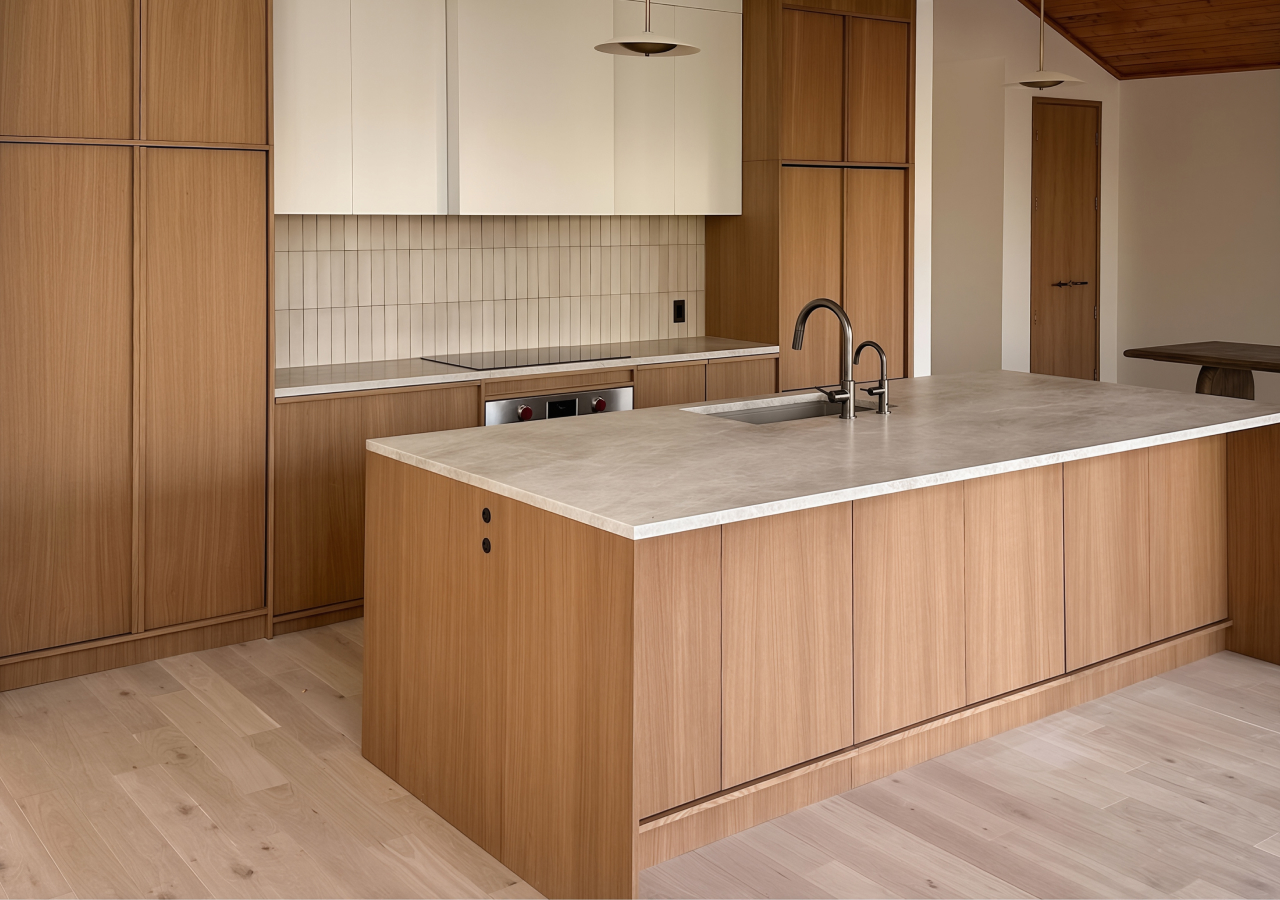
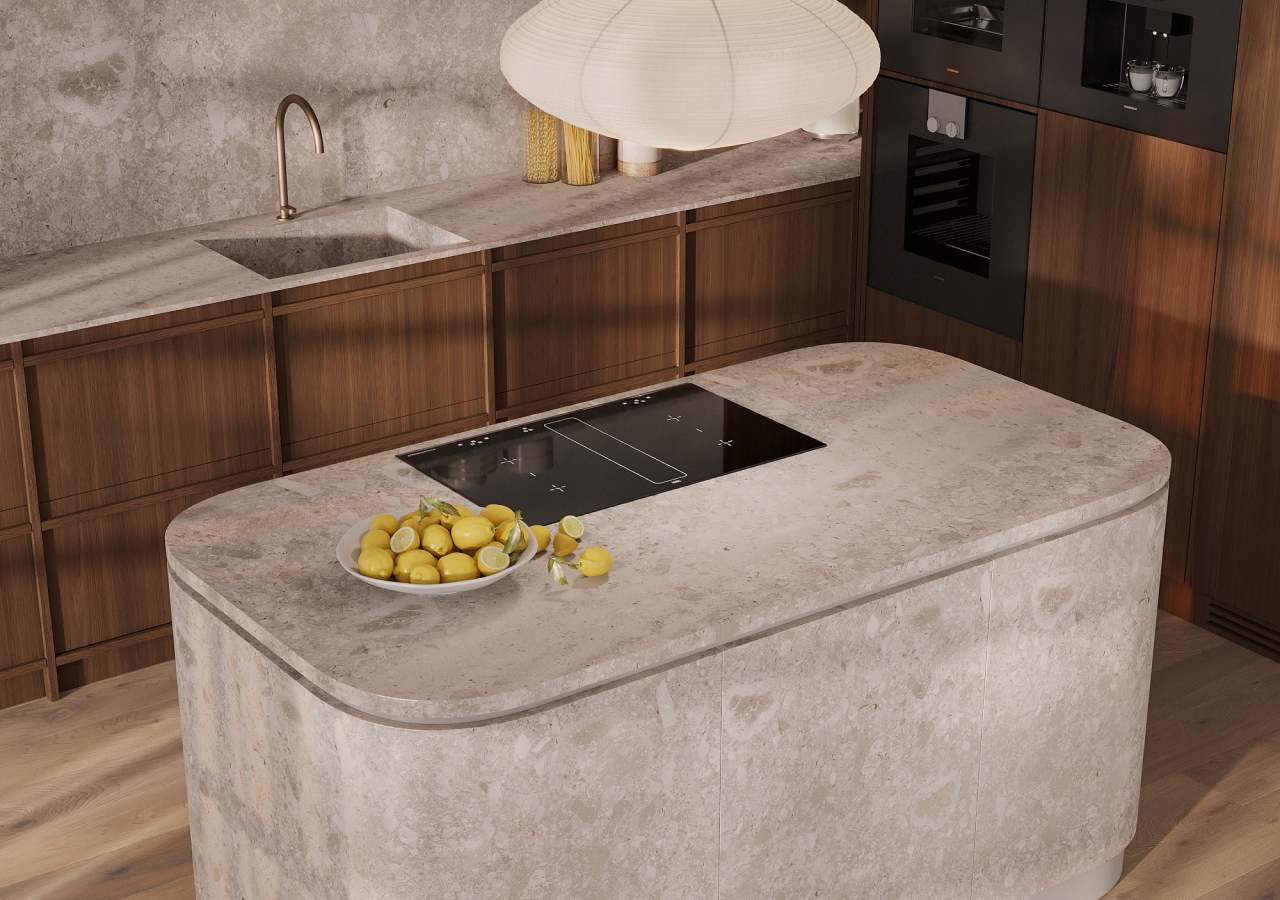
Countertops. Quieter surfaces work best: consistent tone, low movement, and lower-glare finishes so the island reads calm instead of loud. A waterfall edge can support the minimal look when it reinforces one clean volume and protects the sides, especially in high-use homes.
Fronts and finishes. Flat panels and matte fronts reduce reflections that add “noise,” while wood veneer—kept to controlled tones—adds warmth without clutter. A gently contrasting island can work, but keep the palette disciplined so the island still reads like a single, composed object.
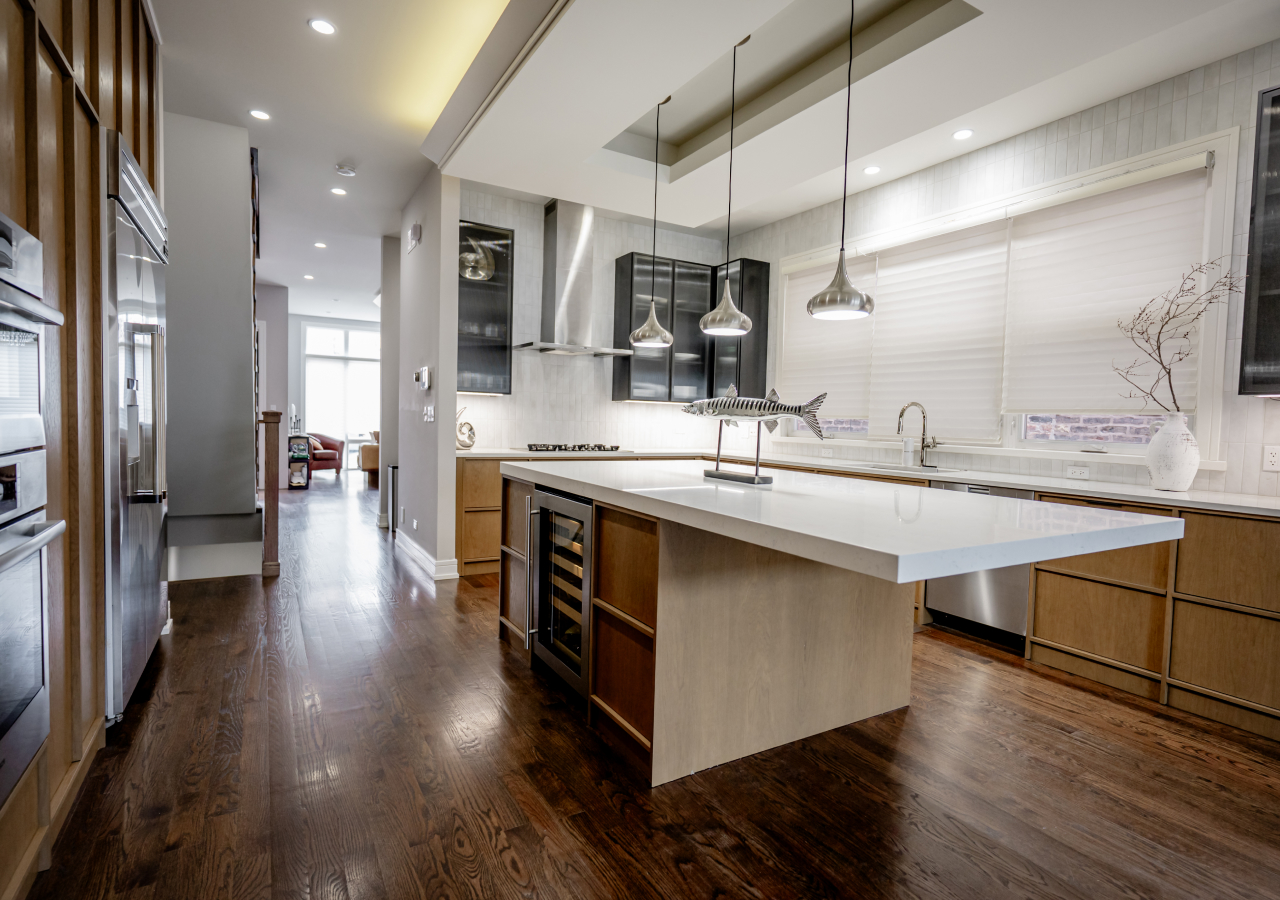
Lighting. Over a minimalist kitchen island, less usually looks better. Use a small number of fixtures with quiet shapes, and hang them at a height that keeps sightlines open. The goal is light that supports the room, not a chandelier moment that competes with the island.
For related style references, see our modern kitchens and contemporary kitchen kits.
Styling, Daily Reset, and Common Minimalist Island Mistakes
A minimalist island should look intentional during real use, not only right after staging. The simplest way to make that happen is containment: one controlled zone that can stay out, and everything else goes away fast. When the storage plan matches the daily routine, the island stops feeling like a constant tidying project.
Give the island one allowed styling zone: a tray, a bowl, a board, a vase—something that can stay even during cooking. Everything else earns a drawer. The daily reset becomes quick because you aren’t “tidying,” you’re returning items to the storage system you planned.
Common mistakes (quick hits)
A few mistakes show up again and again. The first is sizing the island too aggressively for the room, which makes aisles feel tight and creates annoying collisions between drawers, doors, and stools.
Another is trying to force every function into one small block, a hob, a sink, full seating, plus heavy storage, which usually leaves you with no calm landing zone and a surface that looks mid-task all day. Power and waste get missed too, and that’s when “minimal” turns into extension cords on the counter and a freestanding bin breaking the whole elevation.
Finally, styling can quietly become storage when small decor piles never leave. If you want minimalist kitchen island ideas that last, design the inside first, then earn the clean surface.
Conclusion
A minimalist kitchen island feels simple when the decisions are intentional: what the island is for, how big it should be, how circulation works around it, and how storage, waste, and power disappear inside the volume. Start by assigning the island a primary role, then size it to protect clear walkways. Build it drawer-first so daily tools put away fast, add integrated waste near the prep zone, and plan discreet power early so cords never take over the countertop. When the inside works, the outside stays calm: one clean form, quiet materials, and lighting that supports the room rather than competing with it.
If you want help pressure-testing your layout, share your room dimensions and a few photos and we’ll map out minimalist kitchen island ideas that fit your space. Or explore Corner Renovation’s kitchen collections for real examples of islands designed as part of a cohesive system


