

A kitchen island can improve flow, storage, prep space, and seating. But if clearances, stools, outlets, storage, and appliance doors are not planned together, the island can quickly become the part of the kitchen that causes the most daily friction.
Use this kitchen island design checklist before you finalize cabinets, electrical, countertops, or installation drawings.
Start with aisles and door swings. Then size the island. Seating comes next, because stools need space behind them, not just under the counter. After that, plan the inside: storage, trash, outlets, and working zones should come before the final “look.”
Kitchen Island Checklist: Common Problems and Quick Fixes
Start with Clearances, Not Island Size
Why island size should come later
The biggest kitchen island mistake is choosing the island size first. A large island can look impressive in a rendering, but the real test is how the space works when people are cooking, opening appliances, walking behind stools, and moving through the kitchen.
Before deciding the island length or depth, check the aisles around it. The island should support movement, not squeeze it.
Check the surrounding space first
This matters even more in open-plan kitchens, where the island often sits between the kitchen, dining area, and living space. A good planning sequence is simple: confirm the kitchen footprint, mark appliance locations, check door swings, set aisle clearances, and only then decide the island size. If the clearances are tight, a slightly smaller island will usually feel better than a larger one that makes the kitchen harder to use.
For a deeper breakdown of island sizing, see our guide to kitchen island size and modern European standards. You can also use our kitchen island dimensions and planning guide if you are still working through the overall layout.
Plan Seating So It Doesn’t Break Circulation
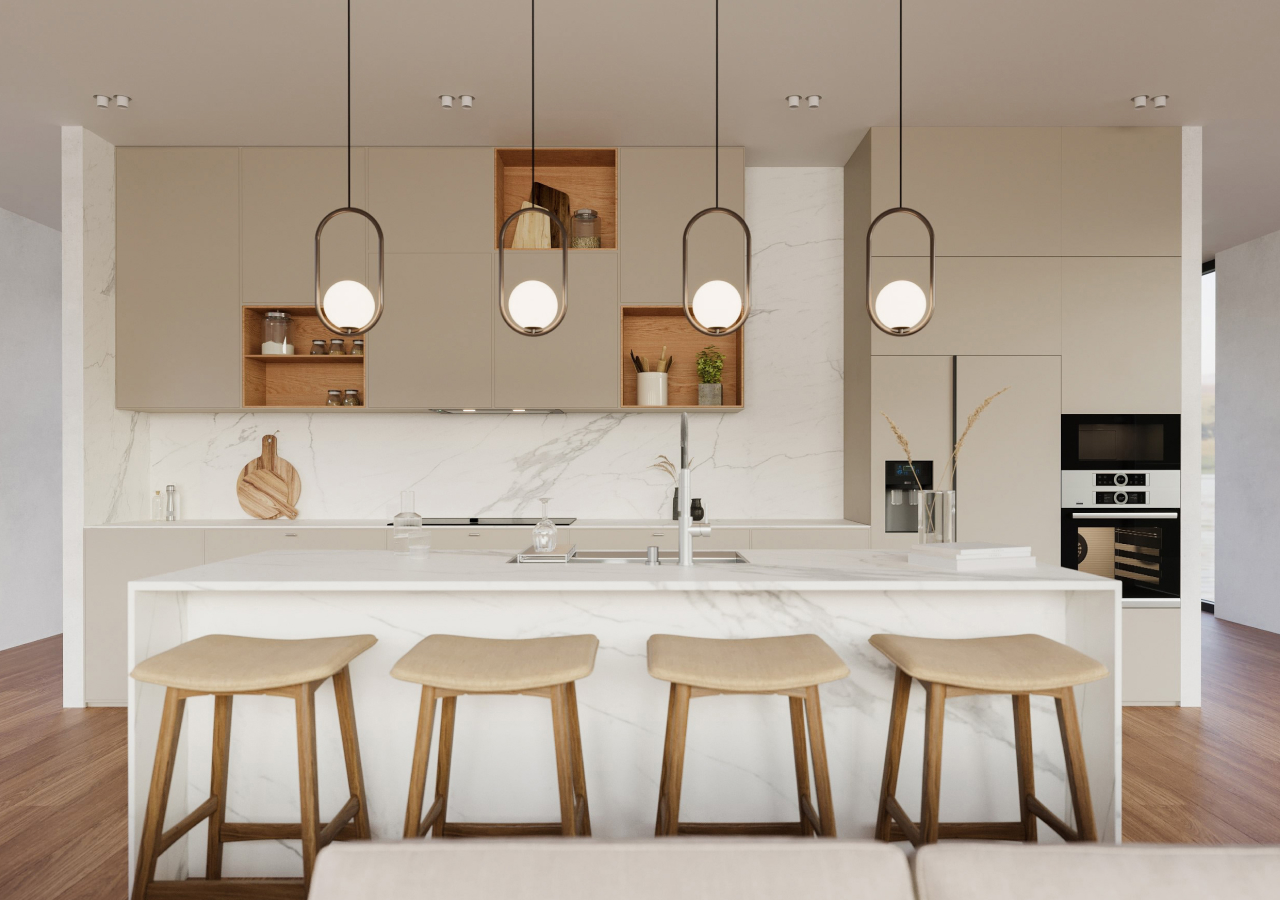
Counter overhang is only one part
Island seating is one of the most requested features in kitchen design, but it needs more space than many homeowners expect. The counter overhang is only one part of the equation. You also need room for stools, knees, people getting in and out, and traffic behind the seating area.
Think about how people will move
This is especially important if the island faces a walkway, dining area, sliding doors, or the main path through the home. A stool may tuck neatly under the counter when no one is sitting there. But the kitchen has to work when the stool is pulled out and someone is using it.
Choose comfort over one extra stool
Before adding seats, think through how the island will actually be used. Is it for quick coffee, kids’ homework, full meals, or casual conversation while someone cooks? Also consider whether people need to pass behind the stools and whether there is already a dining table nearby.
If the space is tight, fewer seats may be better than forcing in one extra stool. A cleaner layout with three comfortable seats often works better than four cramped ones.
Design the Inside First: Storage and Zones

Start with the island’s job
A kitchen island should not be planned only from the outside. The most successful islands are designed from the inside first. Think about what the island needs to do in daily life. Is it mainly for prep, seating, storage, cleanup, serving, or a mix of all of these? The answer will shape the cabinet layout.
Prioritize drawers on the working side
For most kitchens, the working side of the island should prioritize drawers. Drawers are easier to access than deep shelves, especially for cookware, prep tools, containers, utensils, and everyday kitchen items. Wide drawers can hold pots, pans, and serving pieces. Inner drawers can organize smaller tools. Tray dividers can help with baking sheets and cutting boards.
Keep trash close to prep
Trash placement is especially important. If the main prep area is on or near the island, trash and recycling should be close enough to use without crossing the kitchen. A pull-out trash system can make prep and cleanup much faster. It is a small detail, but it can change how easy the kitchen feels to use every day.
Use display storage carefully
Open shelving, display storage, or appliance storage can also work inside an island, but only when they support the layout. A beautiful island that lacks useful storage may still create clutter elsewhere in the kitchen.
For more on cabinet planning, see our guide to which cabinets are used for a kitchen island.
Outlets and Lighting: Plan Them Before Countertops
.webp)
Decide outlet placement early
Decide outlet placement early. Outlets should be planned before the countertop is finalized, not after. Once the stone, waterfall panels, cabinet fronts, and finished sides are designed, outlet placement becomes harder to adjust cleanly.
A kitchen island may need outlets for small appliances, phone charging, laptops, baking tools, mixers, or occasional entertaining.
Match outlets to the island design
The right placement depends on how the island will be used and what local electrical code requires. Outlets are often placed on side panels, end panels, under the countertop overhang, or in integrated countertop solutions.
A waterfall island may limit where outlets can be placed cleanly. A seating-heavy island may need a more discreet solution. A prep-focused island may need outlets close to the working surface.
Plan lighting at the same time
Lighting should also be planned early. Pendant placement, ceiling junction boxes, and island proportions need to work together. If the island changes size late in the process, the lighting may need to move too.
For a dedicated guide, read our article on kitchen island outlet placement and design tips.
Common Island Mistakes That Cause Rework

Most island problems happen when planning details are checked too late. The biggest ones are usually simple: the island is too large, appliance doors were not tested open, seating was added without enough space behind it, or storage was planned with deep shelves instead of easier drawers.
Outlets and countertop seams should also be handled early. Outlet placement affects finished panels, waterfall sides, stone details, and code compliance. Large islands may also require seams depending on slab size and material.
Curved, L-shaped, and rounded islands can work beautifully, but they still need the same checks: clearance, storage, seating, outlets, and appliance access. For more inspiration, see our guide to curved kitchen islands.
Conclusion
A well-designed kitchen island should make the kitchen easier to use, not just more impressive to look at. The best results come from planning the practical details early: clearances, seating space, appliance door swings, storage, trash, outlets, lighting, and countertop seams.
Before you commit to the final island size or shape, test how the kitchen will work in daily life. A slightly smaller island with better movement, smarter storage, and cleaner electrical planning will usually feel better than a larger island that creates friction.
If you’re planning a custom kitchen, Corner can help you design an island that fits the space, supports your workflow, and feels integrated with the rest of the kitchen.


