
A kitchen should be both beautiful and easy to use. With a few ergonomic principles, you can make the space more comfortable, efficient, and genuinely enjoyable day to day.
The ideal kitchen is where real life happens. You cook, serve, clean, snack, and hang out. Because those tasks involve lifting, bending, reaching, and turning, the layout should support your body and reduce strain. Ergonomic kitchen design is simply the practice of making the kitchen work with you, not against you.
If you want the full breakdown of how to plan your kitchen like a system, start with kitchen zones guide. If you are designing for kids, guests, or two cooks, you will also want family-friendly layout. For tight footprints, jump to small kitchen ideas.
What Is Ergonomics, and Why Is It Important for Your Kitchen?
.webp)
Ergonomics is the science of designing environments that work for people. While the term is often associated with office spaces, it’s just as important in the home, especially in the kitchen. The work triangle became popular in the mid-20th century as designers focused on reducing steps between sink, cooktop, and refrigerator. It grew out of earlier efficiency research in home design, including the kitchen workflow work of Lillian Gilbreth.
A poorly designed kitchen not only makes cooking tedious but can also cause physical strain, leading to posture problems and body aches. Kitchen ergonomics helps reduce these stresses, improving comfort and efficiency by optimizing movement and simplifying access to everything you need.
From the correct height of your work surface to the ideal placement of the oven and sink, here are practical tips to help you create a comfortable and functional kitchen space.
Follow the Kitchen Work Triangle
.webp)
The kitchen work triangle rule is based on three key work areas: the oven, sink, and refrigerator, connected by imaginary lines forming a triangle. These three points are the foundation of a functional kitchen design.
According to this principle:
- The distance between work areas should be between 4 and 8 feet.
- The total perimeter length between the three points should be between 13 and 26 feet.
- There should be no obstacles between these areas.
- The number of movements between them should be minimal, avoiding crossing paths.
While layouts have evolved, the idea remains relevant today, helping to create a smooth workflow between main areas and frequently used appliances.
Ergonomics by Kitchen Zones
If the triangle is the “no wasted steps” rule, zones are the “everything has a home” rule. Each zone should have (1) a clear work surface, (2) landing space, and (3) storage that matches the task.
Prep Zone
.webp)
This is where ergonomics pays off the fastest because you use it constantly.
- Put your main prep counter right next to the sink when possible.
- Aim for a continuous prep surface around 36 in x 24 in (914 x 610 mm) as a baseline.
- Keep knives, boards, bowls, oils, and your main trash pull-out within one step.
- Storage that helps: inner drawers, trash pull-outs, drawer dividers, shallow top drawers for tools.
Cook Zone
.webp)
This zone is about safety and smooth movement.
- Plan landing space on both sides of the cooktop (so you are not carrying hot pans across the kitchen).
- Use the 12 in + 15 in landing rule as a starting point.
- Keep heavy pans in deep drawers close to the cooktop, not in high cabinets.
- If you are deciding between open shelves and uppers near the cook zone, read [Open vs Closed].
Clean Zone
.webp)
This is where most daily bending happens, so details matter.
- Keep the dishwasher close to the sink and make unloading easy by storing dishes and glasses nearby (but not directly above the open dishwasher door).
- Use the “within 36 in” dishwasher guideline, and keep clearance to stand comfortably.
- Plan sink landing space so you always have a place to set dirty dishes and drying items.
- Storage that helps: pull-out waste under or next to the sink, towel and detergent storage in the same zone, and a dedicated “daily dishes” drawer stack.
Pantry Zone

This zone prevents clutter everywhere else.
- Put pantry storage on the path between fridge and prep so groceries unload naturally.
- Give the fridge a landing spot so bags do not end up on the main prep counter by default.
- Use full-height pull-outs, inner drawers, and labeled shelves so “put away” is automatic, not a project.
Set Comfortable Working Heights
.webp)
If you’ve ever experienced back pain while standing at the sink or cooking, you’ve likely encountered one of the most common kitchen design problems: incorrect work surface height. The positioning of countertops, sinks, and wall ovens directly affects posture and comfort, so it’s crucial to get it right.
The average working height in a kitchen is between 850 and 950 mm, but the optimal height depends on your body. To determine the right height, use the “elbow test”: when your palms rest on the work surface, your elbows should form about a 45-degree angle. The same rule applies to the sink. You should measure the height from the bottom of the basin, not from its edge.
For the cooktop, many prefer to install it slightly below the countertop, about 10–15 mm lower, to reduce shoulder and upper-back tension. It’s also worth considering the height of the extractor hood, especially if you’re tall.
Store Smart to Reduce Bending and Reaching
.webp)
In addition to the correct working height, it’s also important to consider reach height. Many kitchen tasks involve stretching or bending, which can cause neck and back strain over time.
Avoid installing wall cabinets or shelves too high. The ideal reach height is slightly above eye level (or at elbow height when you reach up). Anything stored higher should be lightweight and used occasionally. Frequently used items should be placed within easy reach to minimize bending and stretching.
Here are some additional recommendations:
- Basic kitchen appliances are best placed above floor level.
- The ideal height for a wall oven at shoulder level. Large pots and pans are best stored near it.
- Dishes, baking pans, and glassware should be kept close to the dishwasher (but not directly above it) to avoid excessive bending when loading and unloading.
- Changing the direction of cabinet doors or using sliding doors can improve workflow and reduce obstacles in the kitchen.
Such simple solutions make your kitchen more convenient and safer for daily use.
Common Pain Points and Fixes
.webp)
Dishwasher friction
Problem: You bump into the open door, unloading feels awkward, or you are constantly bending and twisting.
Fix: Keep the dishwasher close to the sink and plan standing room so the door does not block the workflow. As a rule of thumb, locate the nearest edge within 36 in / 914 mm of the sink.
Trash that is always “in the wrong place”
Problem: You walk across the kitchen mid-prep with scraps, or trash sits on the counter.
Fix: Put a pull-out trash system in the prep-clean overlap (often next to or under the sink), plus a second spot for recycling nearby.
Fridge swing and grocery drop chaos
Problem: The fridge door blocks traffic, and groceries land on the main prep counter.
Fix: Ensure the fridge has a landing area (even a small one) and that the door swing does not pinch your main aisle. Use the 15 in / 381 mm landing guideline as a starting point.
Corner reach and dead storage
Problem: Corners become black holes, and you end up stacking items you never use.
Fix: Move daily items into drawers, and use engineered corner storage (corner pull-outs, carousels) for bulky items. If the corner is still awkward, reserve it for occasional use, not essentials.
Island bottlenecks
Problem: Everyone collides at the island, stools block drawers, and cooking becomes stressful with guests around.
Fix: Treat island clearance like a work aisle, not a suggestion. Start with 42 in / 1067 mm (one cook) or 48 in / 1219 mm (multiple cooks).
Use Smart Storage Solutions
.webp)
Smart storage plays a key role in creating an ergonomic kitchen. With a custom layout, you can make full use of every inch, including awkward corners, while keeping everything within easy reach. Built-in systems such as carousels, corner pull-outs, drawer dividers, hooks, stands, and pull-out pantries help organize your essentials and improve accessibility.
Drawers and open shelves are ideal for frequently used items, while specialized solutions like spice racks or built-in cutting boards keep necessities close at hand and reduce unnecessary movement.
Don’t forget about hooks for hanging pots, mugs, and accessories. They keep things handy without taking up counter space.
Light the Space in Layers
.webp)
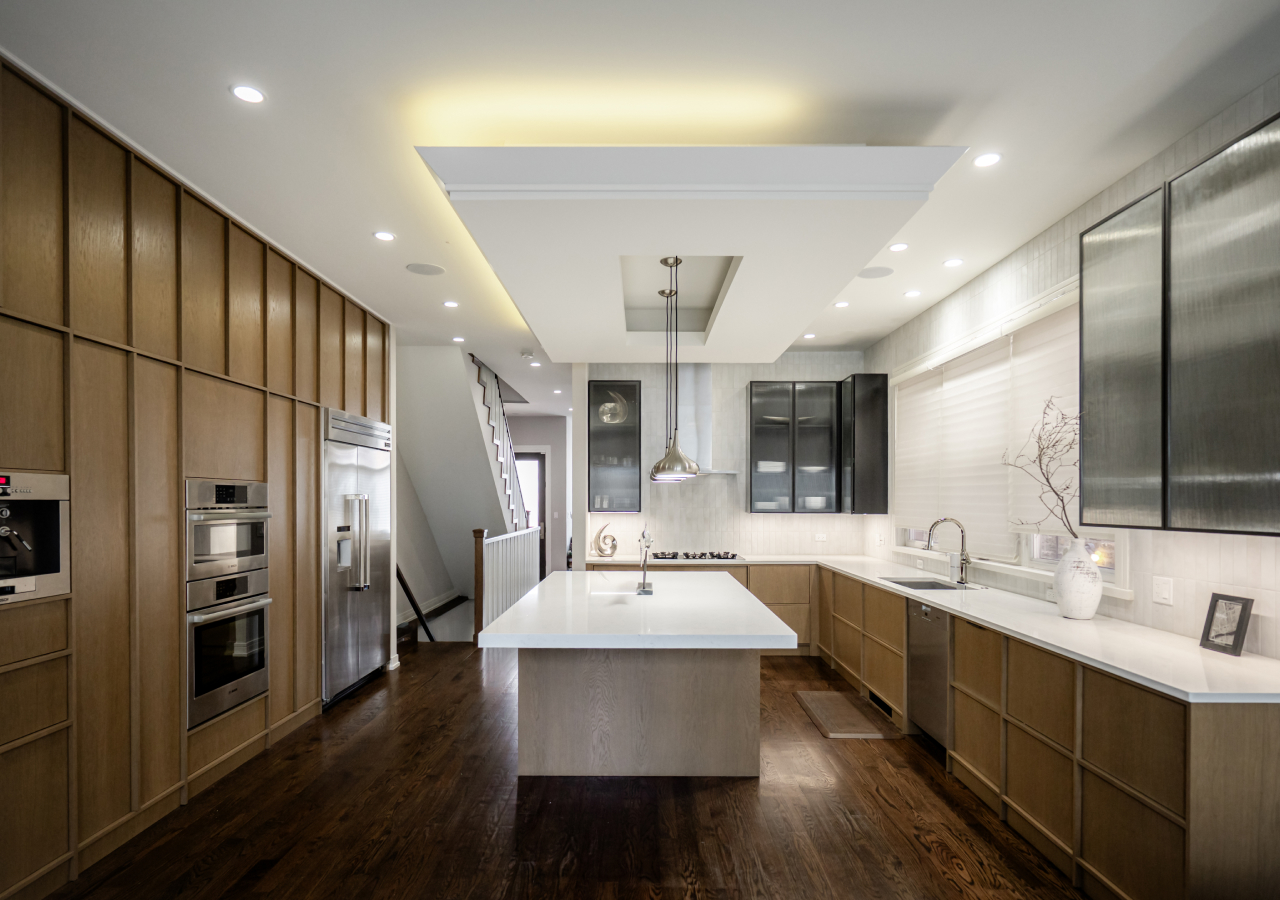
When planning kitchen lighting, consider all the activities that take place there: cooking, dining, working, or entertaining. A mix of lighting types helps provide both practical illumination and warm ambiance.
Work areas require bright, focused light, especially for food prep. Spotlights or recessed lights are excellent for this purpose. Avoid harsh overhead lighting that creates glare or shadows, as it can make tasks uncomfortable.
For an even, layered effect, combine wall lights, ceiling spotlights, and under-cabinet lighting. This approach balances functionality and mood, ensuring comfortable visibility across all zones.
Lighting also helps highlight design features. For example, a pendant or chandelier over the dining table adds both character and focused light. For long tables or kitchen islands, use several pendants (ideally an odd number, 3 or 5), and hang them 30–36 inches (75–90 cm) above the surface for best results.
Conclusion
A well-designed ergonomic kitchen considers every detail. Work areas such as the oven, sink, and refrigerator should follow the kitchen triangle rule to ensure easy movement. Countertops and appliances should be set at comfortable heights to minimize strain, while smart storage keeps everything accessible. Finally, layered lighting brings balance and atmosphere to the space.
When these elements come together, the result is a kitchen that not only looks good but feels good to use every single day.


