
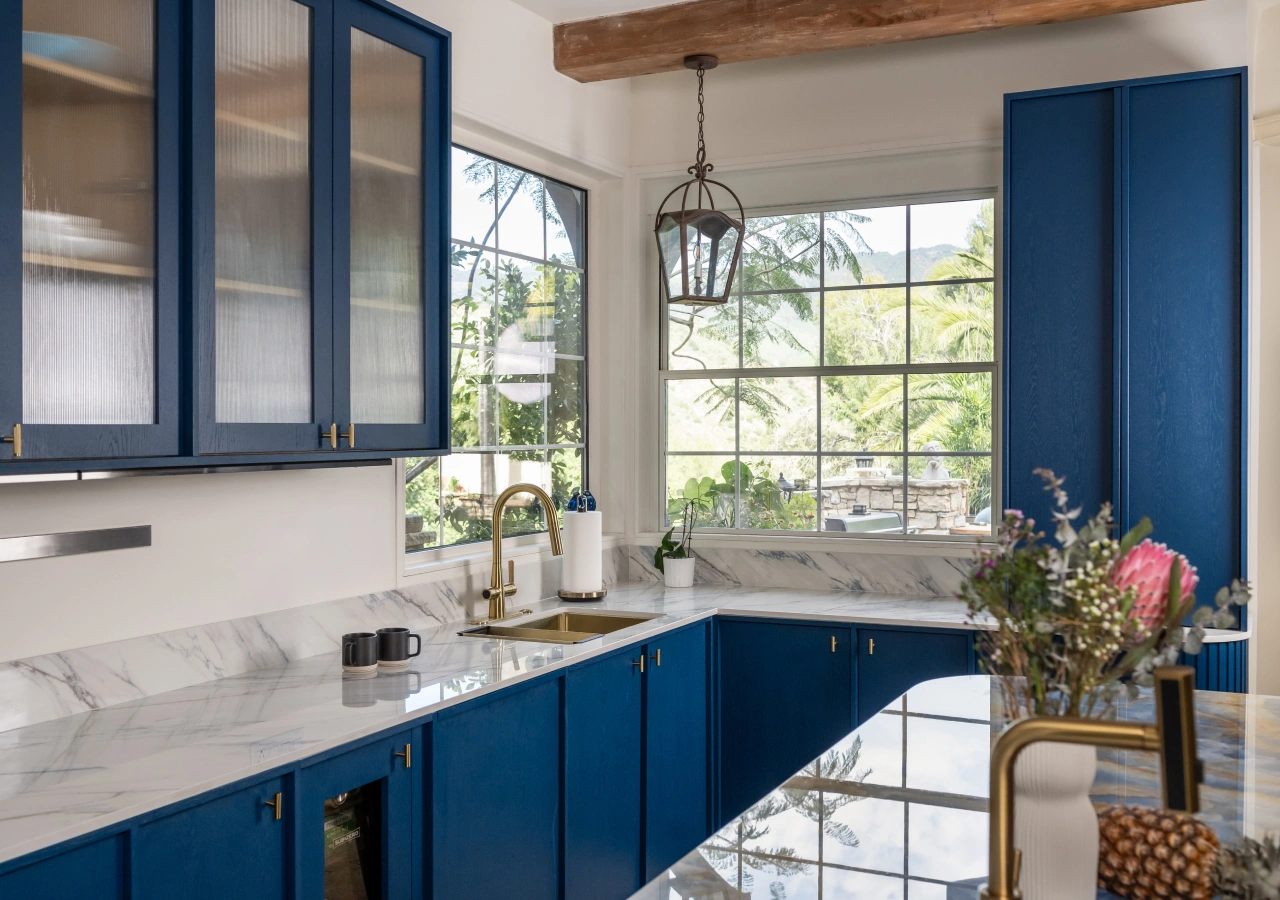
A Scandinavian kitchen remodel may look simple, but the clean result depends on careful decisions behind the scenes. Cabinet lines, appliance panels, storage, lighting, and countertops need to work as one system. Good organization matters because restrained materials leave little room for clutter.
A simple Scandinavian kitchen still requires detailed planning. The best starting point is not a cabinet color. It is a buildable plan connecting room measurements, appliance models, cabinet drawings, contractor work, delivery, and installation.
Start With Measurements and Renovation Constraints
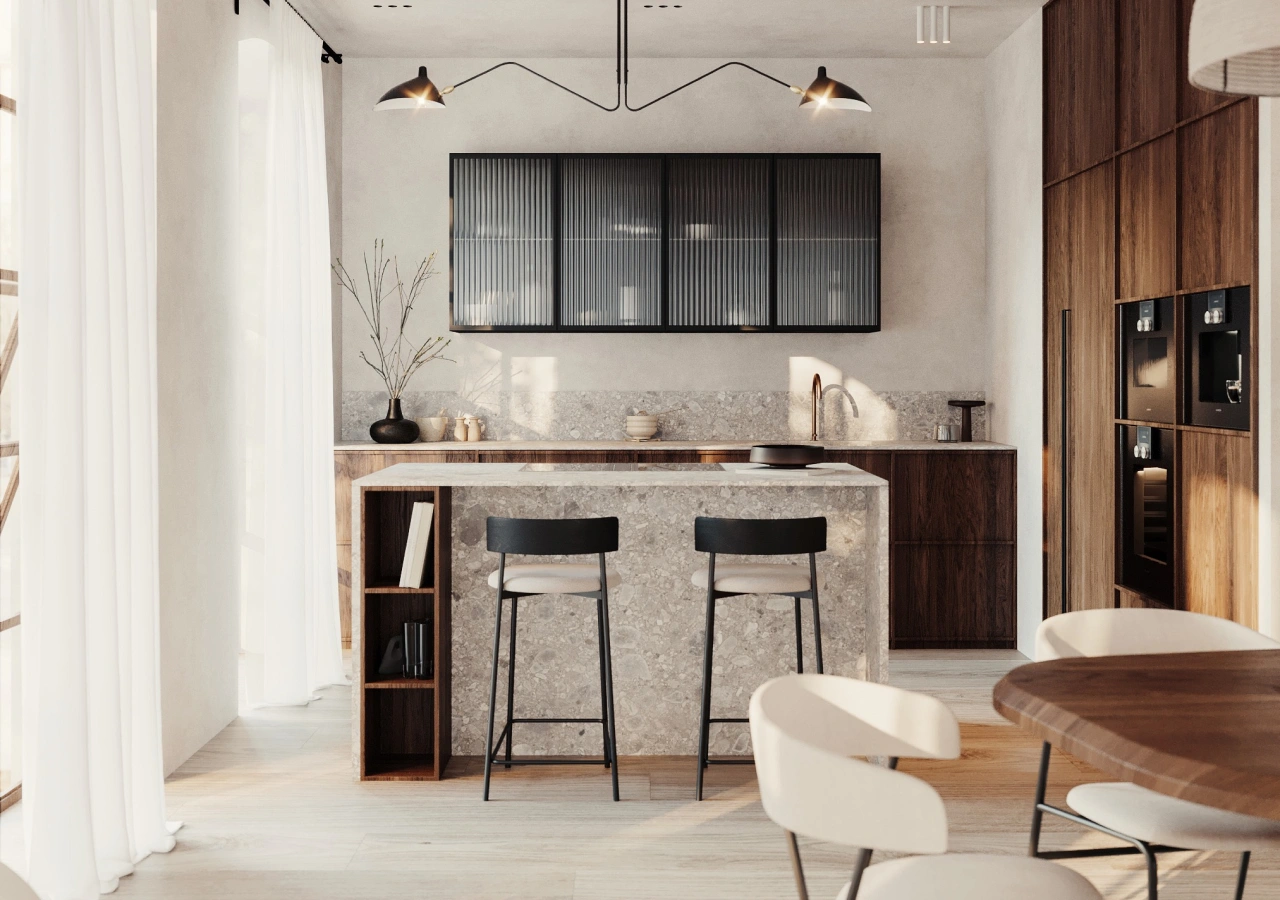
Measure the room before finalizing the cabinet layout. Record wall lengths, finished ceiling height, windows, doors, plumbing, electrical points, ventilation routes, floor levels, columns, and any walls that are not square.
These details show what can stay, what may need to move, and where construction could affect the schedule. They also help prevent conflicts such as a refrigerator door hitting a wall or an island narrowing a walkway.
For a Scandinavian open plan kitchen, measure beyond the cabinet footprint. Island seating, dining circulation, living-room sightlines, and the main routes through the space should all influence the layout.
Plan Storage and Materials Together
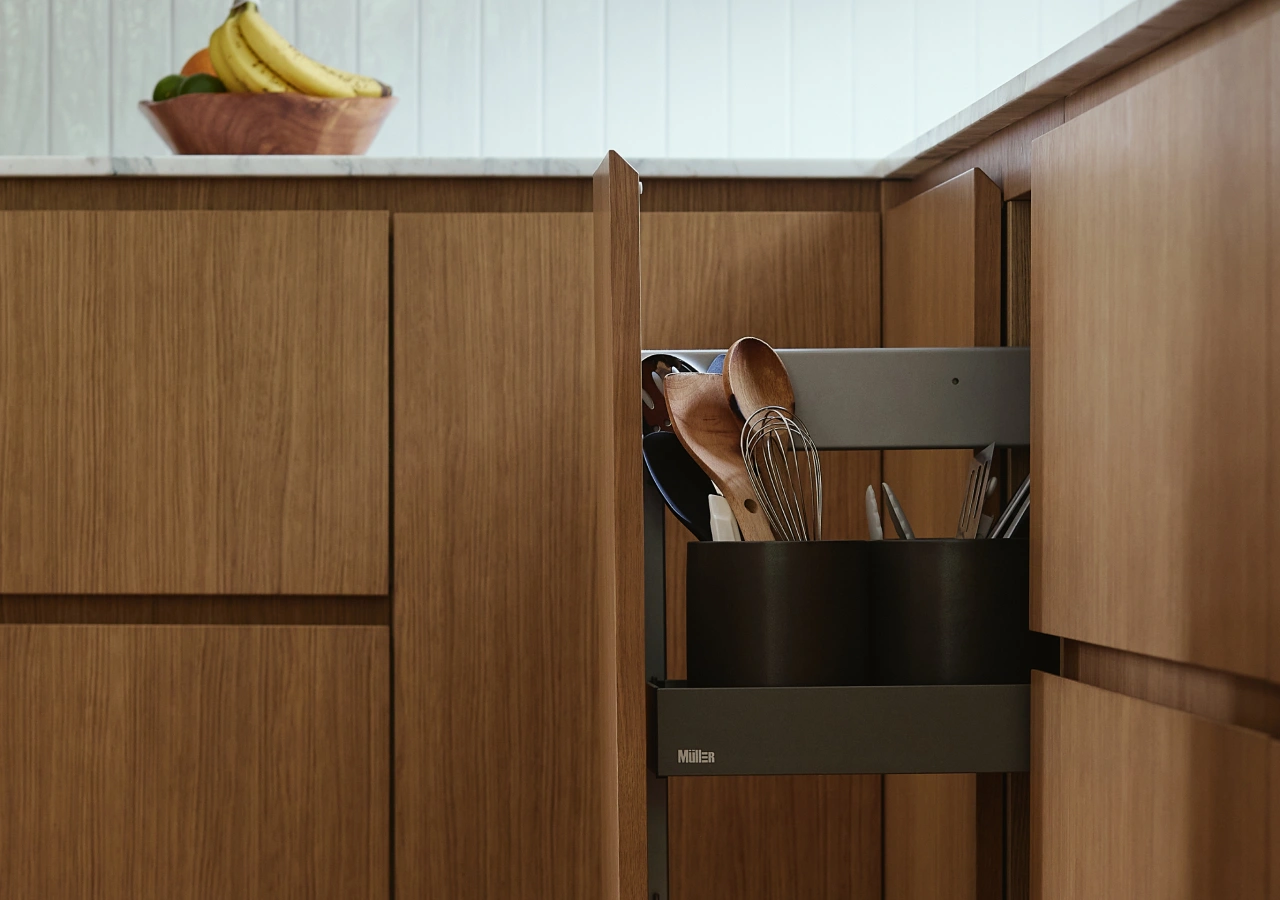
Scandinavian simplicity depends on storage that supports daily routines. Deep drawers, pantry cabinets, waste pull-outs, and appliance storage help keep work surfaces clear without constant tidying.
Map where food, cookware, dishes, cleaning supplies, and appliances will live. Plan the refrigerator, sink, dishwasher, cooktop, and main preparation area together, then test every appliance door, cabinet door, and drawer in the open position.
Review physical samples beside the flooring, wall color, and countertop direction. The same planning principles apply whether you want pale oak, a Scandinavian grey kitchen, or a darker wood palette. A dark Scandinavian kitchen may use walnut, stained oak, or deeper matte fronts, but color changes the mood, not the need for practical storage and circulation.
Select Appliances Before Final Cabinet Drawings
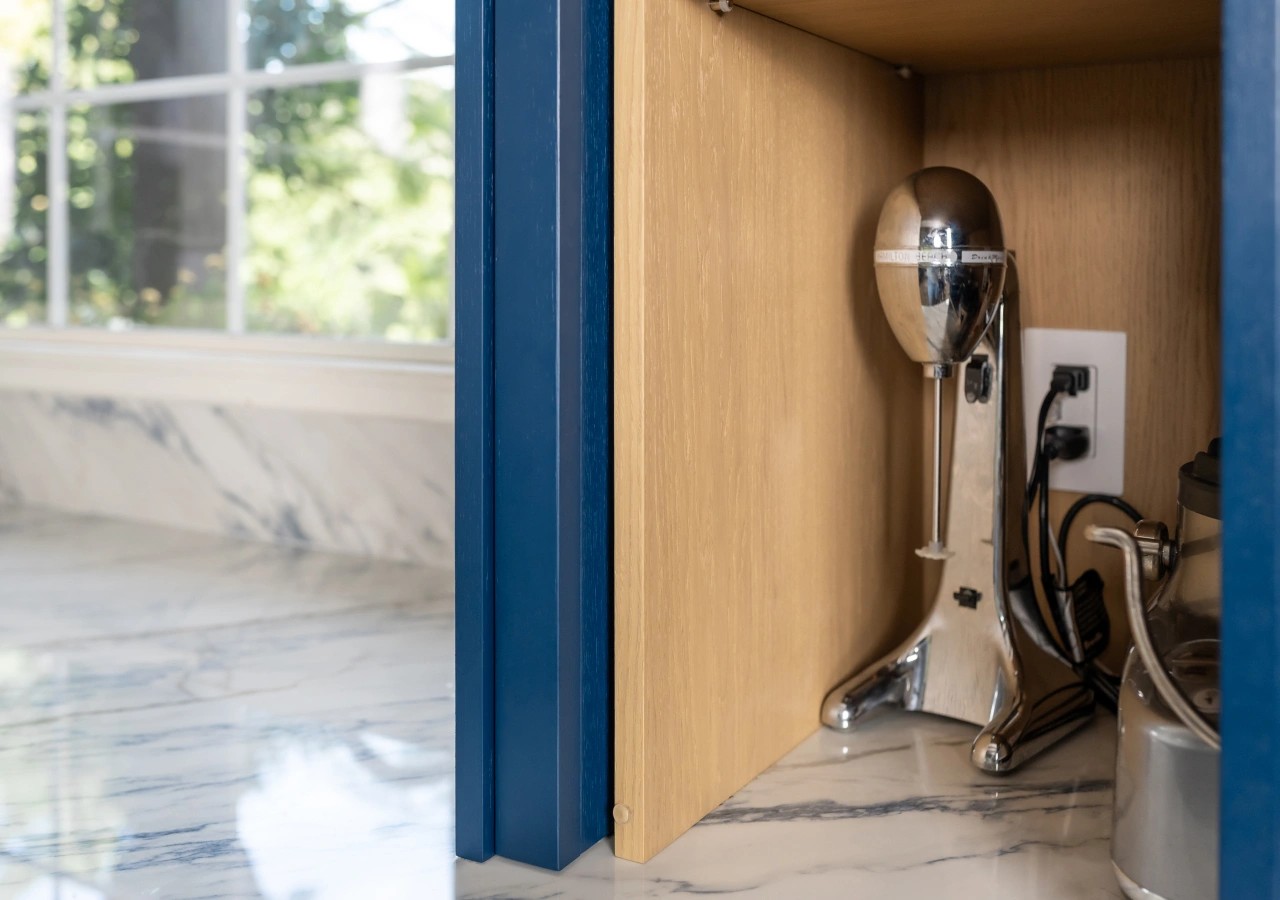
Exact appliance models should be confirmed before final cabinet approval. Model numbers and installation documents affect openings, panel sizes, hinges, ventilation, utility locations, countertop cutouts, door swings, and nearby clearances.
This is especially important for panel-ready refrigerators and dishwashers. Two appliances with the same listed width may need different panels, fillers, hinge allowances, or ventilation space. Wall ovens, microwaves, cooktops, and hoods also need to be coordinated with the cabinetry.
Give the final specifications to both the cabinet designer and local contractor. A late appliance change can affect several cabinets, not only the appliance opening, and may lead to drawing revisions or installation delays.
Separate Cabinet Supply From Local Remodeling Work
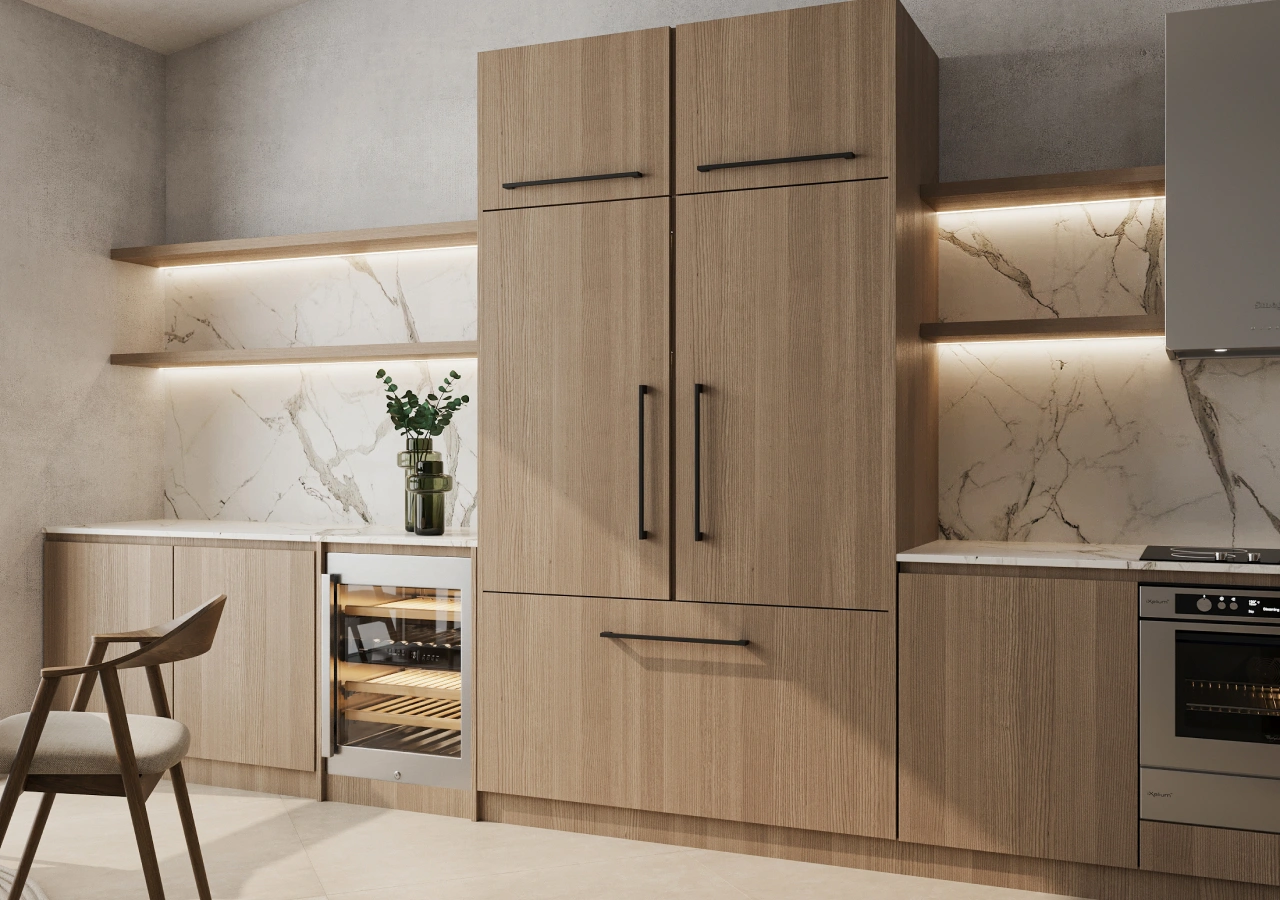
A cabinet estimate and a complete renovation estimate usually cover different work. Identify who is responsible for cabinetry, shipping, unloading, demolition, trades, flooring, installation, appliances, countertops, and final adjustments before approving the project.
Countertops are commonly handled as a separate local process. Material direction, thickness, overhangs, waterfall sides, sink, and cooktop positions can be discussed during cabinet planning. Final templating usually happens after the base cabinets and island are installed, secured, and level.
Technical drawings should connect the cabinet company, contractor, installer, appliance team, and countertop fabricator.
Work Backward From the Installation Date
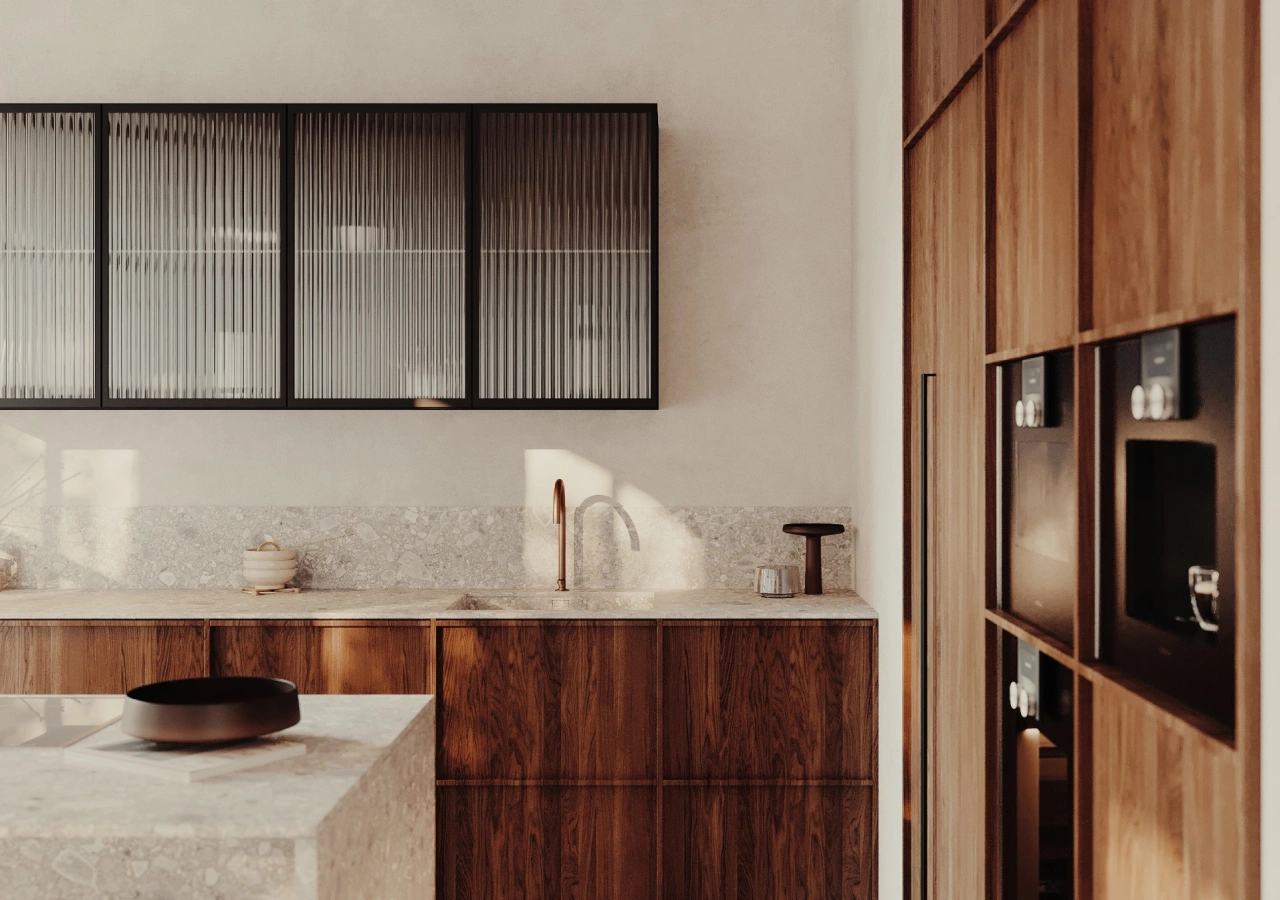
Plan the remodel backward from the required installation or move-in date. Cabinet production is only one part of the schedule. Time is also needed for measurements, revisions, samples, appliance coordination, drawings, quality control, shipping, delivery, unloading, and site preparation.
For many organized Corner remodels, 12 weeks is a realistic cabinet-planning window. More time may be needed when the layout, appliances, materials, or custom details are still being resolved.
The on-site remodel follows a separate schedule and can vary widely depending on demolition, permits, trades, structural work, material lead times, and site conditions.
A practical installation sequence is:
- Confirm the layout, appliances, finishes, and final measurements.
- Approve the technical drawings and begin cabinet production.
- Complete demolition, rough-ins, inspections, and site preparation.
- Receive and inspect the cabinets when protected storage is ready.
- Install and level the cabinetry.
- Template and install the countertops.
- Complete appliance connections, lighting, backsplash work, and final adjustments.
Confirm access, unloading responsibilities, building rules, elevator reservations, storage space, and installer availability before delivery.
Final Approval Checklist Before Production
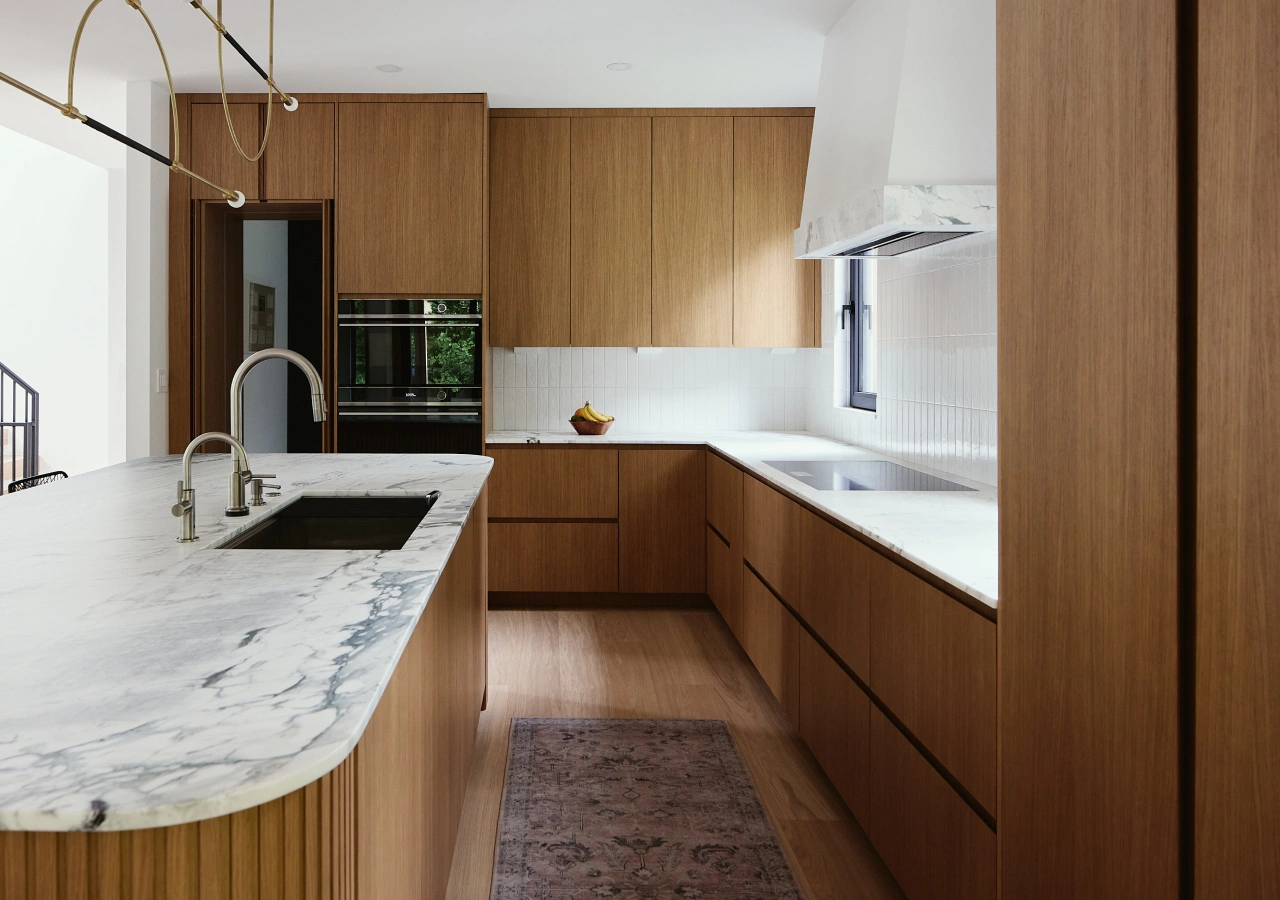
Before production begins, the homeowner, cabinet designer, and contractor should be working from the same information.
- Final room measurements and ceiling heights are verified.
- Appliance models and specifications are approved.
- Plumbing, electrical, gas, and ventilation are coordinated.
- Finishes, grain direction, hardware, panels, and fillers are confirmed.
- Countertop thickness, overhangs, sink, cooktop, and waterfall details are defined.
- Cabinet and contractor responsibilities are clearly separated.
- Delivery, unloading, storage, and installation are arranged.
- The installer has reviewed the final drawings.
This final check reduces the risk of costly changes after manufacturing begins.
Conclusion
A successful Scandinavian kitchen remodel turns a clean design goal into a coordinated construction plan. Measurements, storage, appliance models, samples, project scope, and drawings should be resolved before cabinet production. The schedule must then connect with demolition, rough-ins, delivery, installation, and local countertop work.
The finished kitchen may feel calm and effortless, but that simplicity depends on early decisions and clear communication. Plan backward from the installation date, leave room for production and shipping, and make sure the site is ready before the cabinets arrive.
Explore Corner Renovation’s Scandinavian collections and completed projects to see how these decisions come together in real kitchens.


