
.webp)
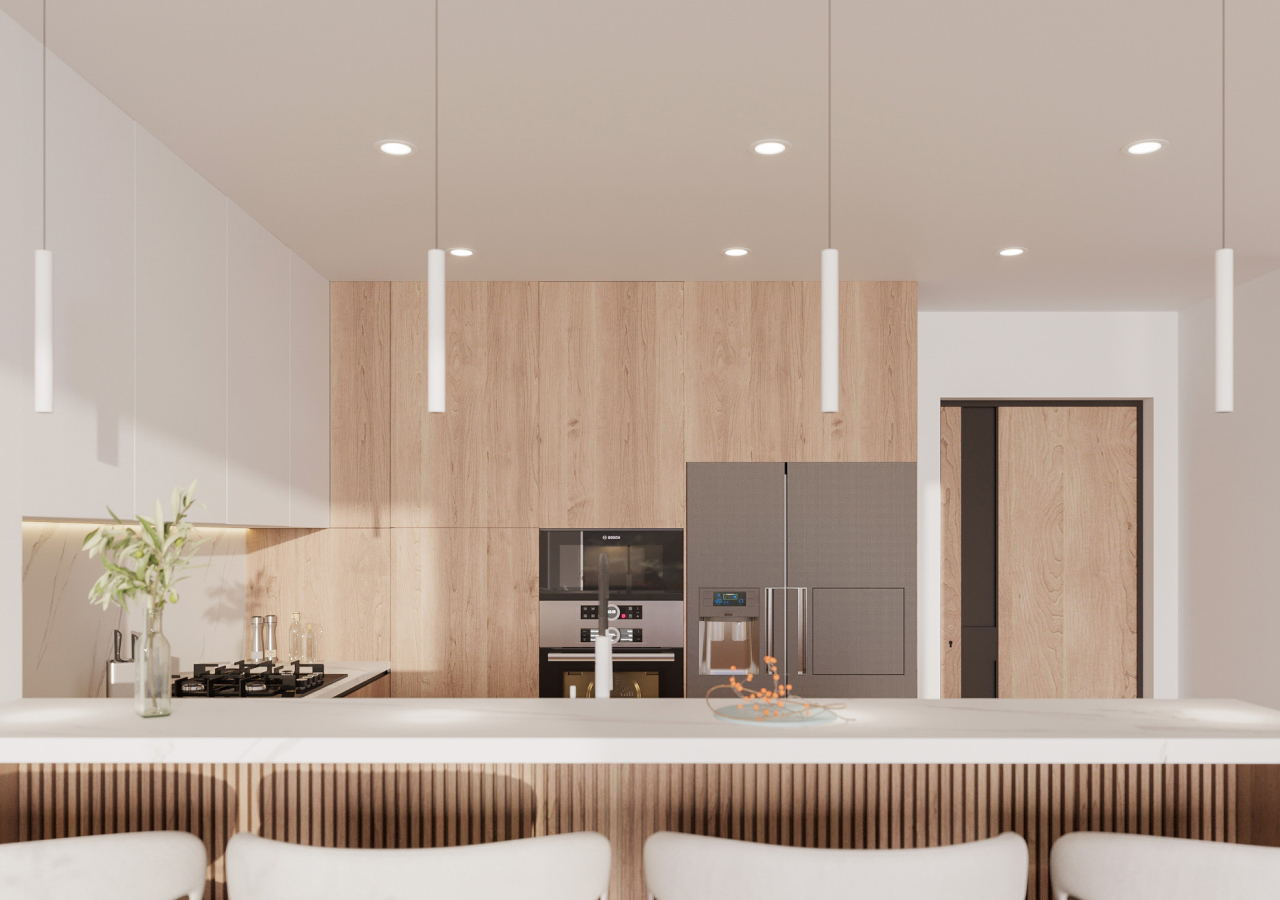
Scandinavian kitchen lighting works best when it is planned in layers. Instead of relying on one ceiling fixture to do everything, the room should combine ambient lighting for general visibility, task lighting for work areas, and accent lighting for depth and evening use. This makes the kitchen easier to use and keeps the light level comfortable throughout the day.
In practical terms, good Scandinavian kitchen lighting is not about adding more fixtures. It is about putting light where it is needed, reducing glare, and separating functions so prep, dining, and evening use do not all depend on the same switch.
Scandinavian Kitchen Lighting at a Glance
Ambient Lighting
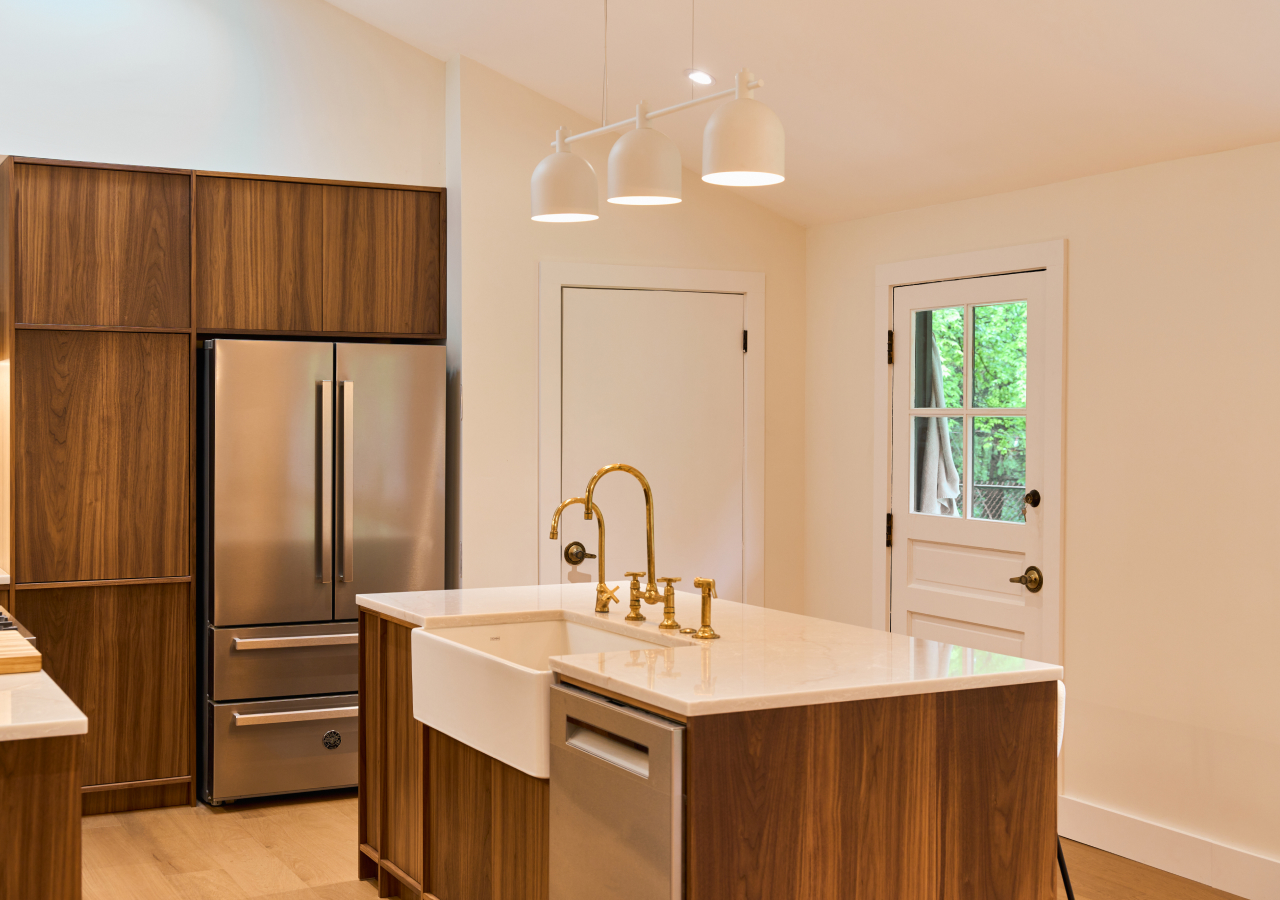
Ambient lighting is the base layer. Its job is to light the whole room evenly, including circulation paths, corners, and tall cabinet areas, without creating bright hot spots or leaving parts of the kitchen dim. In Scandinavian kitchens, this layer is usually handled with recessed downlights, surface-mounted spots, or a simple flush-mounted ceiling fixture.
The goal is even coverage rather than drama. This matters most in open-plan spaces, where the kitchen is visible from the living room and patchy lighting makes the room feel unsettled. If you use downlights, avoid narrow beams that create harsh circles on the floor. Broader coverage usually works better.
In a narrow kitchen or a kitchen with low ceilings, ambient lighting often needs to do more of the work. In those cases, a quiet ceiling plan is usually more effective than trying to force pendants into the room.
Task Lighting
Task lighting is the most important working layer. It should light the places where you prep food, wash dishes, read labels, and use small appliances. Without it, even a bright kitchen can still feel inconvenient because the work surfaces remain in shadow.
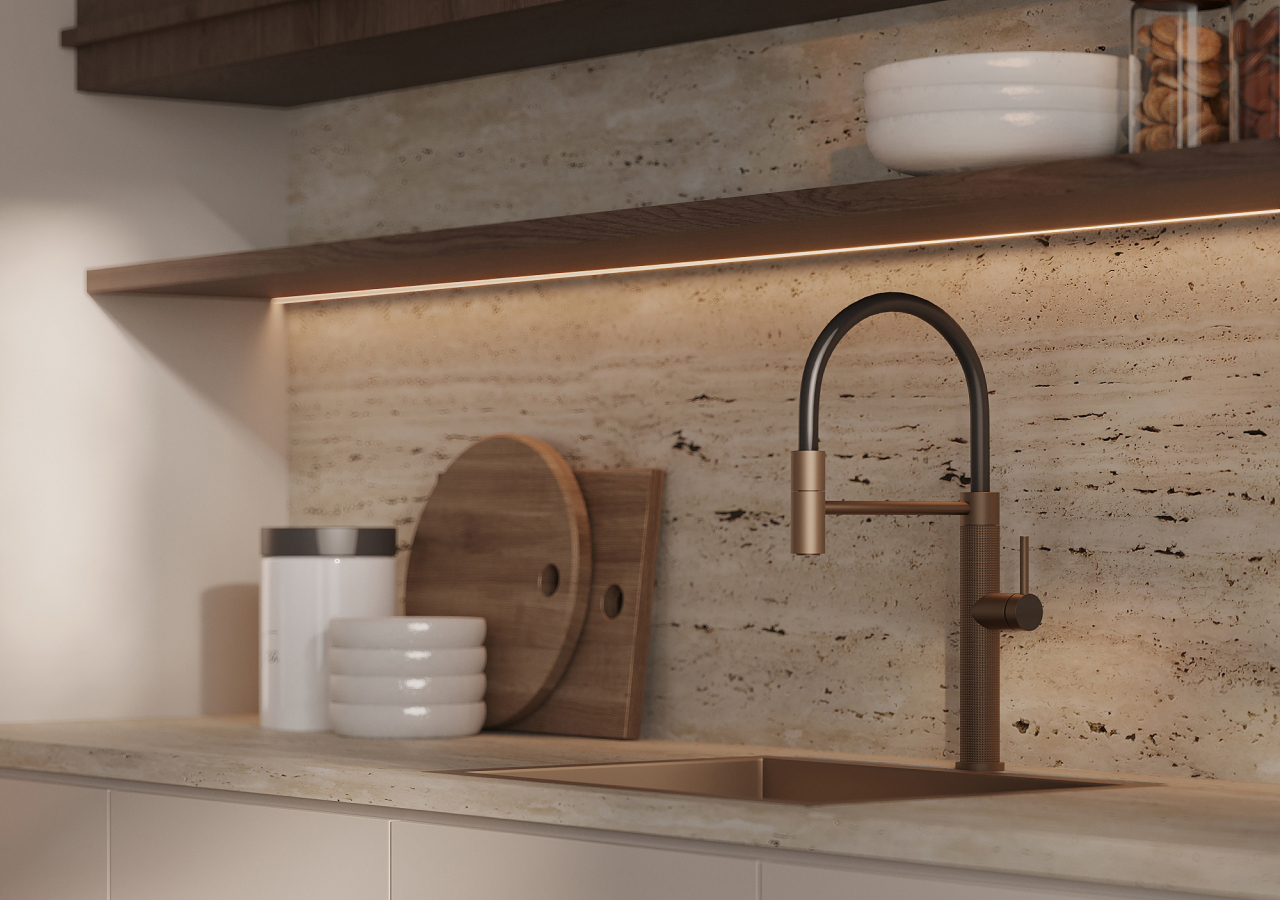
In most Scandinavian kitchens, the best task lighting is continuous under-cabinet LED strip lighting. This gives even light across counters and backsplashes and avoids the dotted look that comes from puck lights. It also reduces dependence on ceiling fixtures, which often cast shadows once someone is standing at the counter.
If the main prep area sits between the sink and cooktop, that entire run should be treated as one task zone. A continuous strip usually works better than lighting only the middle of it. If the sink sits below a window with no cabinets above, the ambient ceiling plan should support it properly so the sink does not become the darkest working point in the kitchen.
Task lighting should also be controlled separately from the ambient layer. That allows the kitchen to shift between work mode and evening mode without forcing every light in the room to stay on.
Accent Lighting

Accent lighting is the layer that adds depth and makes the kitchen usable after the main work of the day is done. It is not essential in every kitchen, but it is especially useful in open-plan homes, darker material palettes, and kitchens that are visible from adjoining living spaces.
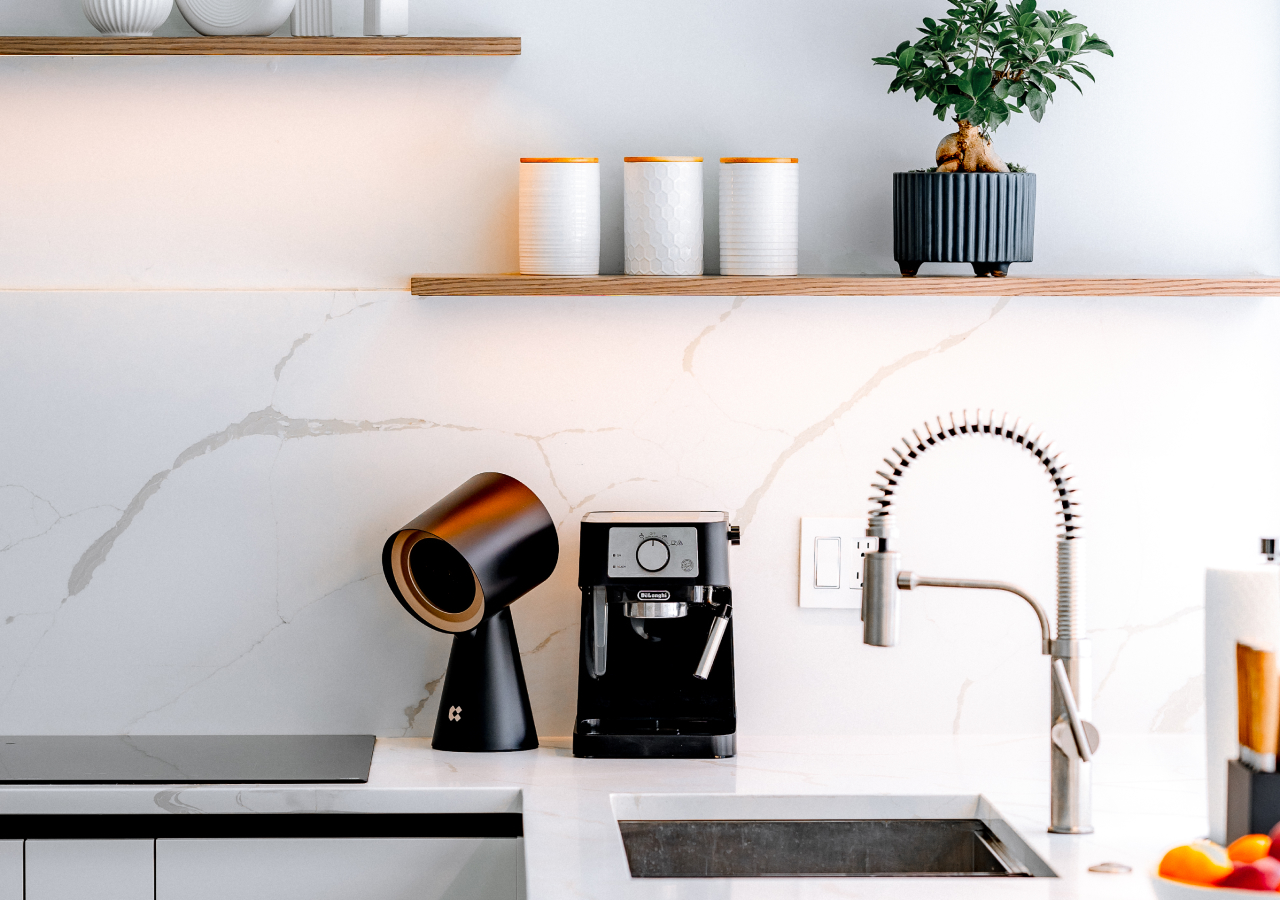
This layer usually works best when it is integrated and low-output. Shelf lighting, cabinet interior lighting, toe-kick lighting, or a gentle wall wash can all work well. The goal is not to create a display effect. It is to add enough light for orientation and atmosphere without turning the whole kitchen back on.
In an open-plan kitchen, this is often the layer that keeps the room alive in the evening after the task lighting has been switched off. It can also solve a practical problem in tall pantry units or appliance cabinets, where interior lighting improves visibility without adding more overhead brightness.
Fixture Selection
Fixture selection should follow function. In Scandinavian kitchens, the best fixtures are usually the ones that solve a job clearly and do not add unnecessary visual noise. For ambient lighting, that often means downlights, surface-mounted spots, or flush mounts. For task lighting, it usually means continuous LED strips in diffused channels. For accent lighting, it means integrated shelf or cabinet lighting.
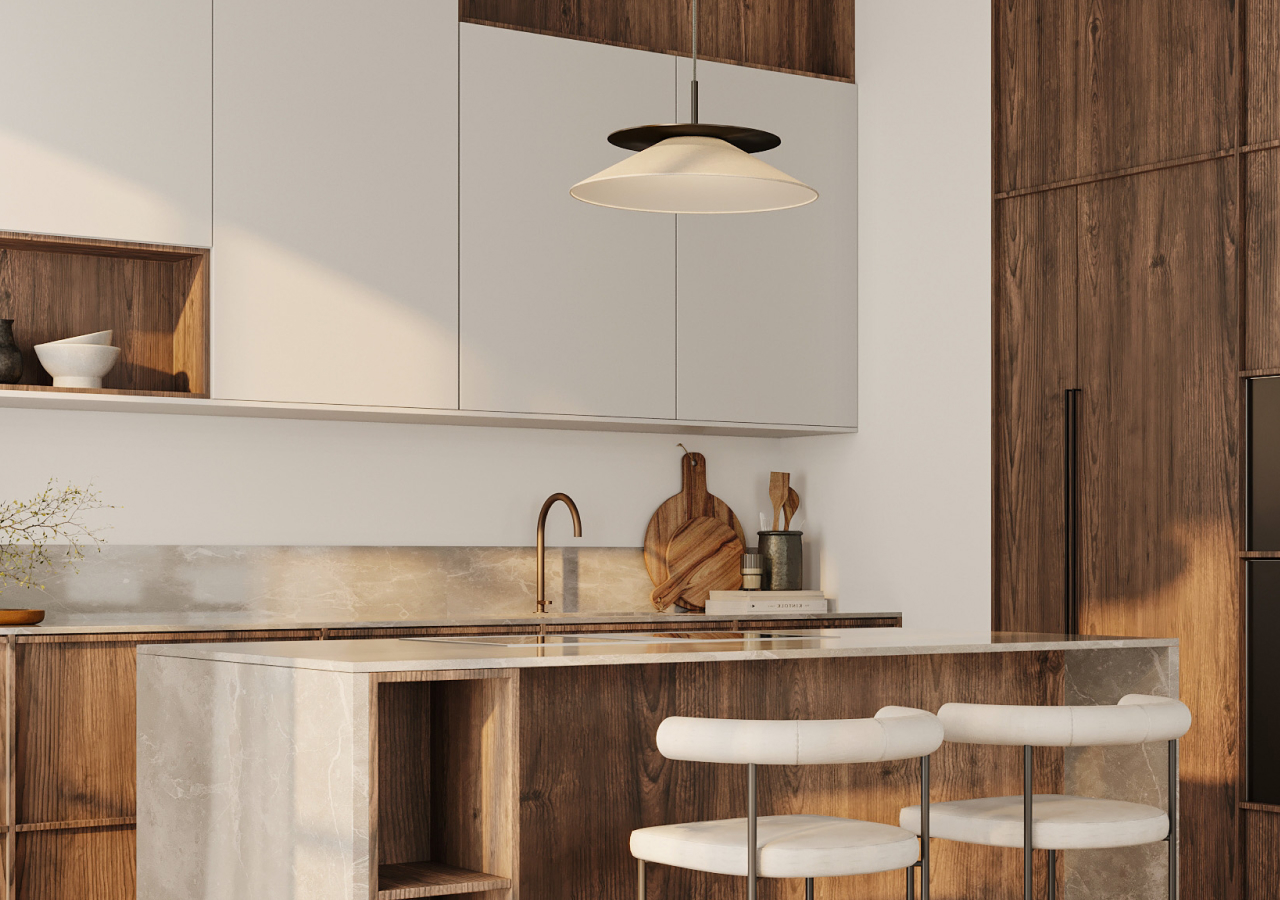
Pendants can still play an important role, but only where they help. Over an island or dining edge, one simple pendant, two smaller pendants, or a restrained linear fixture can work well. The safest forms are usually domes, cones, globes, cylinders, or clean linear shapes. Diffused shades tend to work better than exposed bulbs because they reduce glare and make the light easier to live with.
Fixture Selection and Best Use
Placement Tips
.webp)
Placement matters more than fixture count. A small number of well-placed lights will usually work better than a larger number of poorly positioned ones.
Ambient ceiling lights should support the actual kitchen layout rather than the geometric centre of the room. Prep counters, sink areas, and circulation paths all need coverage, but the fixtures should not sit in positions that create strong shadows behind the user. In many kitchens, it helps to align the ceiling rhythm with the main cabinetry runs or work zones.
Under-cabinet lighting should run across the parts of the kitchen where actual work happens. Short decorative fragments usually do less than one continuous line. Diffusers help keep the installation clean and reduce visible dotting on reflective backsplashes.
Pendants should be used where they add useful light or help define a zone, usually above an island or dining table. In a narrow kitchen, they often make the room feel more crowded and are better replaced by a cleaner ambient ceiling layer. In a larger open-plan kitchen with a long island, two or three pendants may work, but only if the shapes stay simple and the scale stays controlled.
Practical Spacing and Control Tips
A Scandinavian kitchen lighting plan works better when the controls are separated. At minimum, task lighting should not share a switch with pendants or ambient lighting. That gives the room more flexibility and makes it easier to move between prep, dining, and evening use.
For most kitchens, three control groups are enough: one for ambient ceiling lighting, one for under-cabinet task lighting, and one for pendants or accent lighting. Dimmers improve almost every scheme because they let the kitchen stay functional without feeling overlit.
For colour temperature, 2700K to 3000K is usually the safest range. It keeps wood, matte finishes, and neutral surfaces looking natural without making the room feel cold.
Common Lighting Mistakes
The most common mistake is relying on a single ceiling fixture for the whole room. That usually creates shadows on counters and leaves the kitchen either too bright or not bright enough, with no middle ground.
Other problems usually come from the same source: poor layering and poor control. Bulbs that are too cool can make the room feel sharp at night. Too many recessed spots can make the ceiling look busy. Pendants that are too large or hung too low can interrupt sightlines. Under-cabinet lighting without diffusers can create visible dotting and glare. These are usually solved not by adding more fixtures, but by improving placement, layering, and switching.
Conclusion
Scandinavian kitchen lighting works best when it is planned as a functional system rather than a decorative layer. Start with ambient lighting for overall visibility, add task lighting where work happens, and use accent lighting only where it improves evening use or depth.
That structure keeps the kitchen practical during the day, comfortable at night, and visually controlled in open-plan spaces. Good Scandinavian lighting is less about fixture count and more about getting the right light in the right place.


