
.webp)
Choosing a cabinet finish is one of the quiet decisions that shapes the whole kitchen. It affects how warm the room feels, how cabinets connect with the floor and countertop, and whether the final space feels calm, yellow, gray, natural, or too polished.
Photos and renderings help with direction, but they are not enough for final finish approval. A rendering can show the layout and overall mood. A physical sample helps you decide whether the finish actually belongs in your home.
This step matters most before the kitchen moves into production. Once cabinets are made, small finish doubts become much harder to adjust. A good sample review helps you feel confident about color, grain, texture, sheen, and quality before the design becomes a real material decision.
Why Cabinet Samples Matter More Than Photos

Cabinet samples show material qualities that screens cannot fully capture. They help confirm undertone, texture, matte level, grain movement, edge detail, and how the finish reacts to real light.
Renderings are useful for understanding cabinet placement, island shape, and the overall mood of the kitchen. But they do not accurately show how walnut, oak, matte laminate, veneer, or a painted surface will feel in the room.
This is especially important in modern kitchens with slab fronts, handleless cabinets, panel-ready appliances, and long cabinet runs. When the design has fewer decorative details, the cabinet surface does more visual work. The sample helps you decide whether that surface feels refined in real life, not only attractive in an image.
Look at the Sample in Your Own Light

A cabinet finish can change throughout the day. Morning light, afternoon light, evening light, warm bulbs, and cool bulbs can all shift how the same sample looks.
Place the sample in the room where the kitchen will be installed. Look at it in the morning, during the day, and in the evening. Then move it around: near a window, in a darker corner, under ceiling lights, and near the area where the main cabinets or island will sit.
Warm artificial light can make wood feel richer or more golden. Cooler light can make some finishes feel grayer, flatter, or more washed out. The goal is not to find one perfect moment. The goal is to make sure the finish still feels right across normal daily light changes.
Compare It With Floors, Counters, Walls, and Existing Wood
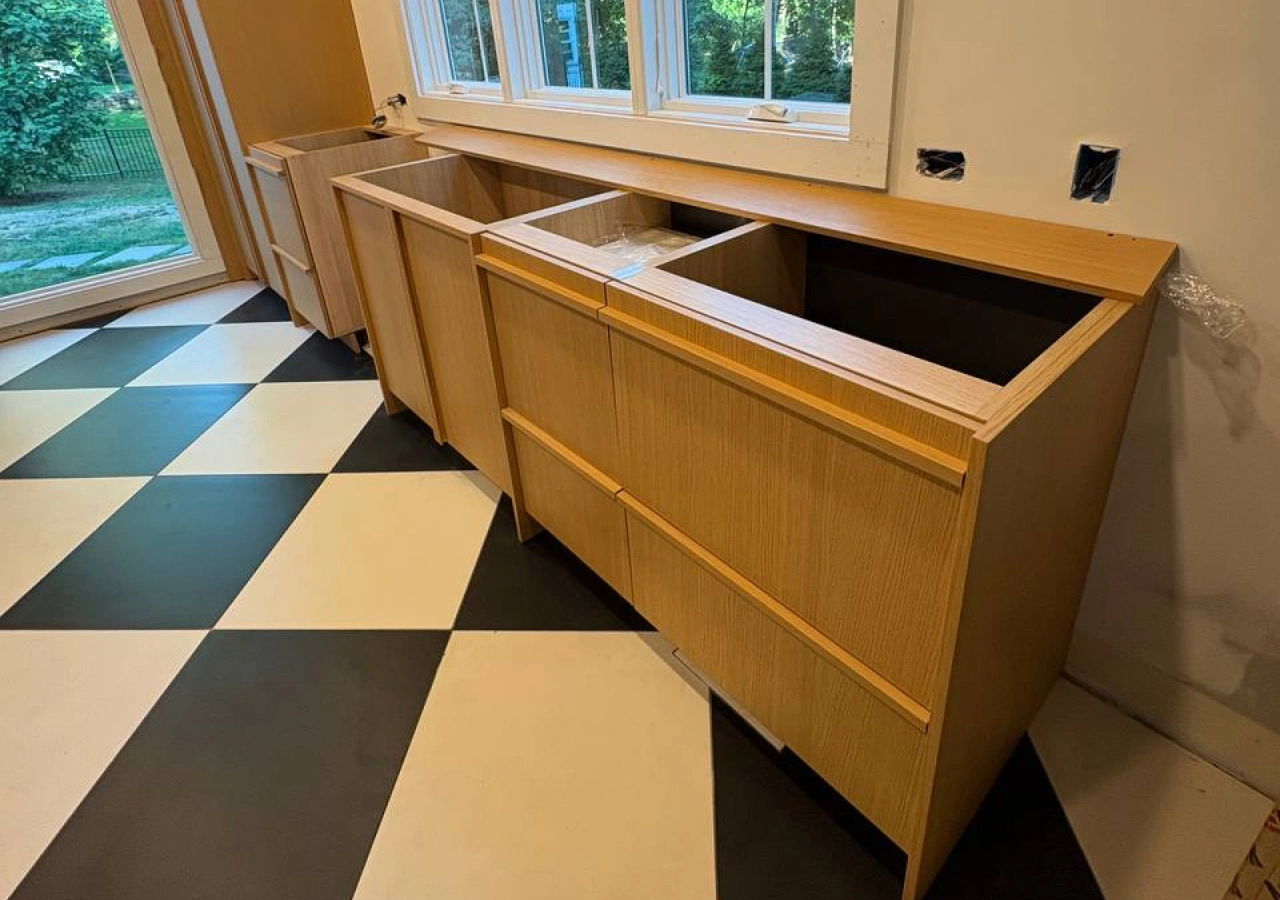
A cabinet finish is never seen alone. It sits beside flooring, countertops, backsplash material, wall color, appliances, hardware, trim, and sometimes existing built-ins.
Place the sample next to the real materials in the home whenever possible. This includes flooring, countertop samples, wall paint, tile, stone, brick, metal details, visible appliances, and nearby wood furniture or millwork. If the kitchen opens into a living or dining area, check the finish from those views too.
This is especially useful for wood kitchens. Oak, walnut, stained veneer, and wood-look finishes can shift depending on what surrounds them. A walnut cabinet may feel balanced beside pale stone but too red beside existing built-ins. A washed oak may feel calm beside warm white walls but too gray beside cream floors.
Cabinet Sample Review Checklist
Use this checklist before final finish approval and before the kitchen moves into production. It keeps the review practical and helps avoid decisions based only on photos or renderings.
Check the Undertone: Warm, Cool, Yellow, Gray, or Red
.webp)
Undertone is the quiet color direction beneath the main finish. It is why one oak looks yellow, another looks beige, and another feels gray or washed out.
When homeowners ask for a finish to be “warmer,” “lighter,” “darker,” “more gray,” or “less yellow,” they are usually talking about undertone. Oak can read yellow, beige, honey, gray, pale, warm, or washed out. Walnut can read warm brown, reddish brown, chocolate, gray-brown, or nearly espresso.
To make undertones easier to see, compare the sample with a white sheet of paper or a neutral countertop sample. Then compare it with the actual room materials. A finish does not need to match everything exactly, but it should sit comfortably with the palette.
Look at Grain Direction and Grain Movement

For wood and wood veneer cabinets, grain is as important as color. Grain direction affects whether the kitchen feels calm, linear, natural, or expressive.
Ask whether the grain will run horizontally or vertically. Horizontal grain can make long base cabinet runs and islands feel wider and more architectural. Vertical grain can work well on tall pantry walls, appliance panels, and full-height doors.
Also look at the grain style. Rift-cut oak usually feels calmer and more linear. Natural grain may show more movement, knots, or variation. Walnut can feel smooth and refined or more dramatic depending on the veneer selection. If the grain feels too busy, the final kitchen may not feel as calm as expected.
Touch the Finish and Inspect the Edges
.webp)
A cabinet sample should be touched, not just viewed. Surface feel, edge quality, coating, and sheen all affect whether the finish feels high quality in daily use.
Run your hand over the sample. Notice whether it feels smooth, textured, soft matte, satin, or slightly plastic. Look closely at the edges, corners, seams, coating, and surface transitions. On slab doors and handleless fronts, these details are very visible because the design has fewer distractions.
A sample should not feel thin, poorly coated, overly plastic, or unfinished at the edges. Matte finishes should have the right softness without looking dull or cloudy. Wood finishes should feel natural and intentional, not like a flat printed surface.
Compare Finish Types by How They Look and Feel
Different finish types should be judged by how they behave in the actual room. The goal is not to compare every material technically, but to see whether the sample supports the design, daily use, and overall palette.
Do not approve a finish by name alone. Ask whether it looks good in your space, feels high quality, works with the countertop, and supports the style of the kitchen.
Ask How the Finish Will Be Used Across the Kitchen

A small sample represents a much larger surface. The same finish can feel different when used on one island, a full wall of tall cabinets, or every cabinet front in the kitchen.
This matters in mixed-finish kitchens. Oak with matte white, walnut with gray, beige cabinets with stone, or dark wood with stainless steel all need clear roles. One finish may define the island. Another may keep the tall storage wall quiet. A third may connect the kitchen to the countertop or backsplash.
Panel-ready appliances need extra attention. If the refrigerator or dishwasher will receive matching cabinet panels, the sample becomes part of the appliance wall. Grain direction, sheen, and tone need to feel consistent across doors, fillers, side panels, toe kicks, and appliance panels.
Remember That Real Wood Can Change Slightly Over Time
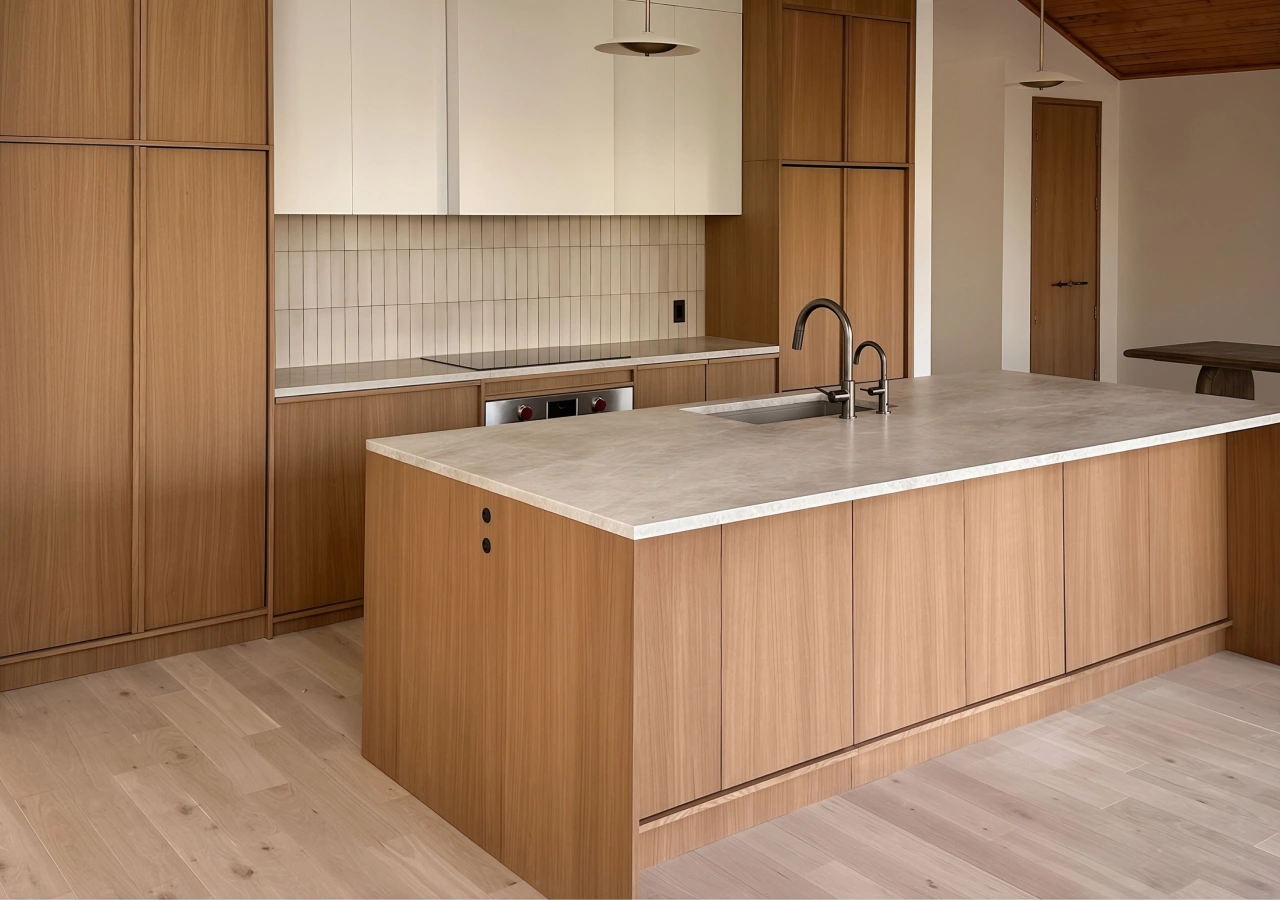
Natural wood and wood veneer may shift slightly with light, air, and age. Some tones can become warmer, deeper, or more settled over time.
This does not need to feel dramatic, but it should be understood before choosing a finish. If you are selecting oak, walnut, stained veneer, or another natural wood surface, ask how the tone may behave with light exposure. The goal is not to avoid natural variation, but to understand what you are approving.
What to Confirm Before Approving the Finish

Cabinet sample approval should happen before final finish approval and before the kitchen moves into production. This is most important when the kitchen includes wood veneer, mixed finishes, panel-ready appliances, matching side panels, or a tone-sensitive palette.
Before approval, confirm the exact finish name, material type, front material, edge treatment, grain direction, sheen level, and where the finish will be used. If you are choosing between two similar samples, live with them in the room for a few days instead of deciding in one moment.
For deeper planning, explore Corner Renovation’s kitchen materials guide, custom cabinet buying guide, walnut-tone kitchen ideas, collections, and real kitchen projects.
Conclusion
Cabinet samples are one of the most practical tools in a kitchen renovation. They help you move from inspiration to a real decision by showing color, undertone, grain, texture, sheen, and edge quality in your own space.
Photos and renderings are useful for direction, but the physical sample confirms whether the finish belongs in the room. Look at it in different light, compare it with existing materials, touch the surface, inspect the edges, and confirm how the finish will be used across the full kitchen.
The best finish decisions usually come from comparing samples slowly in the real space, not choosing from a screen in one moment. Before production, explore Corner Renovation’s collections, view real kitchen examples, or book a consultation to compare finish directions with the full layout in mind.


