
.webp)
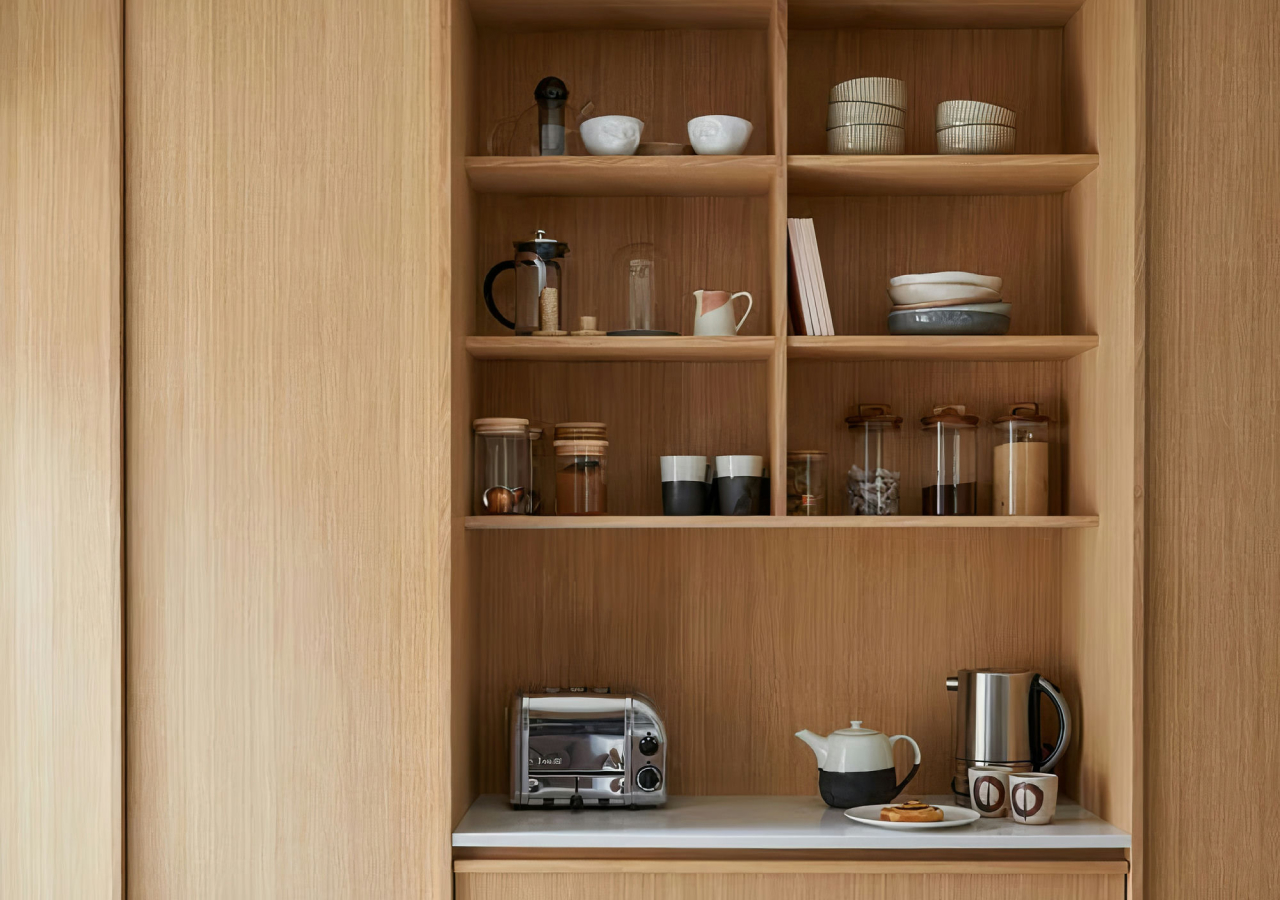
An appliance garage is a dedicated cabinet area for small kitchen appliances such as coffee makers, toasters, blenders, and microwaves. The goal is simple: keep everyday appliances easy to reach without leaving them out all the time. In a Japandi kitchen, that matters because a calm look does not come from owning less. It comes from giving everything a proper place, so the kitchen stays easier to reset.
That becomes even more important in larger American kitchens. These layouts often include bigger islands, larger refrigerators, 36-inch ranges, more pantry storage, and simply more appliances overall. Japandi can absolutely work at that scale. The real challenge is keeping the kitchen warm, restrained, and organized while accommodating more function.
Quick Comparison: Which Appliance Garage Type Fits Best?
.webp)
The right appliance garage starts with use, not appearance. Different cabinet and door systems solve different problems. Some improve access, some save space, and some hide appliances more effectively when not in use. The best option usually depends on workflow, cabinet location, and appliance size.
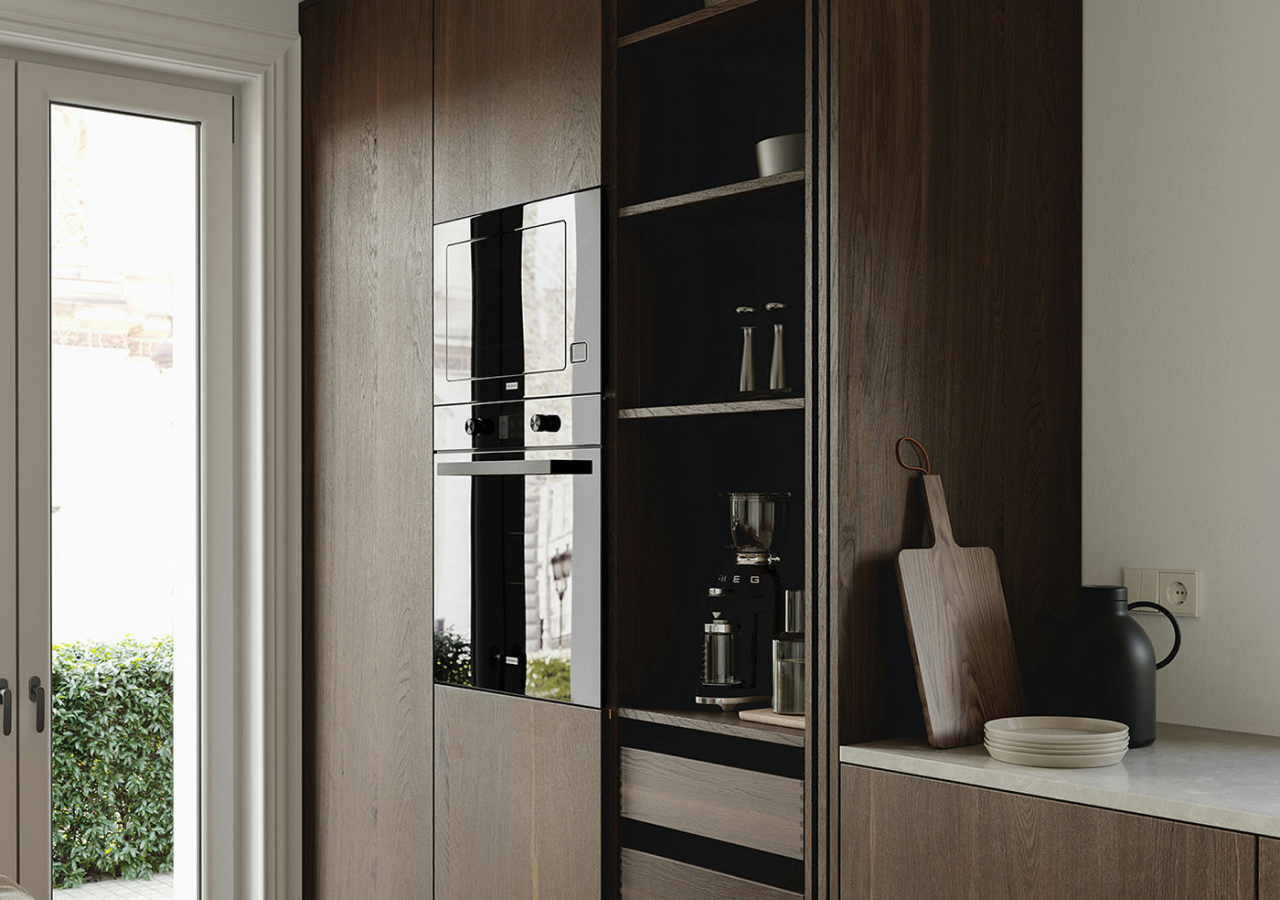
The most useful comparison is not which option looks best in photos. It is which one best suits the way the station will actually be used. Some kitchens benefit from a fully concealed setup, while others work just as well with a more open approach. A pantry wall, for example, can combine an appliance garage with ovens, shelving, and pantry storage in one organized run.
Step 1: Start With What Will Live Inside
An appliance garage should be designed around the actual appliances and items it needs to hold. Before choosing a cabinet type, list exactly what will go inside. That will tell you much more about the width, depth, outlet placement, and location than the look of the cabinet alone.
This is where many homeowners either make smart decisions early or create problems for themselves. A coffee station needs room for more than the machine itself. You may also need space for mugs, beans, pods, filters, and perhaps a kettle. A microwave garage needs landing space nearby so hot dishes have somewhere to go. A larger mixer or blender setup may make more sense in a pantry cabinet than on the main run. In every case, the point is not only to hide clutter. The goal is to create a usable station.
In larger US kitchens, this step matters even more because the appliance list tends to grow. Japandi can still work beautifully in those homes, but the cleaner look depends on better planning, stronger zoning, and fewer unnecessary finish changes. It helps to decide early which appliances need to be close at hand and which can live in secondary storage.
Step 2: Choose the Best Location in the Kitchen
The best location depends on how often the appliance is used and what task it supports. Appliances you use every day should sit where they make sense in the routine. Less frequently used appliances should still be accessible, but they do not need to compete with the main prep and cooking areas.
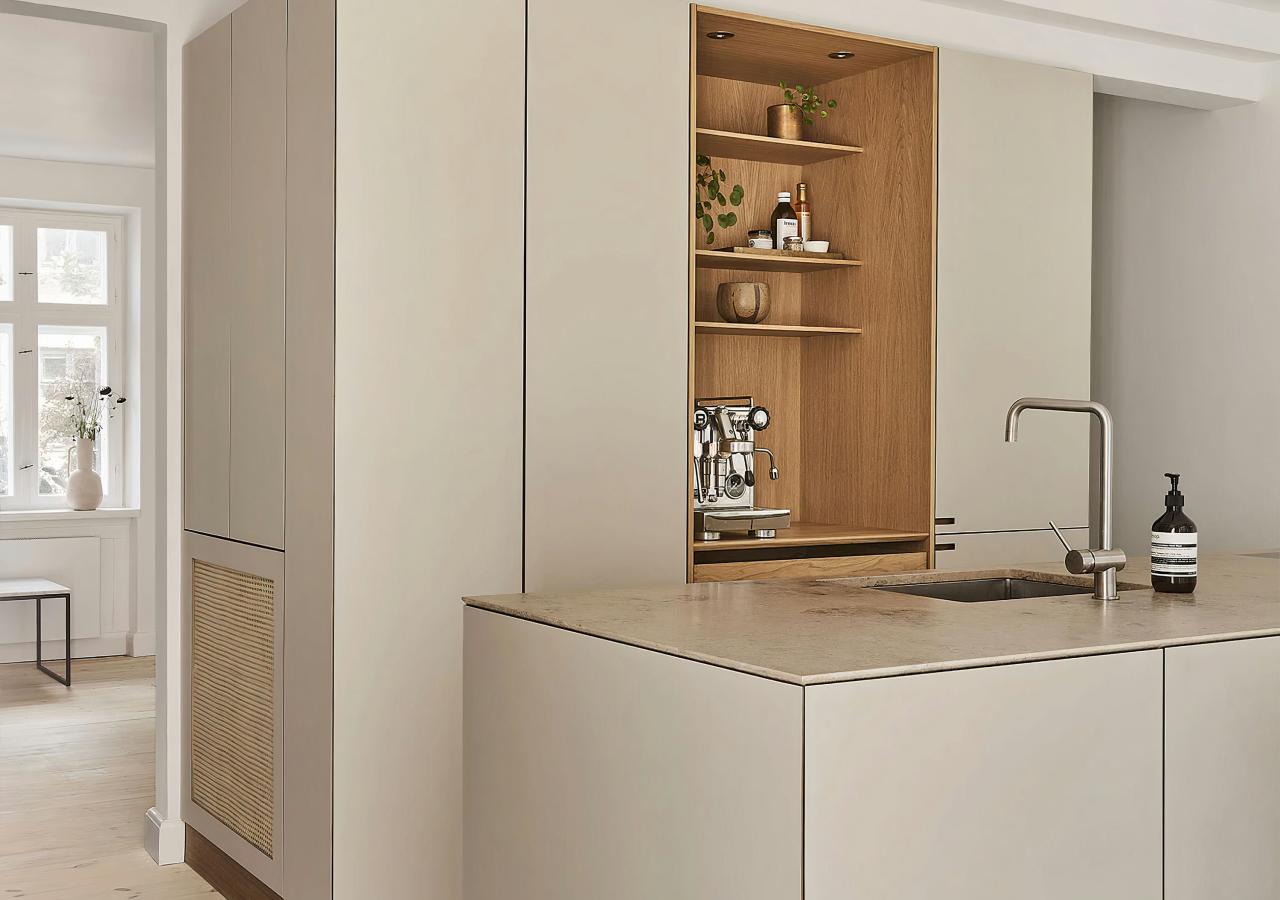
In many kitchens, the best location is along a dedicated stretch of countertop or within a full-height pantry wall. That keeps the appliance garage easy to use without breaking up the main cooking run. The underlying principle is consistent: the garage works best when it belongs to a defined zone, not when it is squeezed into whatever opening is left over.
This becomes especially important in open American kitchens, where islands are larger and sightlines are longer. Grouping tall storage, refrigeration, ovens, and pantry functions into one more unified run often helps the kitchen feel calmer. In that kind of layout, an appliance garage usually works better when it is built into the storage wall rather than added as another focal point on the main elevation.
Step 3: Pick a Door Style Based on Access, Not Just Looks
Door style has a direct effect on how the appliance garage feels to use day to day. A concealed system may look beautiful, but it can still be frustrating if it blocks access or creates awkward clearance issues. The better question is not which option looks the most minimal. It is which one makes the station easiest to use.
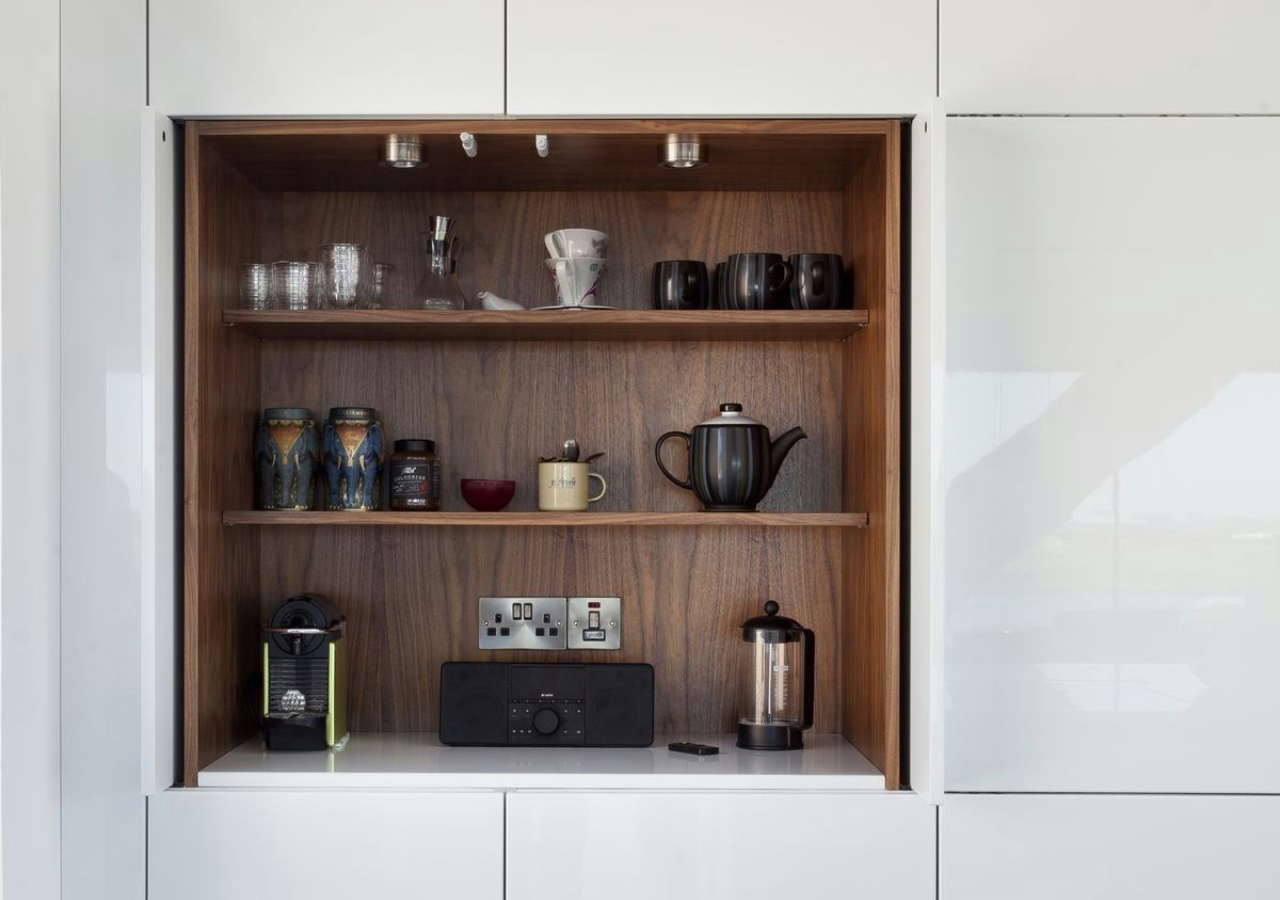
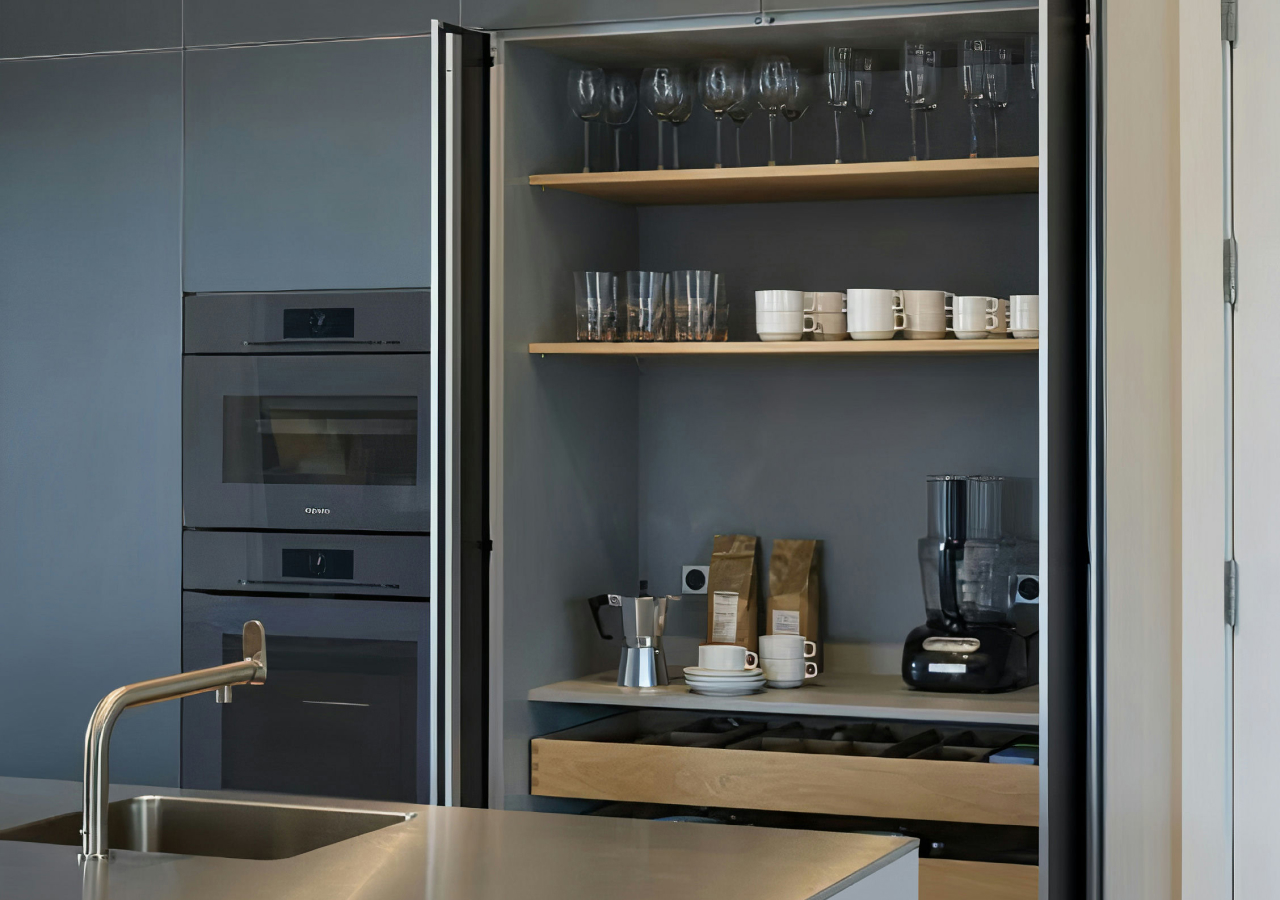
Pocket doors are one of the best options for modern Japandi and minimalist kitchens because they fully conceal appliances and move out of the way once open. Open garages are simpler and can work very well when the appliances themselves are visually quiet and the station stays tidy. Sliding and lift-up systems solve different problems related to clearance and layout, so they can be very useful in the right conditions.
A good rule is to choose the most concealed option that still feels convenient several times a day. If the station is used constantly, ease of access matters more. If it is used less often, concealment can matter more.
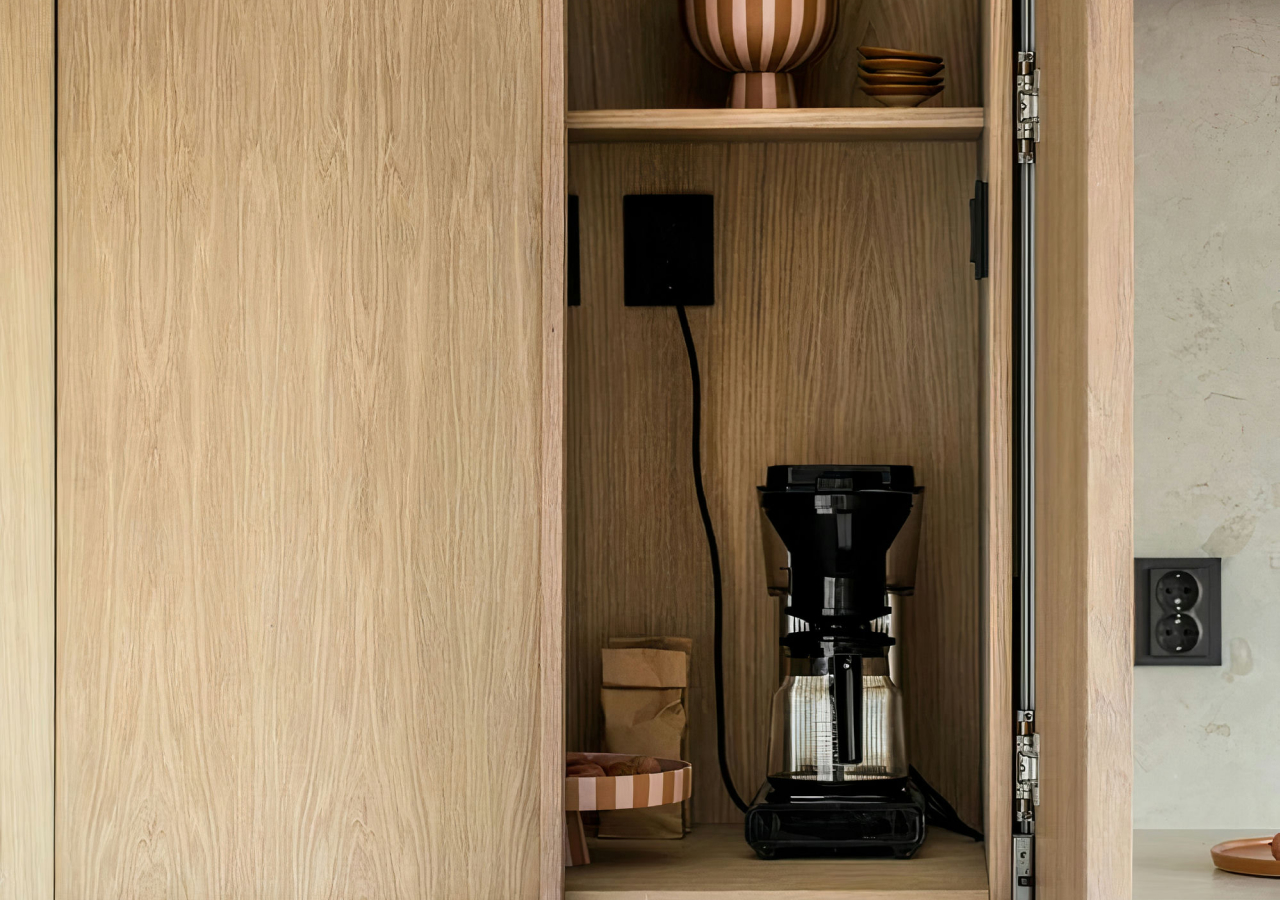
Step 4: Plan the Cabinet Interior Carefully
The inside of the cabinet is what determines whether the appliance garage works well or becomes annoying to use. Shelf height, usable depth, outlets, cable routing, and landing space all need to be planned around the real appliance. If those details are off, a good-looking front will not fix the problem.
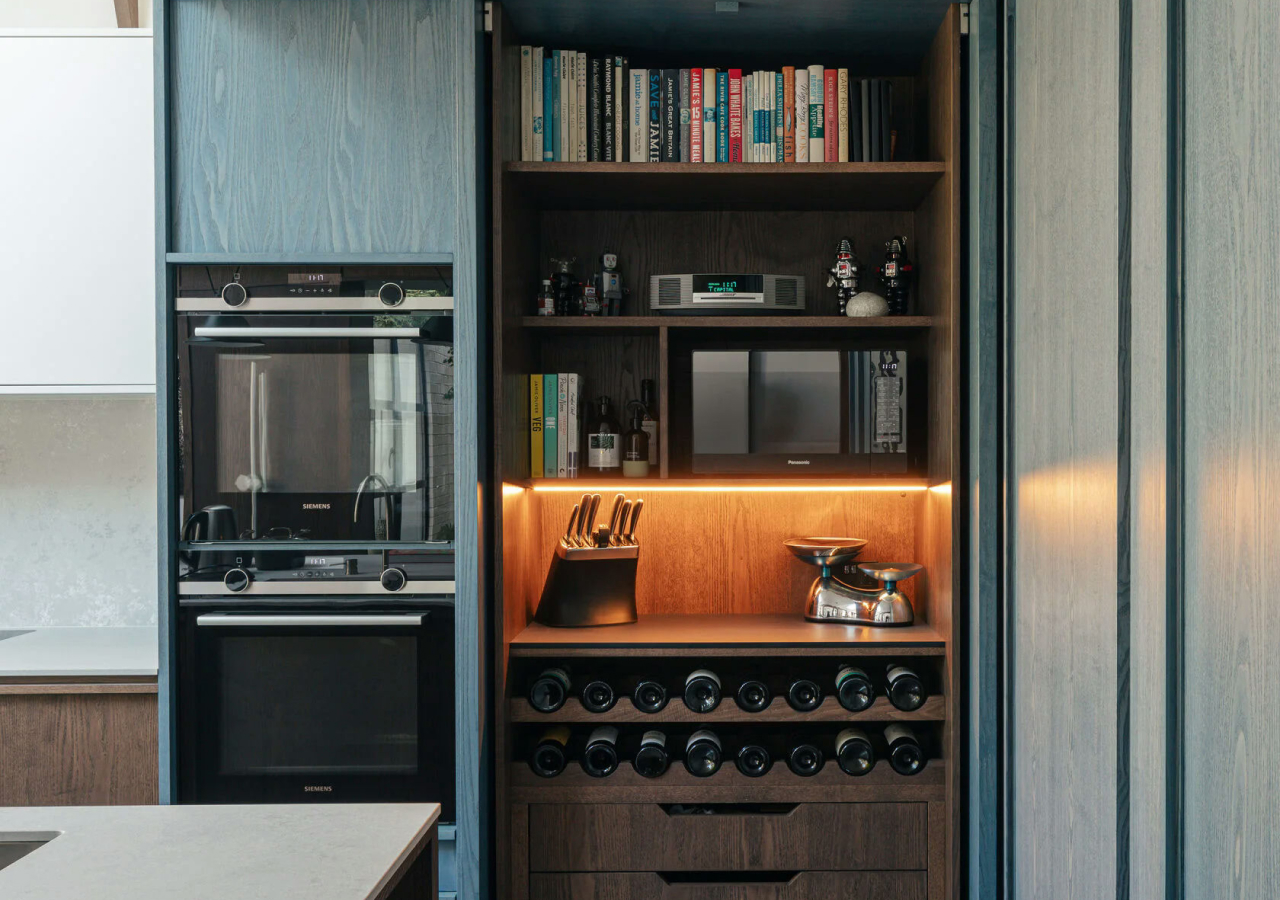
This is also where task-based organization matters. A coffee garage works best when the whole coffee routine is kept together. A breakfast station should hold the toaster, bread tools, and everyday extras in one place. When related items are stored together, the kitchen is easier to use and easier to reset.
In practical terms, this usually means avoiding the temptation to turn the appliance garage into a catch-all cabinet. A focused station almost always performs better than an oversized cabinet packed with unrelated items. In a Japandi kitchen, that discipline also supports the overall look. What feels calm on the outside is usually the result of more deliberate organization behind the doors.
Step 5: Make It Feel Integrated With the Kitchen
An appliance garage should feel like part of the cabinetry, not like something added at the end. In Japandi kitchens, that matters because the style relies on visual consistency, restrained material changes, and cabinetry that feels cohesive.
Limiting finish changes and keeping the palette controlled helps a kitchen feel calmer, especially in larger spaces. Light or natural oak, walnut tones, matte whites, beige, off-white, and quieter stone surfaces help keep the room warm without making it feel busy. For that reason, an appliance garage usually works best when its materials, proportions, and door style match the rest of the cabinetry rather than trying to stand out.
This works especially well in kitchens where the pantry combines open shelving, an appliance garage, ovens, and built-in storage in one organized zone. It can also be effective in kitchens built around symmetry, soft neutrals, natural wood veneer, and visually quiet islands. The key is the same in each case: the appliance garage should support the overall composition, not interrupt it.
Step 6: Address Safety and Usability Early
A good appliance garage has to work comfortably with heat, power, movement, and reach. These are not separate from the design. They are part of what makes the kitchen easy to live with once it is finished.
That means placing outlets where appliances can actually stay plugged in, leaving enough clearance around heat-producing appliances, and keeping landing space nearby where needed. It also means being realistic about how larger American kitchens function. A big island, larger appliances, and more storage can still fit a Japandi look, but the working areas need to stay clear. If every small appliance ends up living on the counter, the design loses the benefit the garage was supposed to provide.
Common Mistakes to Avoid
.webp)
The most common mistake is designing the garage around appearance first and use second. A concealed door system may look elegant, but if the cabinet is too shallow, too far from the task it supports, or missing power, it will not work well. Another common mistake is treating the garage like a junk drawer with doors. That quickly weakens both the function and the cleaner visual effect most homeowners want.
In larger kitchens, another issue is failing to connect the appliance garage to the broader layout. If the island is oversized without a clear purpose, if the pantry wall is underused, or if too many appliances compete for the main counter, the kitchen will feel busier than it needs to. Selective concealment usually works better than trying to hide everything. The best results come from giving the appliance garage a clear role within a larger storage plan.
Planning Benchmarks for US Kitchens
This is a practical checklist for planning an appliance garage in a larger American kitchen, especially one with a larger island, bigger refrigeration, a 36-inch range, and more supporting appliances overall.
Conclusion
An appliance garage is worth planning carefully because it solves a real kitchen problem: how to keep everyday appliances within reach without letting them take over the room. In larger US kitchens, that becomes even more important. Bigger layouts usually come with more appliances, which means the cleaner Japandi look depends less on styling alone and more on better storage logic.
The best appliance garages usually follow a simple sequence: decide what will live inside, place the cabinet in the right zone, choose the door style based on access, plan the interior around real use, and make sure the whole thing feels like part of the kitchen. That approach usually works better than choosing a garage style just because it looks good on its own.


