
.webp)
A functional kitchen remodel starts with flow, storage, lighting, and appliance placement. Before choosing finishes, look at how the kitchen supports daily cooking, cleanup, hosting, and storage. These 20 ideas show where small planning decisions can make the biggest difference.
The goal is not to add every available feature. It is to choose the improvements that reduce friction, keep frequently used items accessible, and make the room easier to use every day.
Quick Comparison: Functional Kitchen Layouts
| Kitchen Layout | Best For | Key Advantages |
|---|---|---|
| Galley | Small or narrow rooms | Efficient workflow with minimal walking between zones |
| L-shaped | Small to medium open or semi-open spaces | Makes good use of corners and can leave room for a dining area or small island |
| U-shaped | Medium to large kitchens | Provides substantial storage and countertop space on three sides |
| Island layout | Larger, open-plan homes | Adds central prep space, storage, seating, and a social gathering point |
For more detailed planning guidance, see the kitchen floor plan guide.
1. Plan Clear Work Zones
.webp)
Before changing cabinets or finishes, map how you move through the kitchen. Group the room into storage, preparation, cooking, and cleaning zones so the tools and ingredients needed for each task remain close at hand.
Keep cookware near the cooktop, dishes near the dishwasher, and pantry staples near the main prep surface. Clear zones reduce unnecessary movement and make the kitchen easier to share.
2. Rethink Appliance Placement
.webp)
A remodel is the best time to correct awkward appliance locations. The refrigerator, sink, dishwasher, cooktop, and ovens should support a logical workflow without forcing people to repeatedly cross the room.
Check door swings, open drawers, landing surfaces, and main walkways before finalizing the plan. Corner’s kitchen appliance planning guide covers appliance placement and cabinet coordination in more detail.
3. Add a Multi-Tasking Kitchen Island
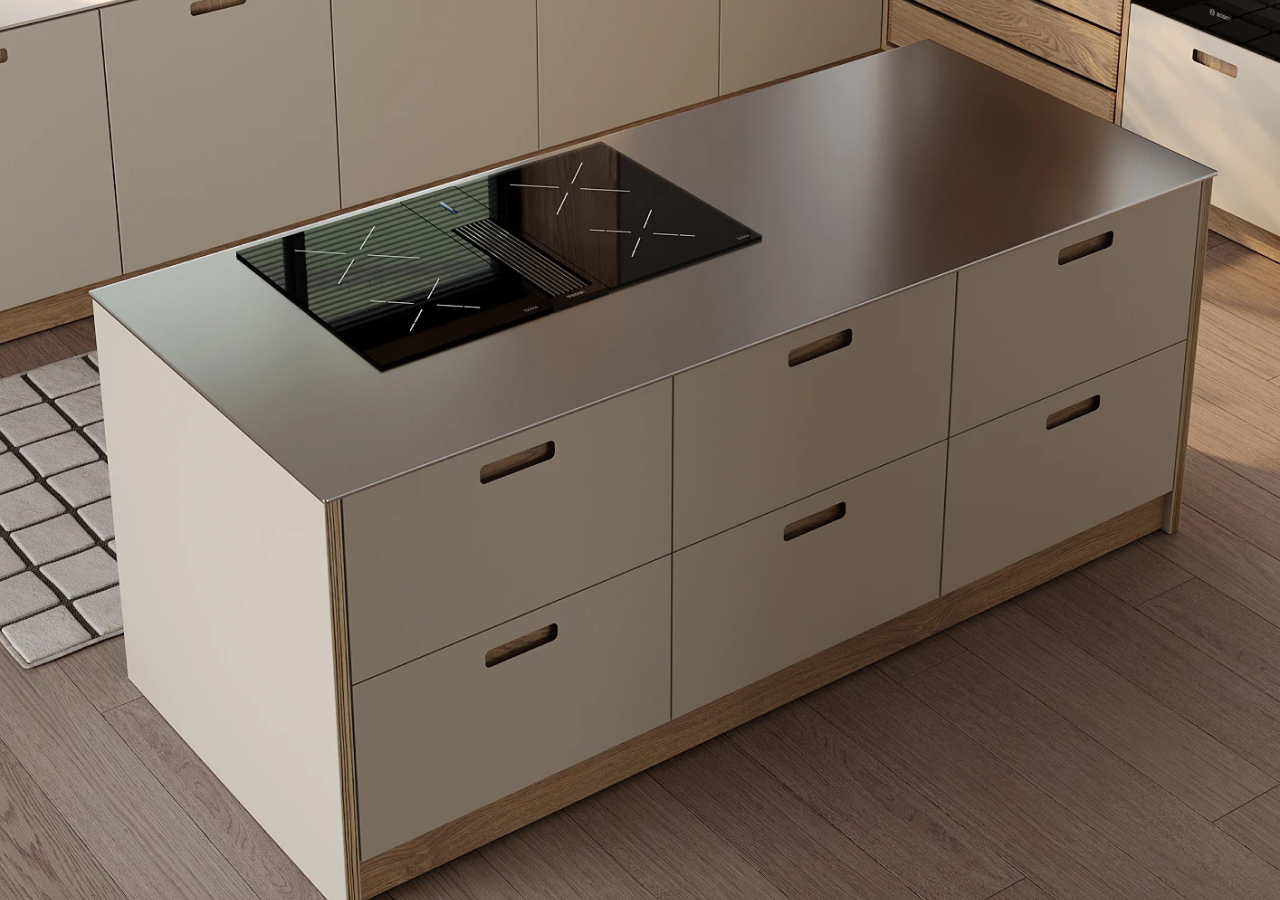
A well-planned island can provide prep space, storage, seating, and a natural connection between the kitchen and living area. It should have a clear purpose rather than simply filling an open area.
Before adding one, confirm that the surrounding walkways, appliance doors, and seating areas will remain comfortable. Use the kitchen island planning guide to compare sizing, clearances, seating, storage, and utilities.
4. Maximize Cabinet Height and Capacity
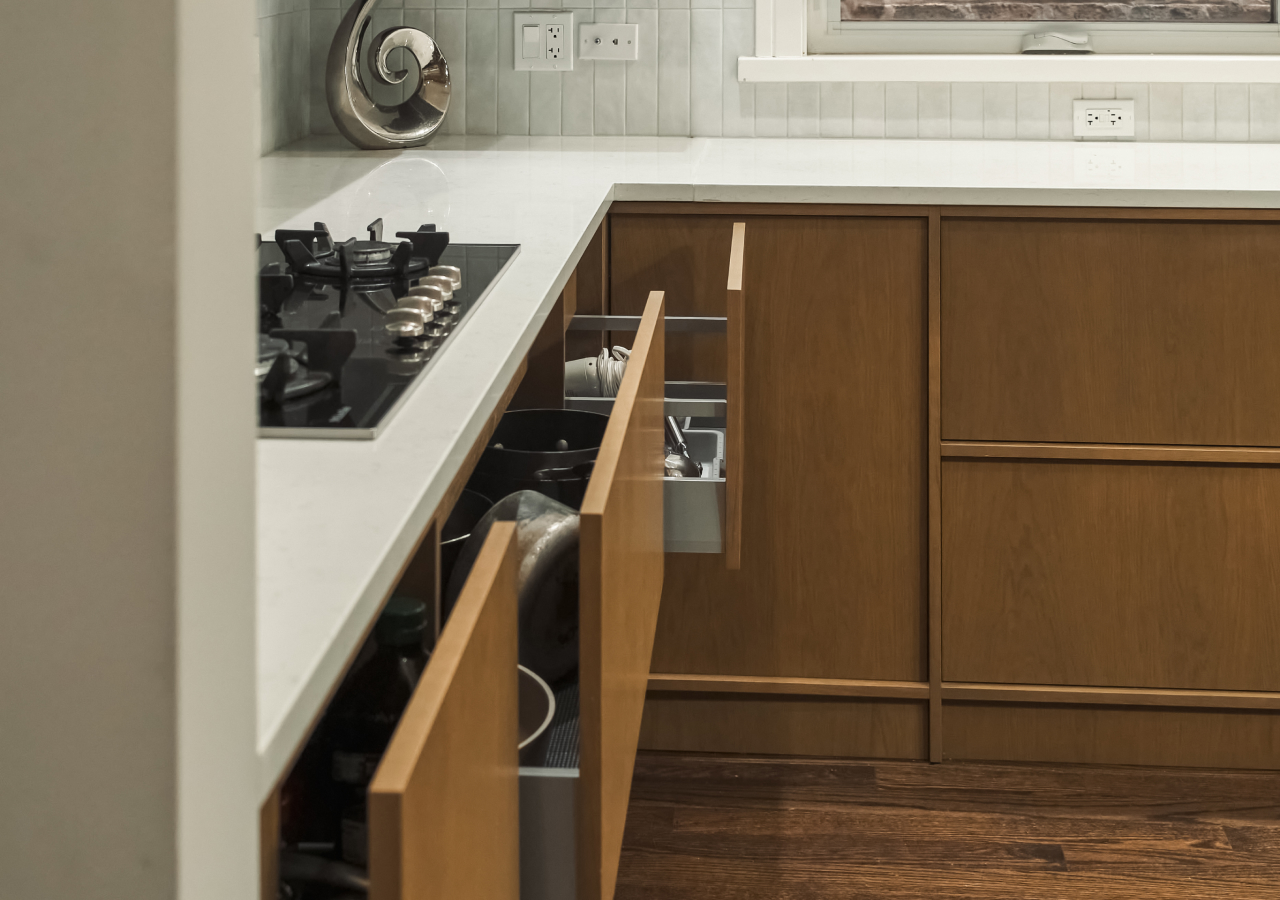
Running cabinets closer to the ceiling creates more storage and gives the kitchen a finished, built-in appearance. It also avoids the dust-catching gap that can form above shorter wall cabinets.
Reserve the highest shelves for seasonal pieces and items used infrequently. Keep everyday dishes, cookware, and pantry supplies at comfortable heights so added capacity does not come at the expense of accessibility.
5. Upgrade to Pull-Out Pantry Storage
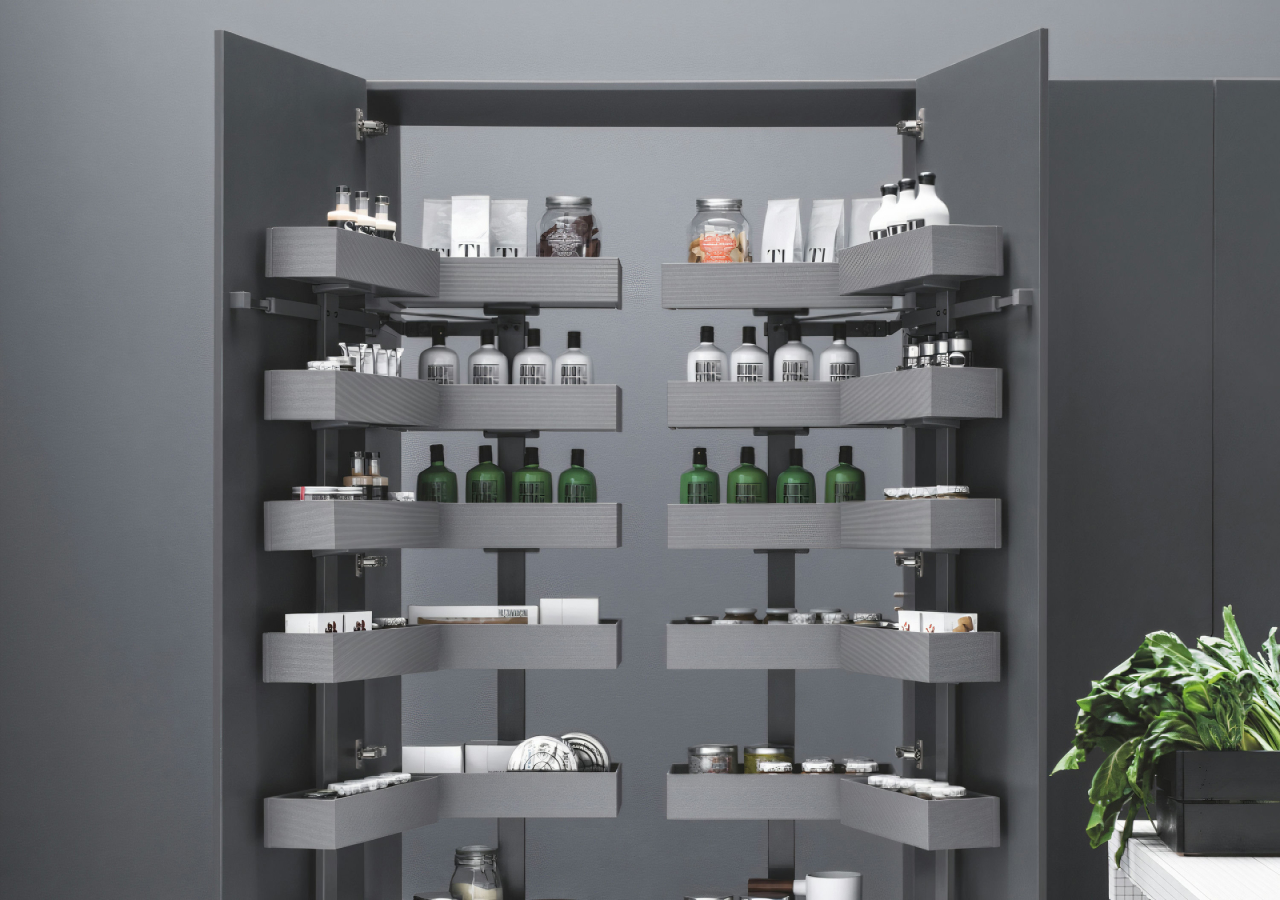
Fixed pantry shelves can make ingredients at the back difficult to see and reach. Pull-out shelves and tall pantry mechanisms bring the contents forward, reducing forgotten items and duplicate purchases.
Choose a system based on the cabinet width, the weight of the items being stored, and how frequently they are used. For a broader comparison, explore the guide to kitchen storage features homeowners request most.
6. Use Smart Corner Storage Systems
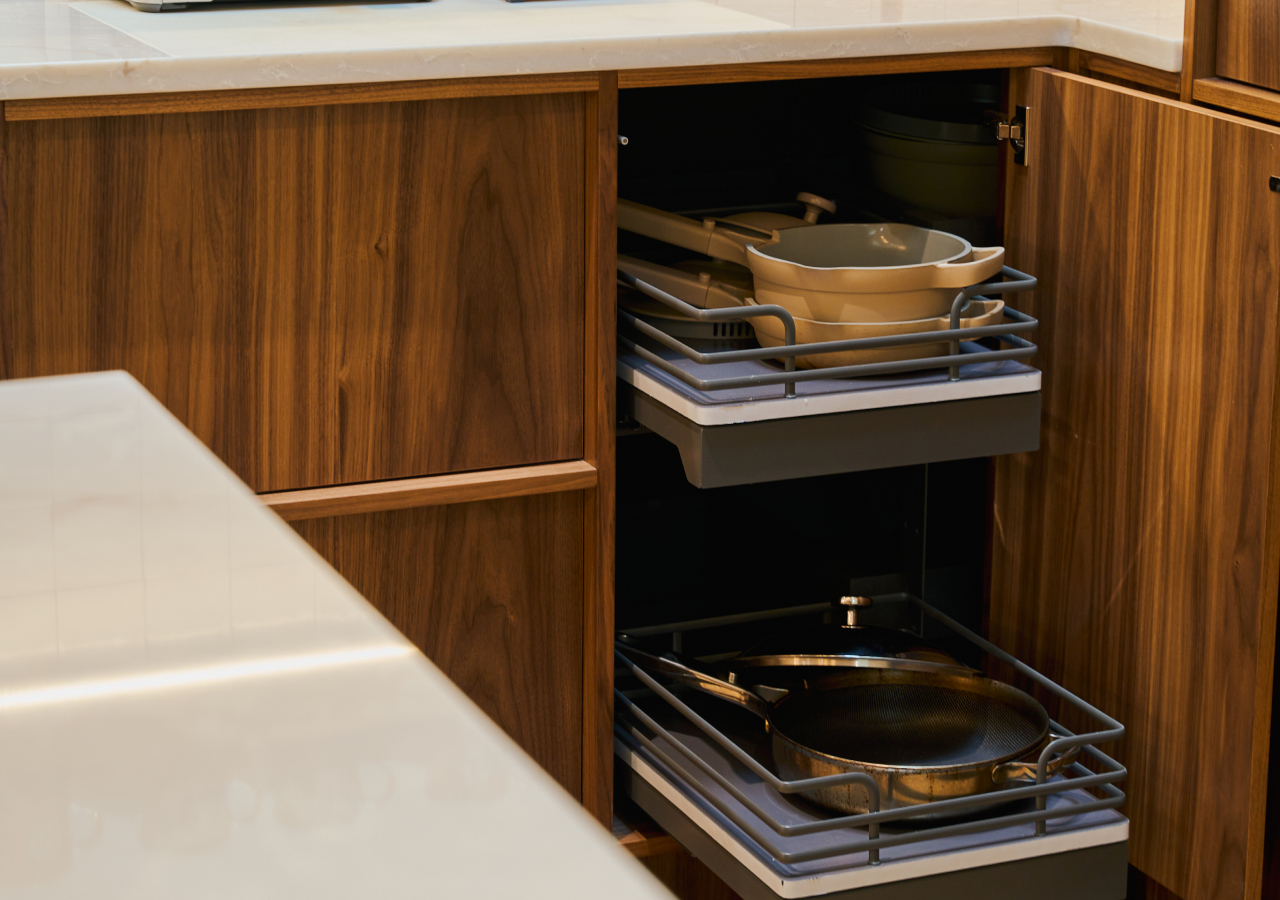
Base cabinet corners can become difficult-to-reach storage zones when they are fitted with basic shelves. Rotating trays, swing-out shelves, and pull-out corner mechanisms make more of the cabinet accessible.
The right mechanism depends on the cabinet configuration and the items you plan to store. See the guide to corner pull-out cabinets for a closer look at the available options.
7. Install a Pull-Out Trash and Recycling Cabinet
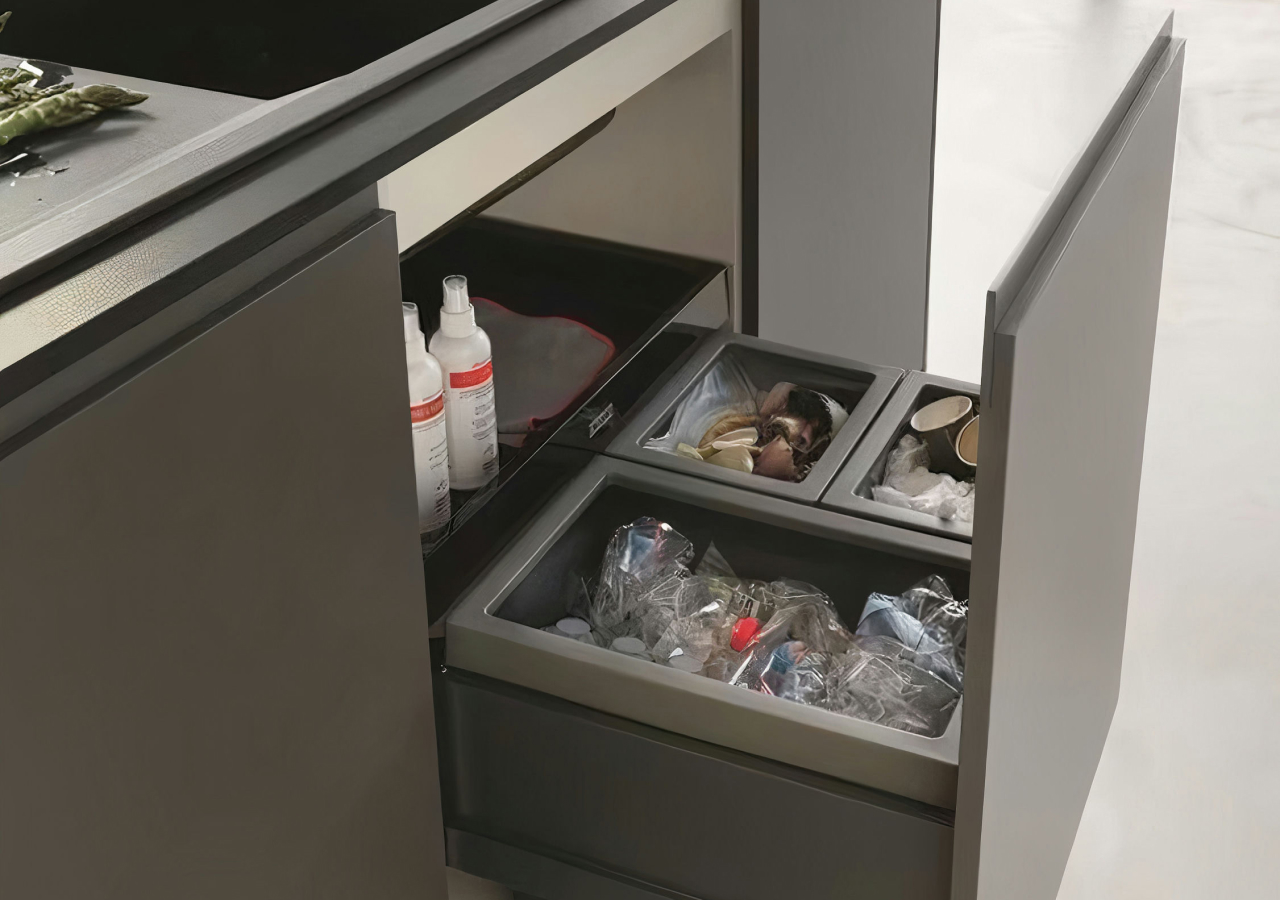
A built-in pull-out cabinet keeps trash, recycling, or compost hidden but easy to reach. It also removes the need for a freestanding bin that interrupts the room’s floor space and cabinet lines.
For detailed placement, cabinet width, and bin-count planning, see the kitchen trash pull-out layout guide.
Quick Comparison: Kitchen Storage Systems
| Detail | Pull-Out Pantry | Corner Pull-Out | Drawer Inserts | Under-Sink Pull-Out |
|---|---|---|---|---|
| Best for | A tall cabinet beside the refrigerator or food-storage zone | A blind or difficult base cabinet corner | Utensil, dish, spice, or cookware drawers | The cleaning zone |
| Main benefit | Provides clear visibility and easier access to ingredients | Brings previously hidden storage forward | Keeps contents separated and easier to return | Organizes supplies around plumbing and other obstructions |
8. Refine Drawers with Inserts and Inner Drawers
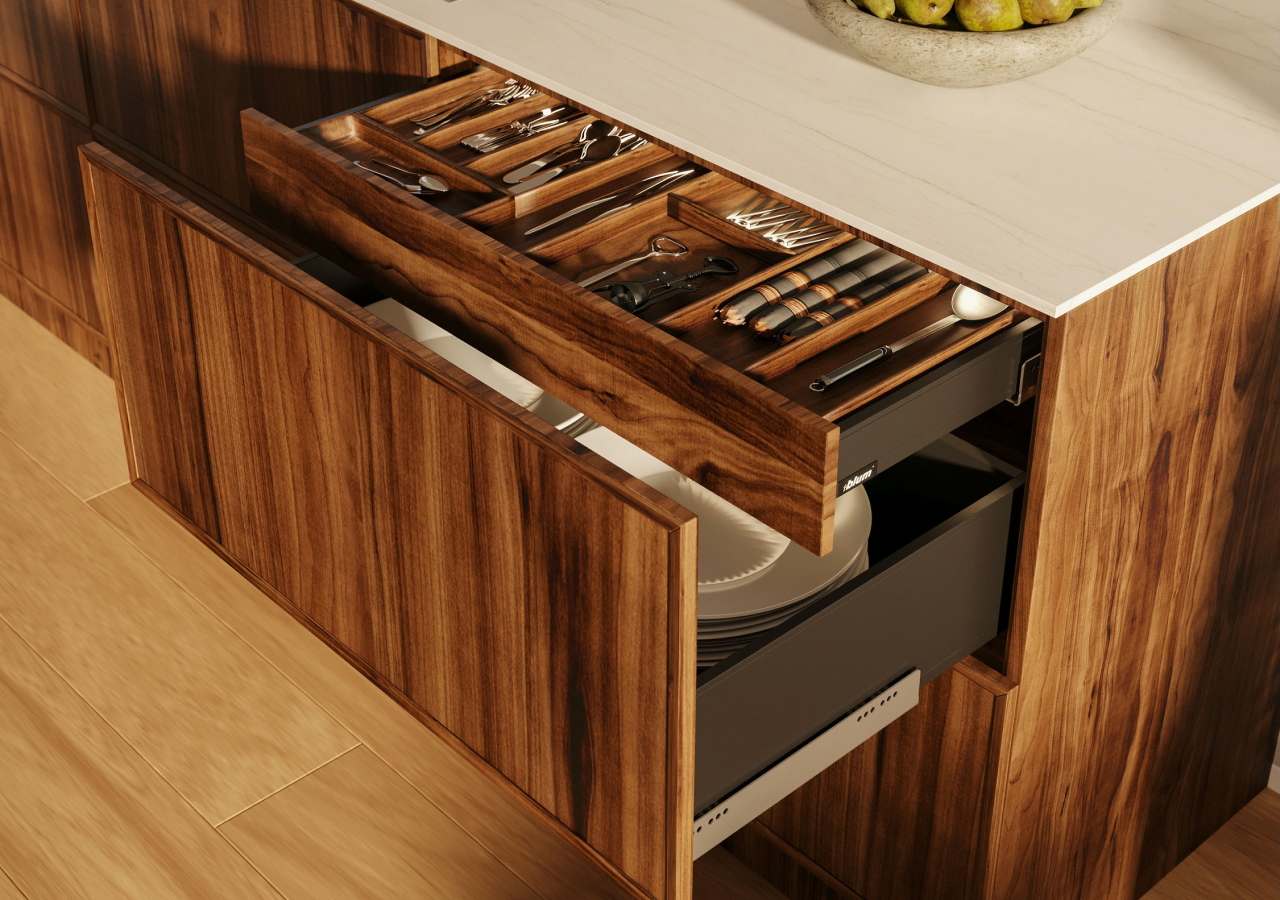
Deep drawers improve visibility, but they still need internal organization. Cutlery trays, pan dividers, spice inserts, plate pegs, and inner drawers give each category a defined place.
Keep the main drawer layout flexible enough to accommodate changing needs. The guide to cutlery organizers and inner drawers explains how these details can improve everyday storage.
9. Create a Dedicated Appliance Garage
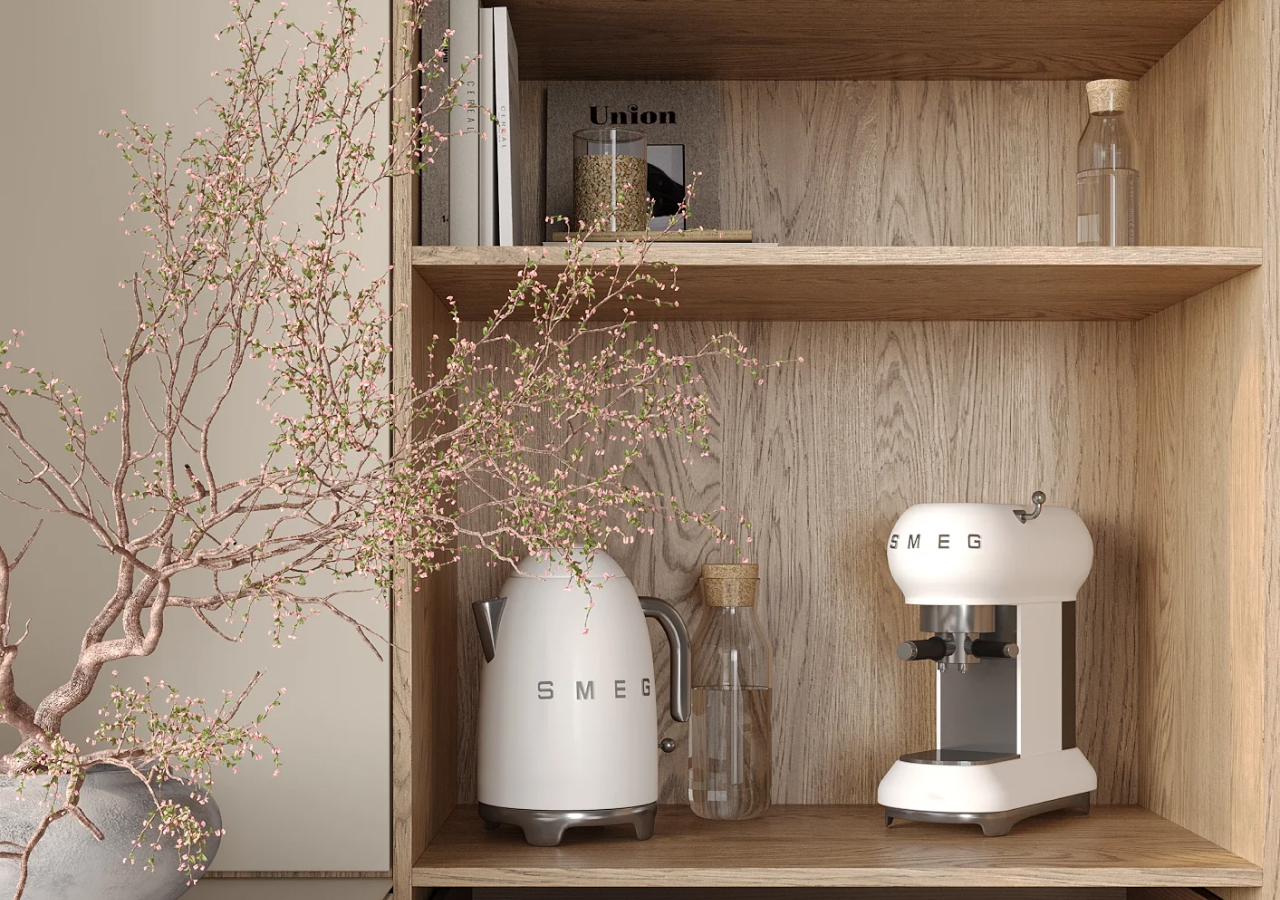
An appliance garage gives coffee makers, toasters, blenders, and other frequently used appliances a home close to the countertop. The appliances can remain accessible without permanently occupying the main work surface.
Door style, outlet placement, ventilation, and cabinet depth should be coordinated early. Review the appliance garage design guide before selecting the cabinet type.
10. Design a Cleaning and Utility Cabinet
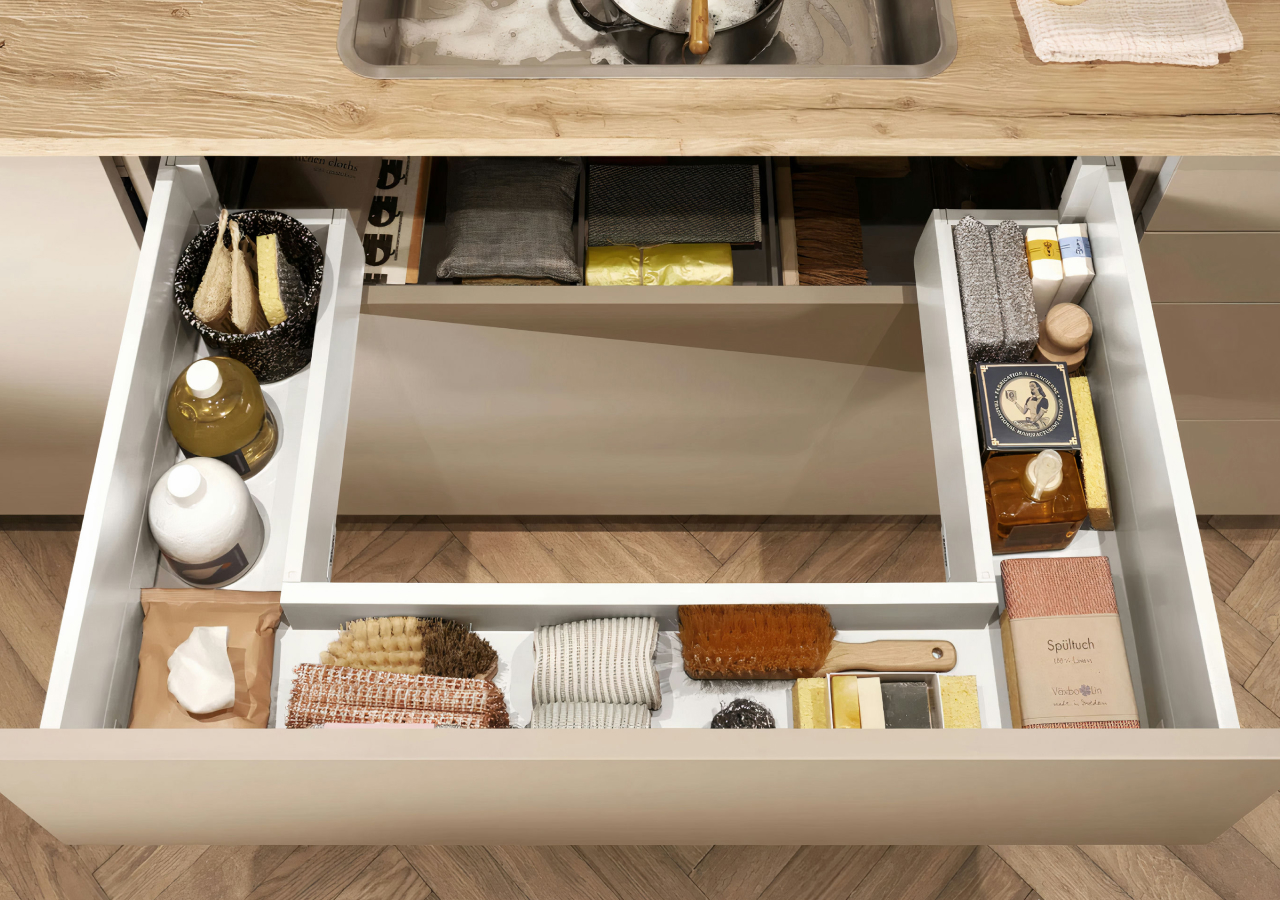
Instead of allowing cleaning products to collect in one crowded under-sink cabinet, create a defined utility zone for sprays, cloths, sponges, dishwasher supplies, and refills.
Pull-outs, shallow trays, and door-mounted organizers can improve visibility around plumbing. Frequently used products should remain at the front, while backups and occasional supplies can be stored farther back or in a nearby utility cabinet.
11. Layer Your Kitchen Lighting

A functional lighting plan combines ambient light for the room, task lighting for work areas, and accent lighting for depth or evening use. Relying on one ceiling fixture often creates shadows over the sink, cooktop, and countertops.
Lighting should be planned alongside cabinetry and electrical work rather than added after installation. The kitchen lighting guide explores fixture placement, controls, glare, and lighting layers in greater detail.
12. Optimize Dish Storage for Everyday Use
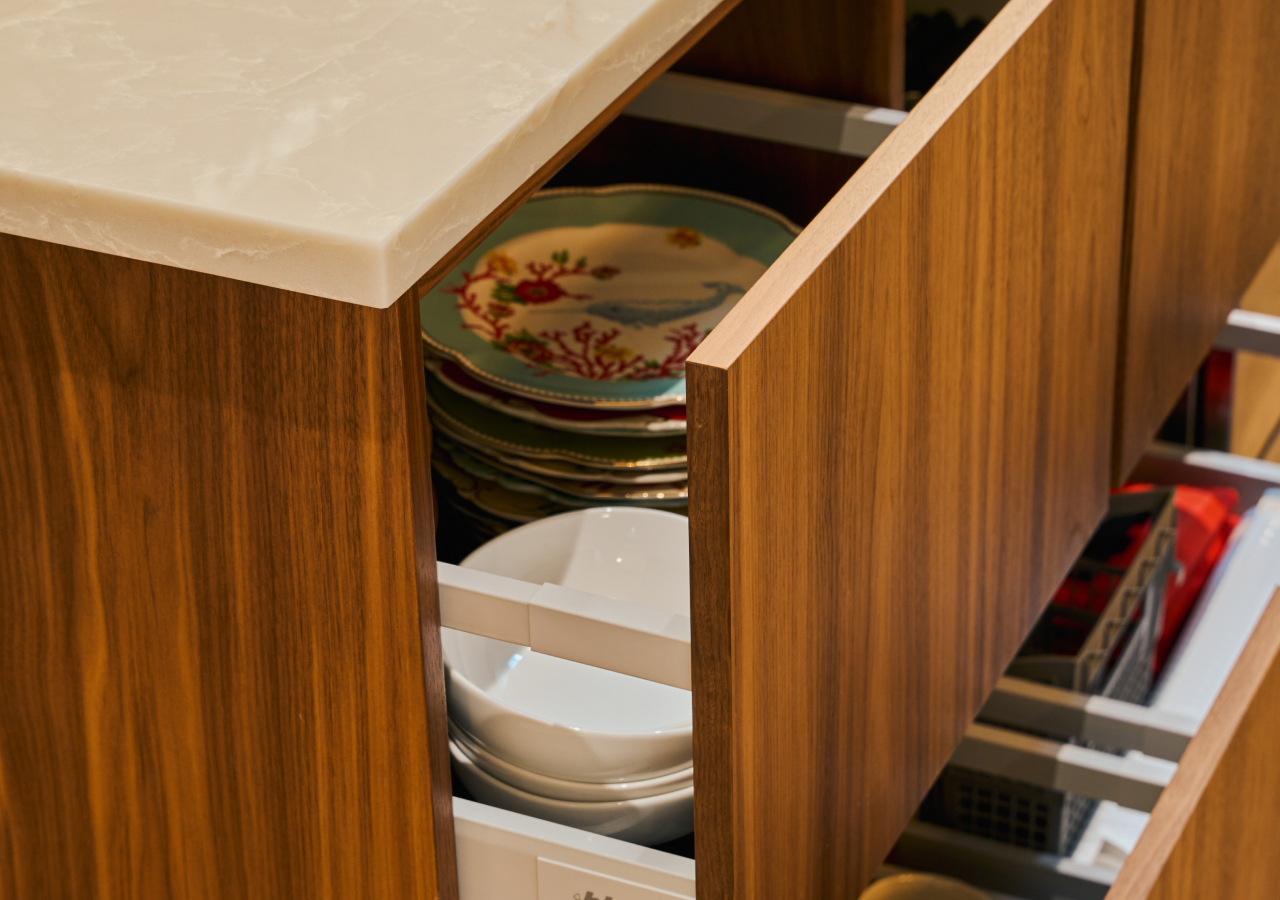
Store plates, bowls, glasses, and utensils close to where they are used and put away. Dishes may work better in deep drawers near the dishwasher than in a high wall cabinet across the room.
Consider who uses the kitchen as well. Lower dish storage can be easier for children, shorter family members, and anyone who wants to reduce repeated reaching.
13. Add a Hidden Charging and Tech Station
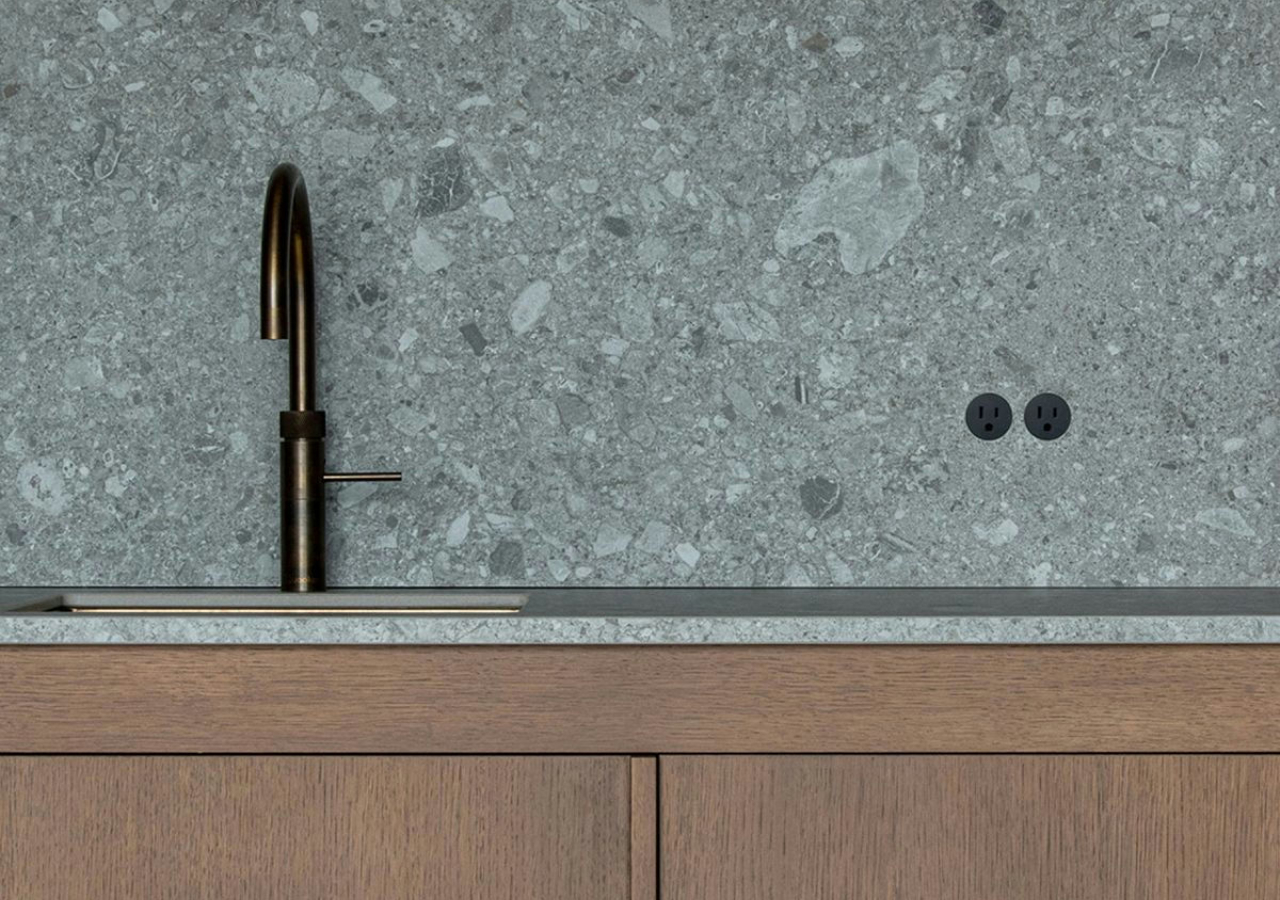
Phones, tablets, and laptops often end up on kitchen countertops alongside loose charging cables. A dedicated charging drawer or cabinet keeps devices together and reduces visual clutter.
Place the station outside the wettest and busiest prep areas. It should be convenient enough to use without allowing device traffic to interfere with cooking and cleanup.
14. Choose Integrated and Smart Built-In Appliances
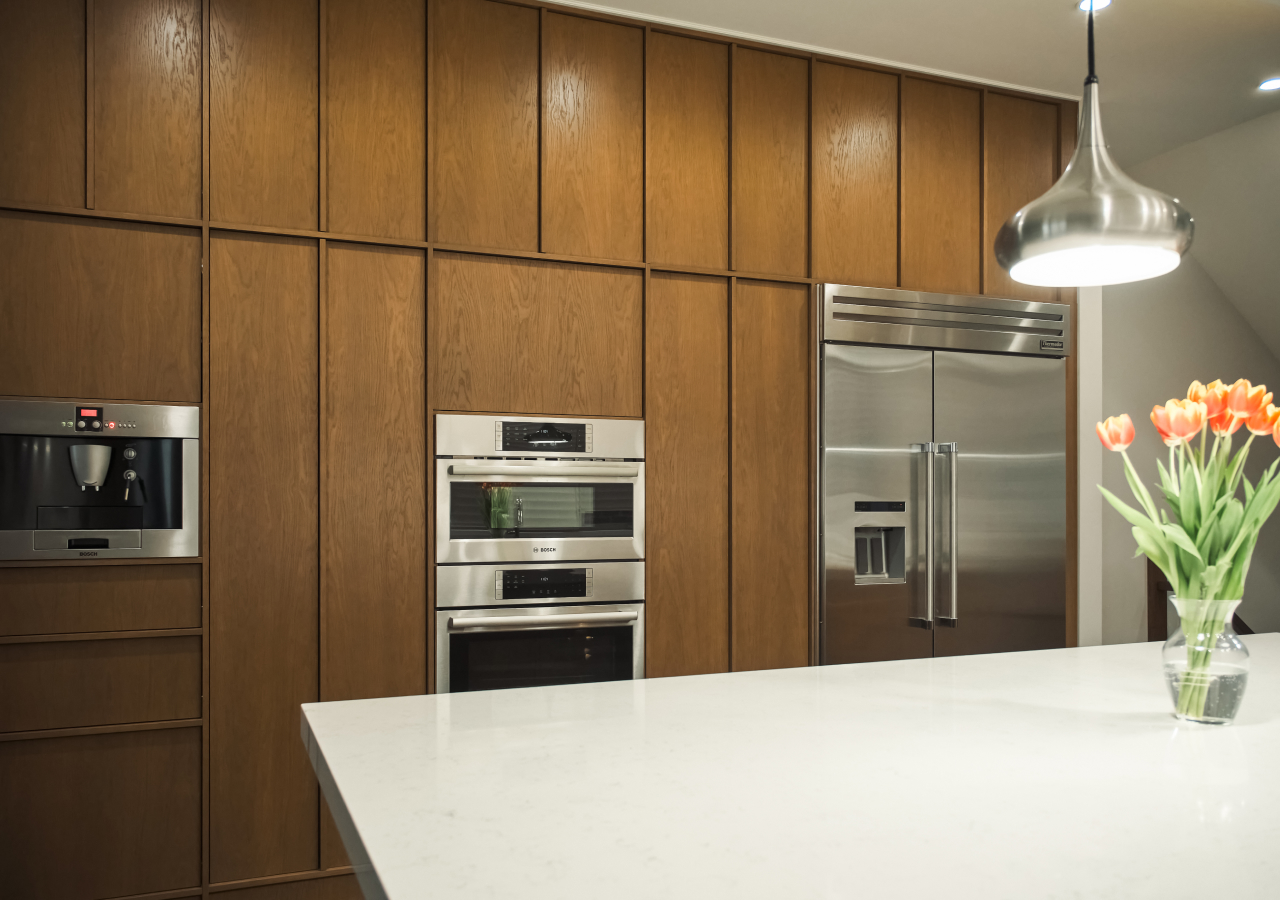
Built-in and panel-ready appliances can align more closely with surrounding cabinetry, creating a cleaner and more cohesive appearance. They can also simplify appliance zones by keeping ovens, refrigeration, dishwashing, and coffee equipment in planned locations.
Choose appliances before finalizing cabinet dimensions and installation drawings. Explore these built-in appliance ideas for examples of how different appliances can be incorporated into the room.
15. Add Well-Placed Countertop and Island Outlets
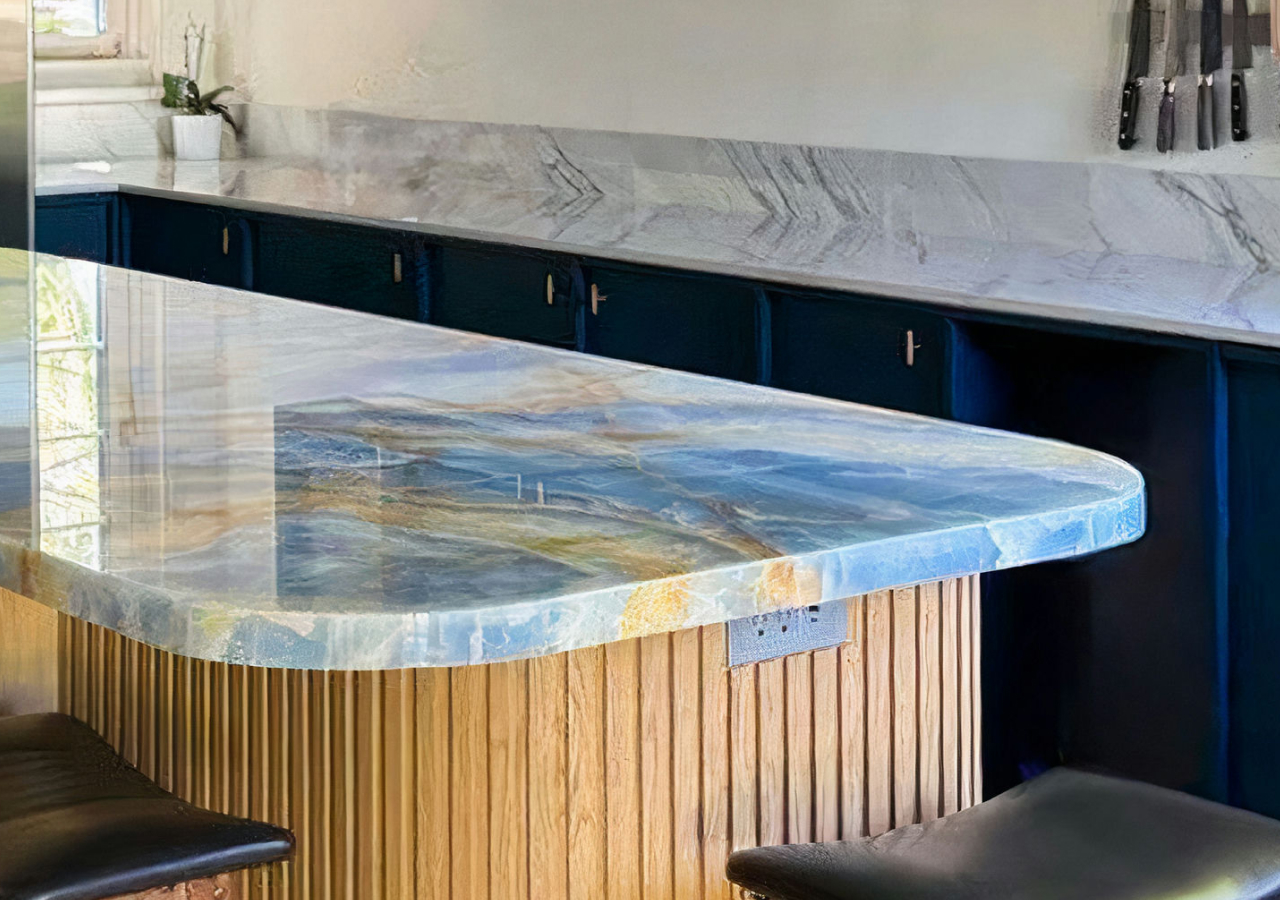
Convenient outlets make it easier to use mixers, coffee equipment, laptops, and occasional appliances where they are actually needed. Depending on the design, outlets may be incorporated into walls, cabinet panels, appliance garages, or an island.
Plan electrical requirements before cabinets and countertops are ordered. Outlet placement, GFCI protection, and island power options should be confirmed with a licensed electrician based on local code and the selected cabinet and countertop details.
For more planning considerations, see the guide to outlet planning in custom kitchen cabinets.
16. Balance Open Shelving with Closed Storage
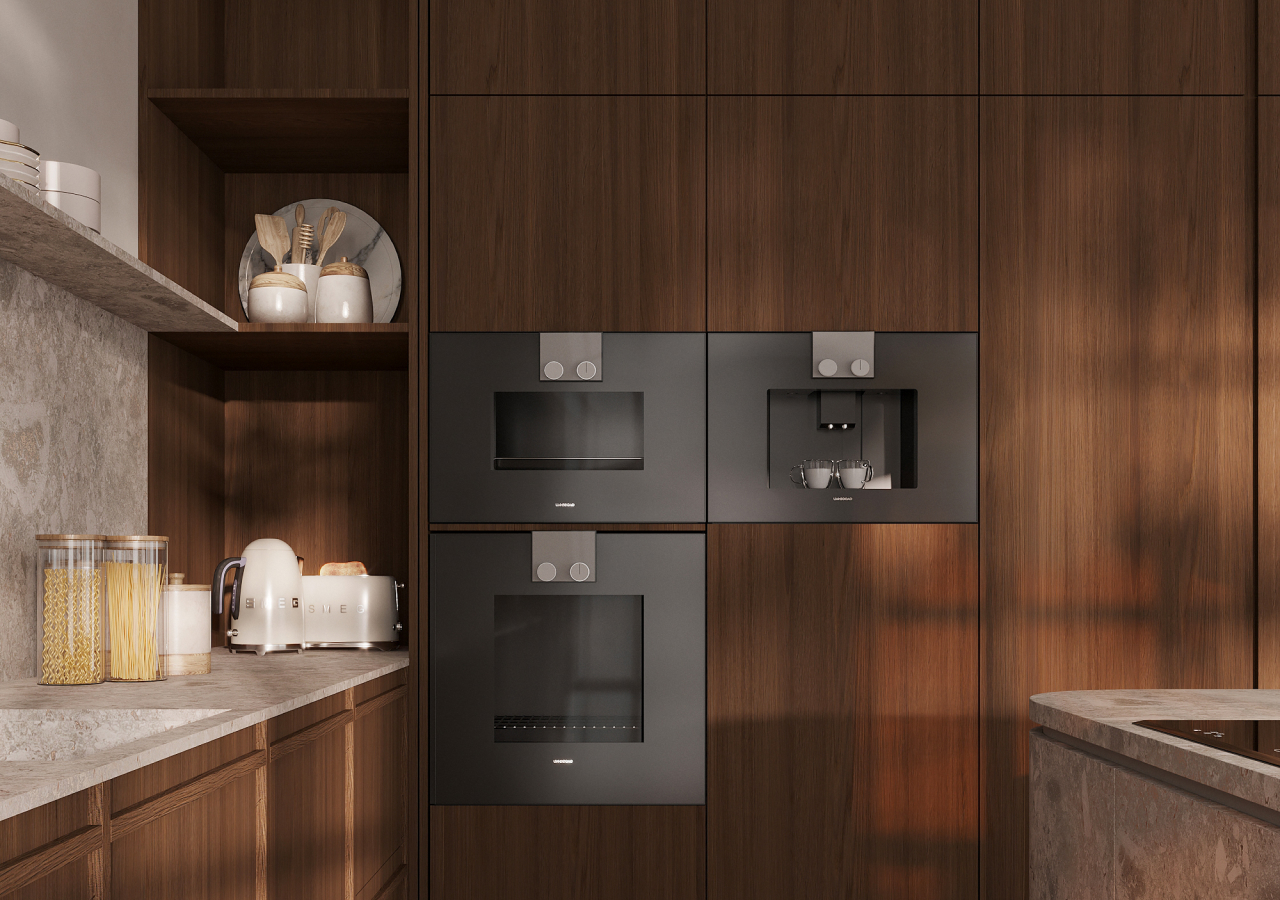
Open shelves can make a kitchen feel lighter and provide easy access to dishes or glassware. Too many open surfaces, however, can create visual clutter and require more frequent cleaning.
Use open shelves selectively for items that are attractive, frequently used, and easy to maintain. Let closed cabinets handle food packages, small appliances, cookware, and other visually inconsistent items.
17. Refresh the Backsplash for Easier Cleaning
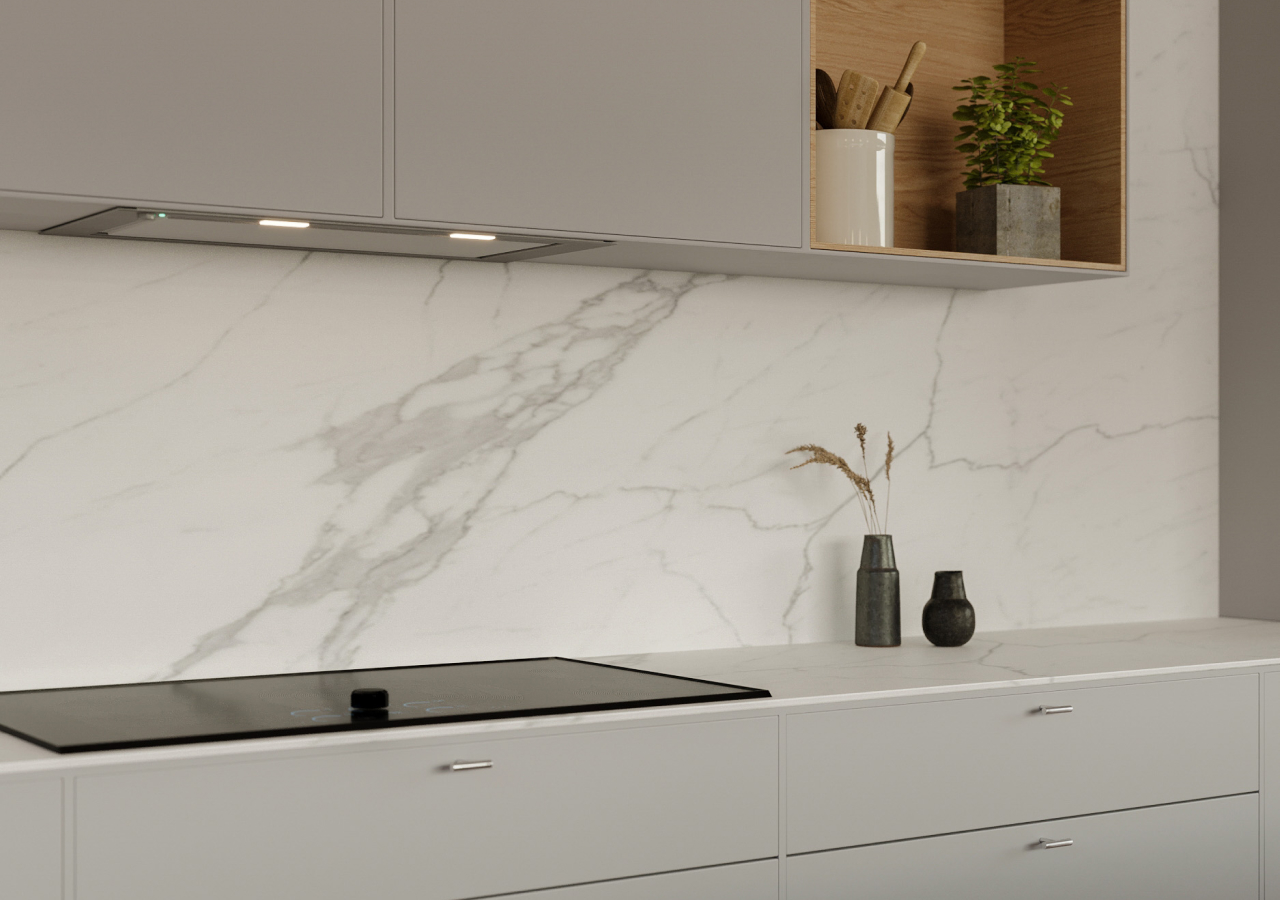
A backsplash protects the wall while connecting the cabinets and countertops visually. Updating it can make the kitchen feel more finished even when the overall layout remains unchanged.
For easier maintenance, consider surfaces with fewer grout lines and materials that can tolerate regular wiping. Coordinate the color, pattern, and sheen with the countertop rather than treating the backsplash as an isolated choice.
18. Coordinate Appliance Fronts and Metal Finishes
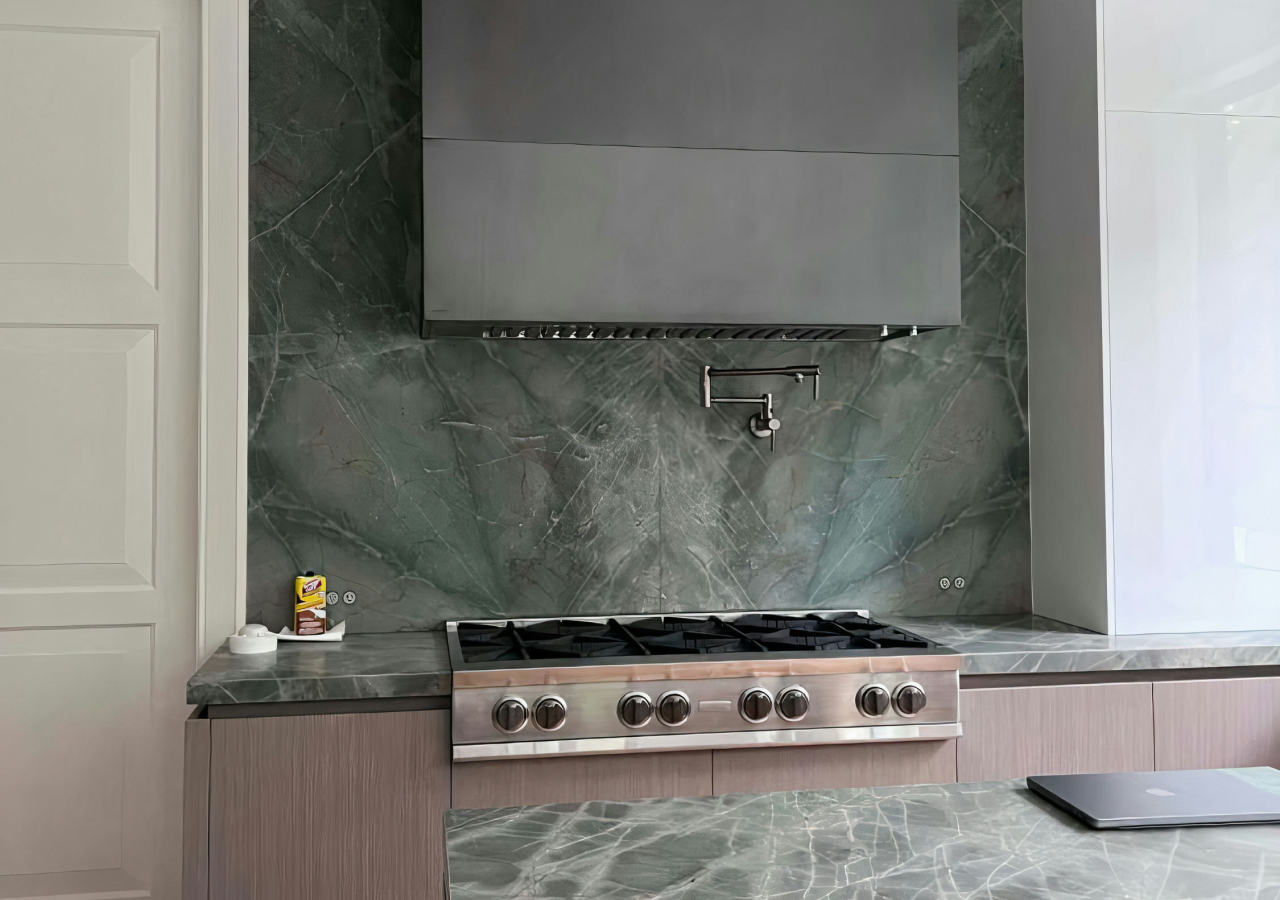
A consistent finish strategy helps the kitchen feel intentional rather than assembled one item at a time. Panel-ready appliances can blend into the cabinetry, while coordinated exposed appliances create a more unified visual rhythm.
Handles, faucets, lighting, and appliance finishes do not need to match perfectly, but they should relate to one another. Limit the number of competing metal tones unless the contrast is deliberate.
19. Carve Out a Breakfast or Coffee Nook

A dedicated breakfast or coffee area keeps mugs, coffee supplies, small appliances, and everyday foods together. This prevents morning routines from taking over the main cooking and prep zones.
The nook might occupy part of a pantry wall, a short cabinet run, an appliance garage, or one end of the kitchen. Keep it compact and focused so it supports the room rather than becoming another cluttered surface.
20. Use Toe-Kick Drawers for Extra Storage
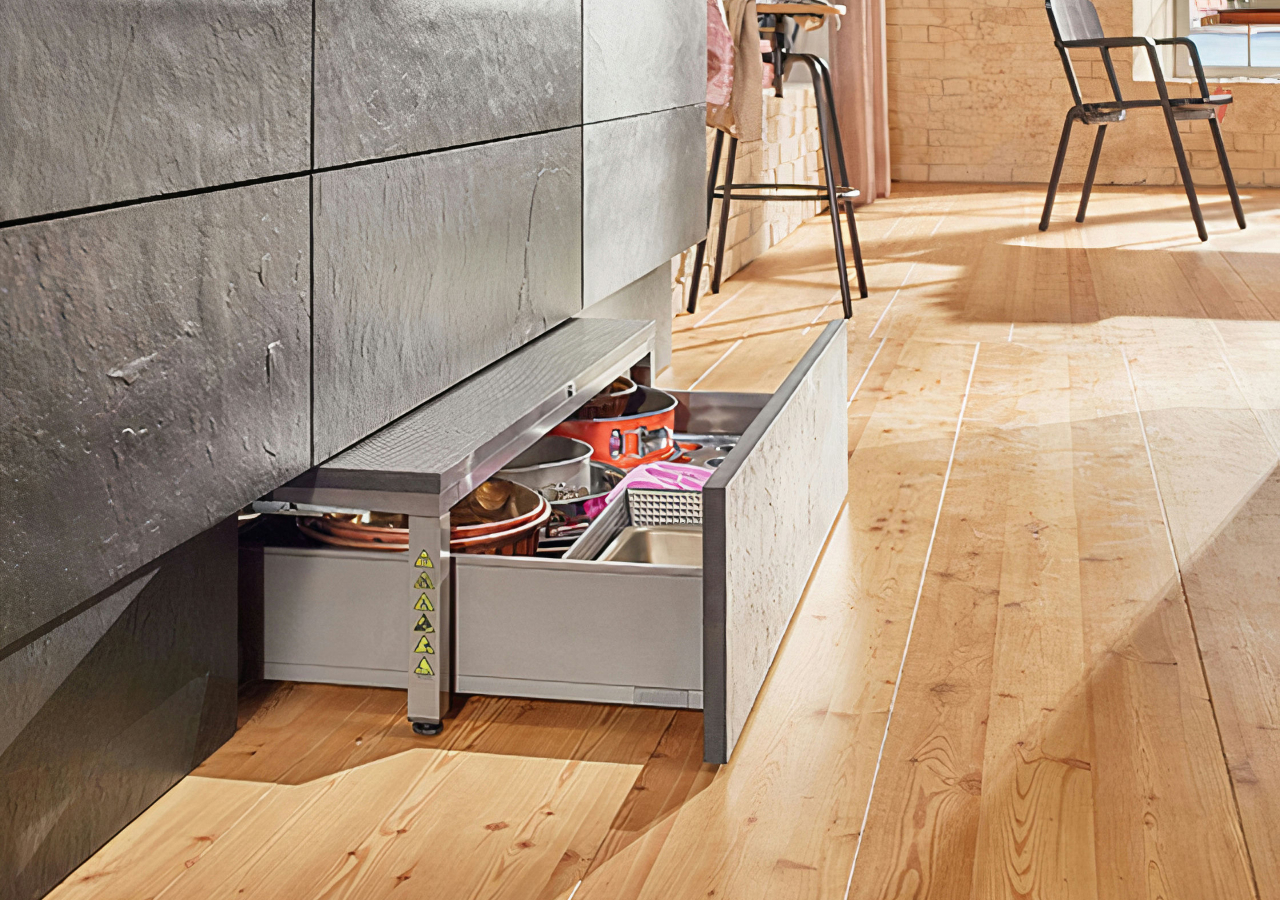
Toe-kick drawers use the shallow space beneath base cabinets for flat, lightweight items such as trays, linens, placemats, or occasional baking equipment.
They are most useful when standard cabinet storage has already been organized effectively. Because toe-kick drawers sit close to the floor, avoid using them for heavy objects or anything needed frequently.
How to Plan a Functional Kitchen Remodel Step by Step
A functional kitchen remodel should start with layout, workflow, appliances, storage, and clearances before smaller convenience features are added. Use these steps to review the room as a complete working system.
-
Define the layout and work zones. Map storage, preparation, cooking, and cleaning, then confirm clear paths between the refrigerator, sink, dishwasher, and cooktop.
-
Plan appliances and utilities. Select major appliances early and coordinate their dimensions, door swings, plumbing, ventilation, electrical service, and landing surfaces.
-
Design cabinets and storage. Give each zone the right combination of drawers, shelves, tall cabinets, pull-outs, and concealed storage.
-
Coordinate lighting and surfaces. Plan ambient and task lighting before installation, then select durable countertops, backsplash materials, and flooring that suit the way the kitchen will be used.
-
Add focused convenience features. Consider an appliance garage, charging station, coffee nook, drawer organizers, or toe-kick storage only after the main layout and cabinet plan are working well.
-
Review the complete room before ordering. Check open appliance doors, drawer clearances, island seating, walkways, outlets, and the location of frequently used items.
The best functional remodels are planned from daily routines outward. Once the layout, storage, appliances, and utilities work well, smaller upgrades become easier to place.
Conclusion
A functional kitchen remodel starts with the pieces that affect daily use: layout, storage, lighting, appliances, and clear work zones. Once those are planned, details like integrated outlets, appliance garages, breakfast nooks, and toe-kick drawers can make the room easier to use without adding visual clutter.


